Accuracy is key when it comes to any firearm but more so when you’re dealing with the ones built and designed precisely for optimal targeting from a long range like a riflescope.
With the array of scopes and riflescopes on the market today, reviews of top budget picks are also helpful in deciding which one to get. However, the most important skill you need to master is being able to properly sight your firearm.
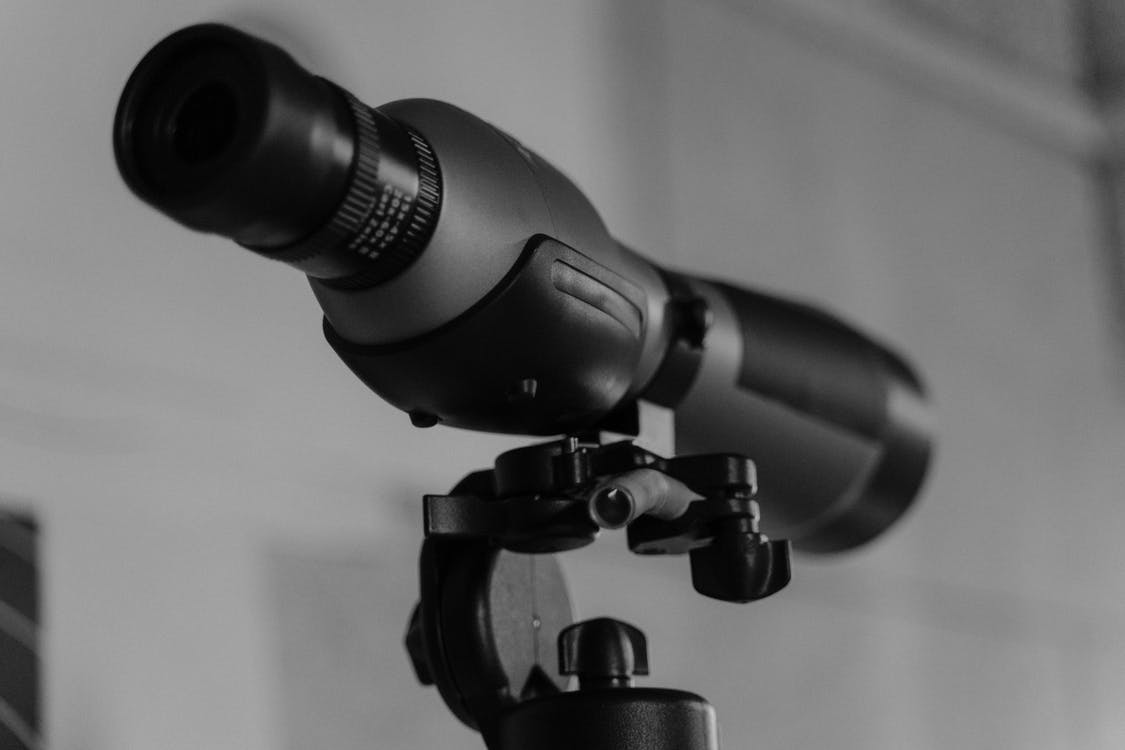
Riflescope Simplified
This is the tool that makes long-range shooting possible. It is usually a combination of a reticle and a powerful magnifying lens.
It’s important for you to sight in your scope as it allows for accuracy, a more confident shot, a better disposition against competitors, and, more importantly, safer use of your firearm. Ask a professional if you need to learn more about https://icbfirearms.com/rossi-magazine-rs22-22lr-10rd-black/.
Types of Scopes
There are ten commonly used scopes with varying purposes. Some of the most basic ones you’re bound to encounter as a beginner include a fixed scope, which is the most basic kind with a magnification that is already fixed in place.
A variable scope allows for some adjustments in terms of magnification. Additionally, a long-range scope allows for ten times the magnification. A hunting scope is usually weather-proof and sturdy enough to withstand any outdoor elements.
Prior to sighting in your riflescope, it is important then to find out what kind of scope you’re working with in order for you to work your way through necessary adjustments. In addition, just in case you’re not in the mood to splurge over the next new tech in automatic scopes, it is essential for you to truly know how to properly sight in your riflescope.
Additionally, before you get into shooting, always double-check that you have the proper ear and eye protection, a rifle stand that includes a front rest, and a rearrest, your scope, ammunition, and your target. Also check out explore Credo 2-10×36 optics as well.
What Is the Procedure?
Now that you’ve prepared and ensured safety, let’s get into the step-by-step procedures of sighting in your scope:
1. Check that Your Scope Is Properly Installed
First, due to the wide array of scopes available on the market today, you must check that your mount and the rings for your scope are compatible and a perfect fit for your rifle style.
Check to see the kind of scope base you have and ensure that the scope matches it–be it drilled, with holes, or with grooves.
2. Find the Proper Distance
Eye relief is the term used to refer to the distance between your eye and the end of the scope. Adjust the eyepiece so that it allows you to clearly see your target.
When adjusting, take extra caution to consider eye relief as this also adds to your safety. The distance should be enough that when the gun recoils, you will not injure your eye.
3. Level It Down
Positioning yourself and your gun on a sturdy, steady, flat area is the best possible leveling you can do. This is why there are mounts that usually go with your rifle.
It is best to invest in a mount instead of creating a makeshift one (such as sandbags) as they ensure safety for you, especially if the type of gun you’re using tends to have a stronger recoil.
4. Align Your Reticle
Though some veterans no longer feel the need to align their reticles, it is still a key procedure. Know that there are factors that can greatly affect your aim outside of just merely a recoil. This includes the elevation and wind directions.
Because of these factors, it is truly important to align your reticle first before firing to ensure that the necessary adjustments after your test shots will be more accurate. You can also check out dbfirearms.com/93-black-steel-barrel for more great options.
5. Set Your Minute of Angle (MOA)
Tighten your belts as this part might get a bit technical.
A minute angle (MOA) refers to the direction of a minute hand on a 360° clock. Knowing this, you’ll know that adjustments are definitely fine-tuned down to 1.67% changes in angles to aim for that desired accuracy.
You’ll find that this is easier to understand when you’re in an outdoor shooting range aiming for long-distance targets and that a 25% adjustment in the MOA can change your target to a 100-yard increment.
6. Fire the Three Shots
The proper term for your test shots is referred to as a three-shot group. This means you fire thrice on your target–usually determined by your MOA–and which you will check later on in order to make the necessary adjustments.
You might be wondering why you need three shots to check. This is because you need to take into consideration the outside factors (i.e., wind), which could change the outcome even if the angle and the mount haven’t moved.
7. Make the Necessary Adjustments
Based on your three shots, you can adjust your scope to re-center it to your target. Take on the additional challenge of mastering your sighting skills by also moving to different locations and also changing target distance.
Like any skill, it takes practice for your muscles to remember them. Most importantly, with long-range shooting, such as with a riflescope, practicing goes beyond just shooting but also sighting properly.