How Do You Clean Styrofoam?
To clean Styrofoam, start by gathering eco-friendly cleaners, such as biodegradable soap, and soft cleaning tools like a soft-bristled brush or sponge. To begin, remove surface dust with a dry cloth or feather duster. Prepare a gentle cleaning solution with warm water and mild dish soap. Use a damp, lint-free cloth to clean with smooth circular motions, especially in crevices. Remove stubborn stains using baking soda paste or rubbing alcohol for specific marks like ink. Rinse thoroughly with lukewarm water, then let it air dry. Proper technique guarantees Styrofoam stays intact, and learning a few more details can improve your cleaning skills.
Understanding Styrofoam Properties
Styrofoam, a type of expanded polystyrene, is lightweight and versatile, making it a popular choice for packaging and insulation. You might be surprised to learn that despite its convenience, Styrofoam poses sustainability challenges. It's not biodegradable, meaning it can linger in landfills for centuries. Understanding its properties is essential when considering recycling options and ensuring that you're making environmentally conscious choices.
When you examine Styrofoam's properties, you'll notice its excellent insulating capabilities and shock absorption, which is why it's favored in packaging. However, these same properties make it difficult to recycle. While some recycling facilities accept Styrofoam, many do not, due to the complexity and cost of the recycling process. You should check local recycling options to see if there are specialized facilities that handle Styrofoam to promote sustainability.
Gathering Cleaning Supplies
To clean Styrofoam effectively, you'll need to gather the right cleaning supplies, keeping in mind its unique properties and environmental impact. Start by choosing eco-friendly cleaners that won't damage the Styrofoam or harm the environment. Opt for gentle, biodegradable soaps or cleaners specifically designed for delicate materials. Avoid harsh chemicals like acetone, which can dissolve or deform Styrofoam surfaces. Just as yeast is vital for creating a spongy texture in bread, the right cleaning agents are fundamental for maintaining Styrofoam integrity yeast plays a vital role in fermentation.
You'll also want to have protective gear on hand. While cleaning Styrofoam, you might encounter dust or small particles, so it's a good idea to wear gloves to protect your skin and a mask to prevent inhalation. This is especially significant if you're working with older Styrofoam that might crumble easily. A pair of safety goggles can further protect your eyes from any accidental splashes or debris.
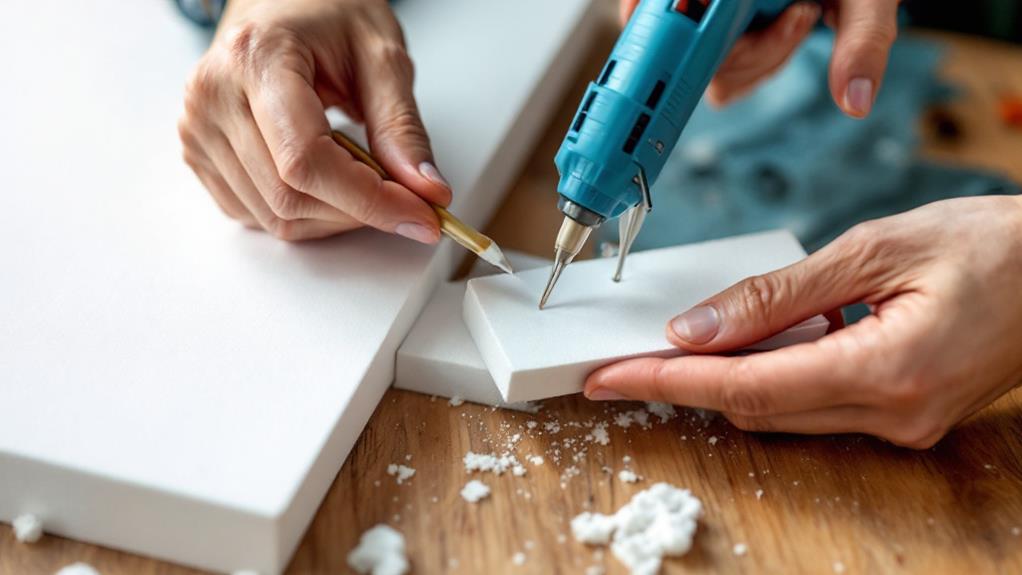
Alongside cleaners and protective gear, gather soft cleaning tools. A soft-bristled brush or sponge is ideal for gently scrubbing the Styrofoam without causing scratches. Avoid abrasive materials that could damage the surface. Finally, have some clean, dry cloths or towels ready for drying the Styrofoam after washing. With all these supplies, you're well-prepared to tackle the cleaning process effectively.
Preparing the Cleaning Solution
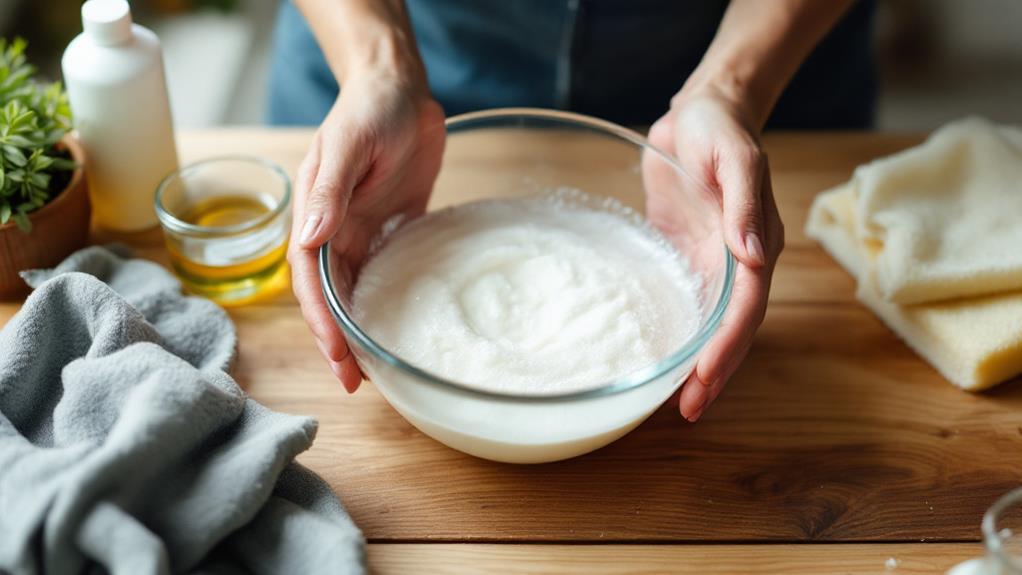
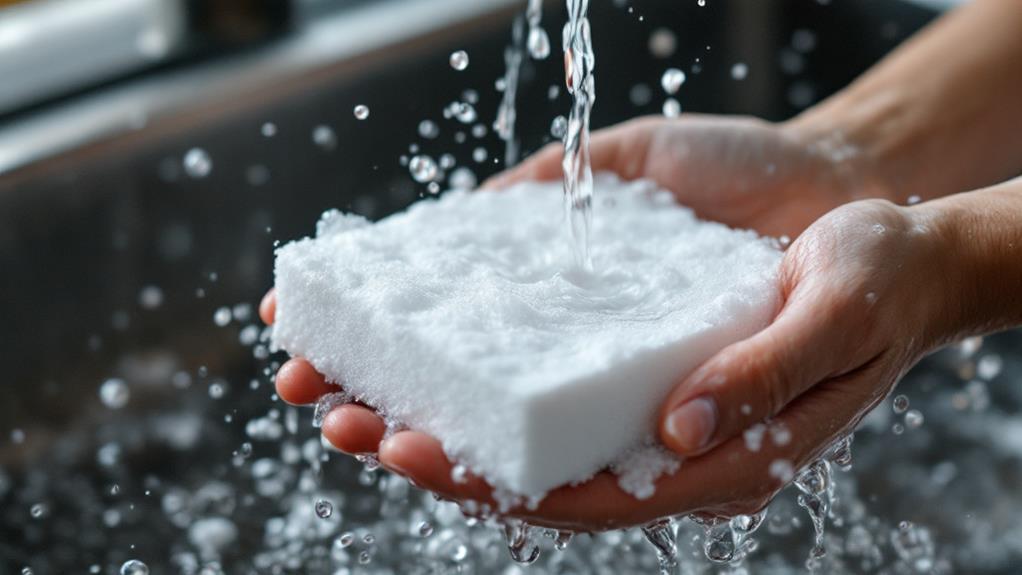
When preparing the cleaning solution for Styrofoam, focus on using gentle, eco-friendly ingredients that won't harm the material. Harsh chemicals can damage Styrofoam, so it's best to stick with mild cleaning agents. Start by using warm water as your base, which is generally safe and effective. For a gentle cleaning agent, consider mixing in a small amount of mild dish soap. Choose an eco-friendly option that's biodegradable and free from harsh chemicals. About a teaspoon of dish soap in a quart of warm water should suffice.
Additionally, the bacteria present in different substances, including food residues, can proliferate if not cleaned properly, leading to unpleasant odors or spoilage, much like how milk can turn sour. Another eco-friendly option is white vinegar, which serves as a natural disinfectant and deodorizer. Mix equal parts of vinegar and water to create a gentle solution. Vinegar's acidity helps break down dirt and grime without being too harsh on the Styrofoam.
If you prefer a natural alternative, baking soda is an excellent choice. Dissolve a few tablespoons of baking soda in warm water to form a mild abrasive cleaner. This is especially useful for tackling tougher stains without damaging the material. Remember, the goal is to keep the cleaning solution gentle to maintain the integrity of your Styrofoam while ensuring it's clean.
Removing Surface Dust
Starting with a gentle touch, you'll want to remove any loose surface dust from your Styrofoam item using a soft, dry cloth or a feather duster. This initial step in dust removal is crucial for maintaining the pristine look of your Styrofoam. By gently sweeping across the surface, you prevent any scratches that can occur from abrasive materials. Remember, Styrofoam is delicate, so keep your touch light and careful.
To guide you through this process, consider these emotional motivators:
- Pride: Keeping your Styrofoam items clean shows your attention to detail and care for your possessions.
- Satisfaction: Watching the dust disappear as you work is incredibly fulfilling.
- Relief: Knowing that you're preserving your item's longevity with proper surface care is comforting.
- Joy: A clean, dust-free Styrofoam item brings a sense of joy and accomplishment.
Use these emotions to fuel your dust removal task, ensuring your Styrofoam remains in excellent condition. Avoid using any cleaning agents or damp cloths at this stage, as they might cause damage if not handled carefully. Focus on being gentle and thorough, and you'll have a clean, beautiful Styrofoam item to admire.
Cleaning With a Soft Cloth
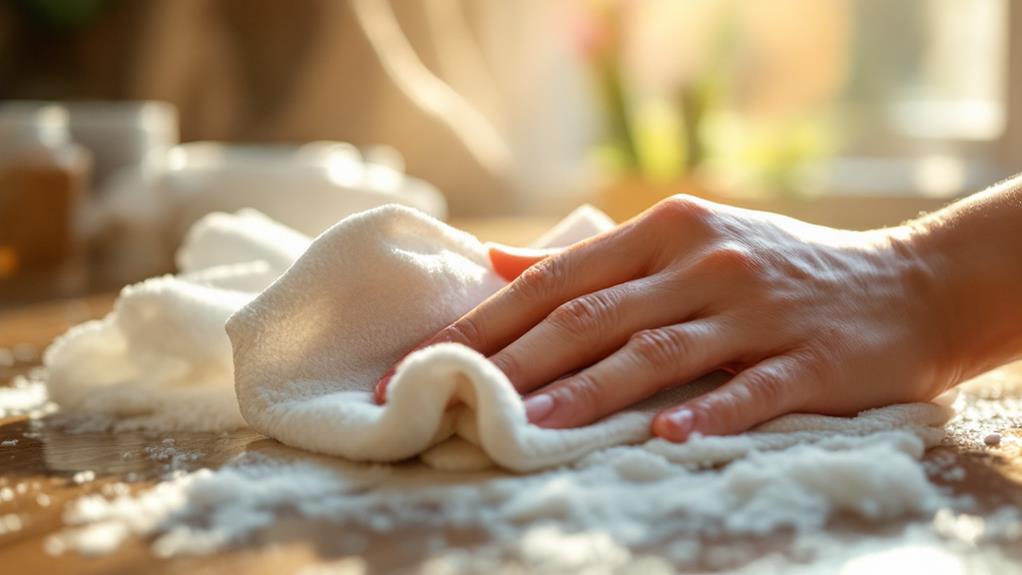
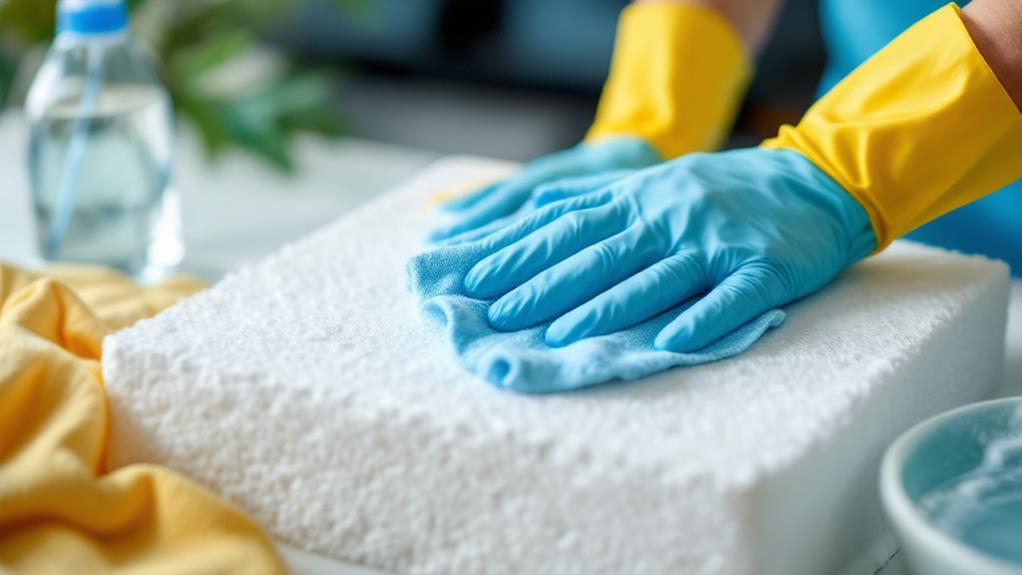
After you've successfully removed surface dust, it's time to focus on more thorough cleaning using a soft cloth. Start by selecting a clean, lint-free soft cloth to guarantee you don't leave any fibers behind. Dampen the cloth slightly with water—avoid soaking it, as excess moisture can damage Styrofoam. Gently wipe the surface, using smooth, circular motions. This cleaning technique helps maintain the integrity of the Styrofoam while effectively removing any lingering dirt or grime.
Pay attention to any crevices or textured areas, as these spots tend to trap more dirt. You can fold the cloth to use its edge for reaching tighter spaces. If water alone isn't enough, you can mix a small amount of mild dish soap with water to create a gentle cleaning solution. Soak your cloth in this soapy mixture, wring it out thoroughly, and continue wiping the Styrofoam. Remember, your goal is to clean without applying too much pressure, which could damage the material.
Once satisfied with the results, use a dry soft cloth to gently pat the Styrofoam, absorbing any remaining moisture. This guarantees your Styrofoam is left clean and undamaged.
Tackling Stubborn Stains
Though Styrofoam is generally easy to clean, stubborn stains can pose a challenge and require a bit more effort. You might encounter different stain types like ink, grease, or food coloring that cling to the surface. Don't worry; there are effective cleaning methods to tackle these pesky blemishes.
First, identify the stain types you're dealing with. Knowing what you're up against helps tailor your approach. Here's a quick guide to evoke some determination:
- Ink Stains: Use rubbing alcohol or nail polish remover. Dab a small amount onto a cotton ball and gently blot the stain. Be patient; it may take a few tries.
- Grease Stains: Mix dish soap with warm water. Apply the solution using a soft cloth and rub gently. The soap will break down the grease.
- Food Coloring Stains: Create a paste with baking soda and water. Apply it to the stain and let it sit for 15 minutes before wiping away.
- General Stains: White vinegar is your friend. Spray a bit onto the stain, wait a few minutes, and wipe with a clean cloth.
Stay persistent, and those stubborn stains won't stand a chance!
Rinsing the Styrofoam
Rinsing the Styrofoam is a crucial step to guarantee all cleaning agents and loosened debris are thoroughly removed. After tackling stubborn stains, you'll want to verify that no soap residue remains, which could affect the material's texture or appearance. Start by choosing the right rinsing methods suitable for your Styrofoam item. If it's small or lightweight, hold it under a gentle stream of lukewarm water. This rinsing technique helps flush away any remaining cleaner without damaging or breaking the foam's delicate surface.
For larger Styrofoam pieces, consider using a spray bottle filled with clean water. Mist the surface evenly, confirming that all areas touched by the cleaning agents are thoroughly rinsed. This method allows for a controlled rinse, minimizing the risk of soaking the Styrofoam.
Avoid using high-pressure water, as it can dent or tear the foam. Instead, opt for a soft cloth dampened with water to wipe down the surface if you're concerned about water damage. This technique is especially effective for intricate designs or delicate edges. By using these rinsing techniques, you'll verify your Styrofoam is clean and ready for its next use.
Drying Techniques
Once you've successfully rinsed your Styrofoam, it's time to focus on the drying techniques to guarantee your item stays in top condition. Proper drying guarantees that no moisture gets trapped, which could lead to damage or mold growth. Let's investigate some effective methods:
- Air Drying: Place your Styrofoam on a clean, dry surface and allow it to dry naturally. This method is gentle and prevents any heat-related damage. Make certain it's in a well-ventilated area, so air circulates freely.
- Towel Drying: Gently pat the Styrofoam with a soft, absorbent towel. Avoid rubbing vigorously, as this can cause abrasion. This method speeds up air drying and helps remove excess water.
- Fan Drying: Use a fan to circulate air around the Styrofoam. This accelerates the air drying process and is perfect for larger pieces. Ensure the fan is on a low setting to maintain the delicate structure.
- Heat Drying: Although not always recommended, you can use a hairdryer on a cool setting for quick drying. Keep it at a distance to prevent warping or melting.
These techniques will guarantee your Styrofoam is cared for with precision and attention, keeping it in pristine condition.
Avoiding Common Mistakes

Many people make mistakes when cleaning Styrofoam, but you can easily avoid them with a bit of care. One common pitfall is using harsh chemicals or abrasive tools, thinking they'll clean more effectively. In reality, these can damage the Styrofoam's delicate surface, causing it to crumble or warp. Instead, stick to mild soaps and soft cloths for cleaning.
Another cleaning myth you might encounter is the idea that soaking Styrofoam in water will remove stubborn stains. This isn't true and often leads to the material absorbing too much moisture, which can weaken its structure. Instead, use a damp cloth to gently dab at problem areas without saturating the foam.
You may also hear that heat can help dry or sterilize Styrofoam. This is another myth that could lead to disaster. Exposing Styrofoam to high temperatures can cause it to melt or deform, so it's best to keep it away from heat sources.
Maintaining Clean Styrofoam
Keeping Styrofoam clean involves regular maintenance and gentle care. You can extend its lifespan by routinely checking for dirt and stains. Use a soft cloth or sponge with mild soap and water to wipe it down. Avoid harsh chemicals that might degrade the material. When you maintain it properly, you not only preserve its appearance but also minimize the need for frequent styrofoam disposal, which contributes to environmental waste.
Here's how you can verify your Styrofoam stays in good shape:
- Clean promptly: Address spills and stains immediately to prevent them from setting in.
- Store wisely: Keep Styrofoam in a dry, cool place to prevent moisture buildup and mold growth.
- Inspect regularly: Look for signs of wear and tear; early detection can help prevent further damage.
- Consider alternatives: investigate eco-friendly alternatives like biodegradable materials, which are easier to maintain and dispose of responsibly.