How Do You Glue Polystyrene?
To glue polystyrene, start by choosing an adhesive that's safe for the material, like epoxy or a specialized polystyrene adhesive, avoiding solvent-based ones to prevent damage. Prep the polystyrene by cleaning it with a mild soap solution and sanding lightly with fine-grit sandpaper for improved adhesion. Apply the adhesive using fine-tipped applicators or spreaders, starting at one edge to avoid air pockets. Verify surfaces are pressed firmly together for a secure bond. Follow the manufacturer's instructions regarding application conditions. By addressing these steps, you'll guarantee a strong bond that maintains the integrity of your project. There's more to investigate beyond this.
Selecting the Right Adhesive
Choosing the right adhesive is crucial when working with polystyrene. You need to take into account the types of adhesives that are compatible with this material. Not all adhesives work well with polystyrene, as some can actually dissolve it. For instance, avoid using solvent-based adhesives, which can damage the foam. Instead, opt for polystyrene-safe options like epoxy, polyurethane glue, or specialized polystyrene adhesives. These types of adhesives provide strong bonds without harming the material. Moreover, using clean materials can improve your project's overall quality, much like how changing sheets regularly contributes to a healthier sleeping environment.
When selecting an adhesive, take safety precautions seriously. Always work in a well-ventilated area to avoid inhaling harmful fumes. Wear protective gloves and eyewear to protect your skin and eyes from any adhesive spills or splashes. Remember, certain adhesives might require specific application conditions, so read the manufacturer's instructions carefully before starting your project.
Also, evaluate the drying time and strength needed for your specific application. Some adhesives may set quickly, while others need more time to cure. Balancing these factors with your project's requirements guarantees a successful outcome. By carefully selecting the right adhesive and following safety precautions, you'll achieve a durable bond with your polystyrene materials.
Preparing the Polystyrene Surface
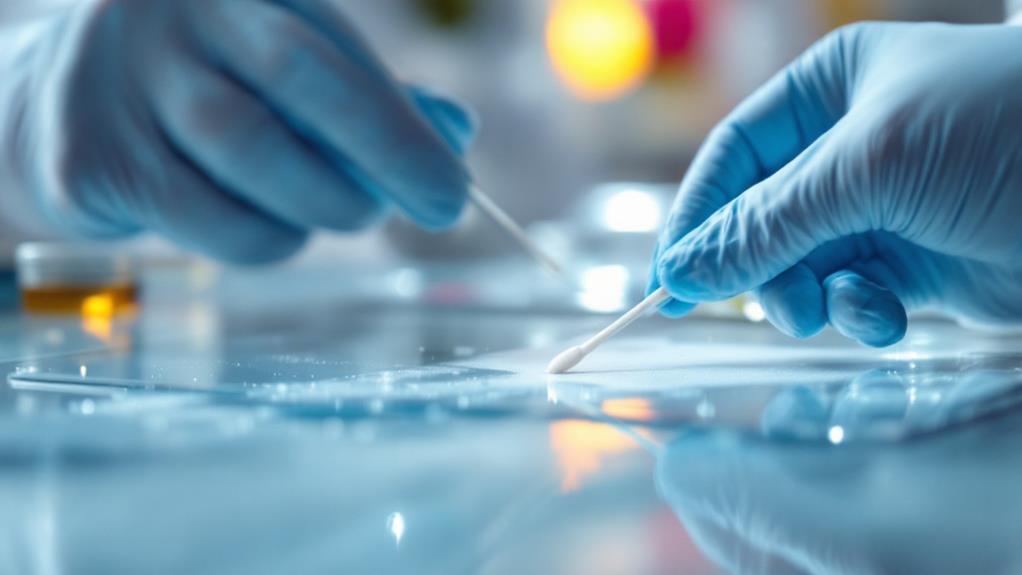
After selecting the ideal adhesive for your polystyrene project, it's crucial to turn your attention to preparing the surface. Proper preparation guarantees a strong bond and prevents any mishaps during the gluing process. Start by focusing on cleaning techniques. Dust, dirt, or oils can interfere with adhesion, so verify the surface is free from contaminants. Use a soft, lint-free cloth dampened with a mild soap solution to gently wipe the polystyrene. Avoid harsh chemicals that might damage it.
Next, consider the surface texture. Some polystyrene surfaces might be too smooth for effective adhesion. Here's what you can do:
- Lightly Sand the Surface: Use fine-grit sandpaper to create a slightly rough texture. This helps the adhesive grip better.
- Wipe Away Dust: After sanding, clean the surface again to remove any dust particles. A microfiber cloth works well for this.
- Dry Completely: Confirm the surface is completely dry before applying any adhesive. Moisture can compromise the bond.
Applying the Adhesive
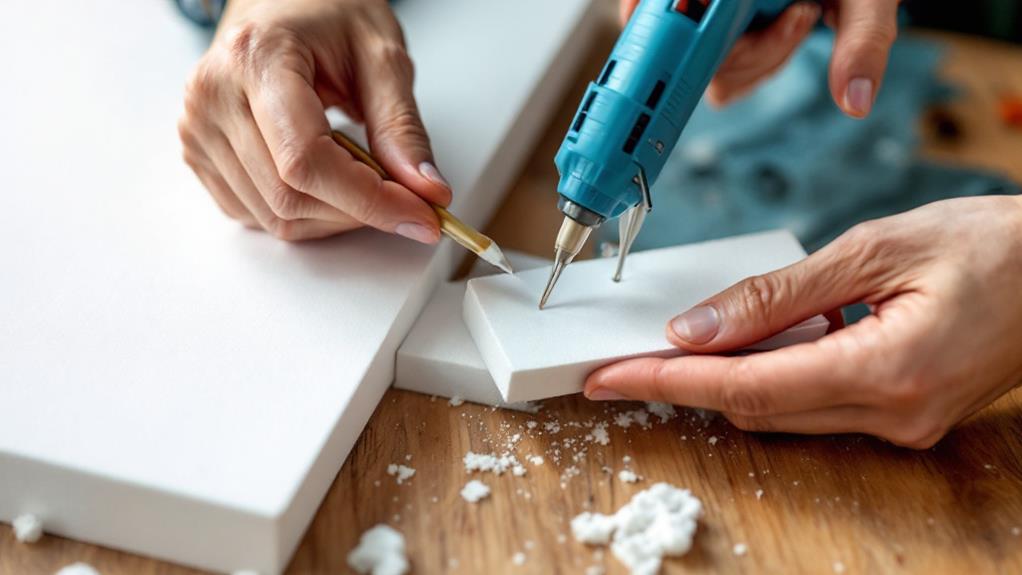
With your polystyrene surface prepped and ready, it's time to focus on the adhesive application. Initially, choose the right adhesive option for your project. Common choices include cyanoacrylate (super glue), epoxy, or specialized polystyrene adhesives. Each has its pros and cons; cyanoacrylate offers quick bonding but may not fill gaps, while epoxy provides a stronger, more flexible bond but requires mixing and longer curing times. Polystyrene is widely used in numerous applications, including food packaging and handling, which showcases its versatility and importance in everyday products.
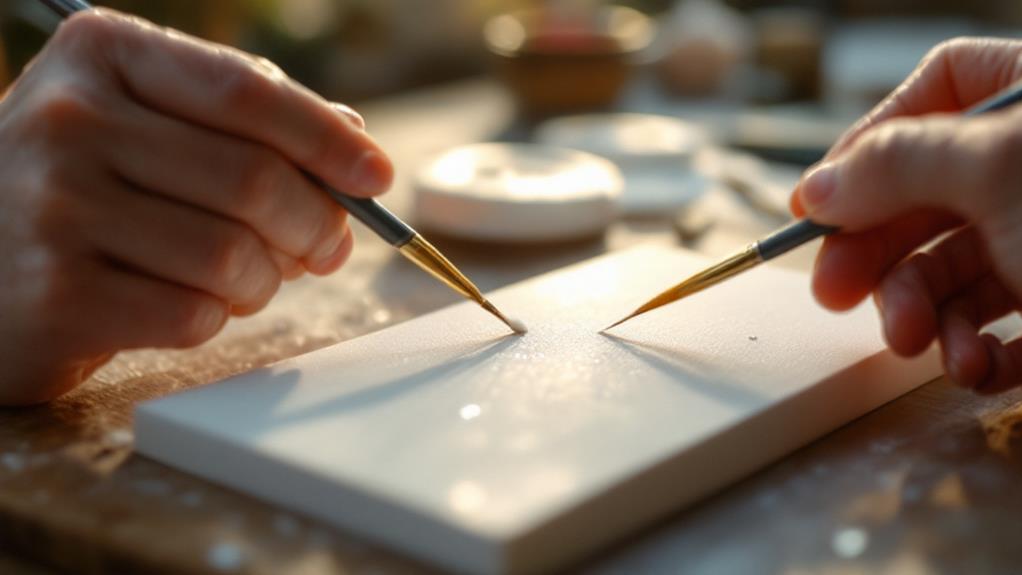
Once you've selected the adhesive, consider the application techniques. For small, precise areas, a fine-tipped applicator or brush is ideal. This allows you to apply the adhesive sparingly, preventing excess that could damage the polystyrene. For larger surfaces, a spatula or spreader guarantees an even layer, promoting uniform adhesion.
When applying, start at one edge and work your way across to minimize air pockets. Maintain consistent pressure for even distribution. Be mindful of the adhesive's open time—the period it remains workable before setting begins. Work swiftly but carefully within this window for peak results. Avoid rushing, as precision guarantees a neat, effective application. Remember to follow the adhesive's specific instructions for the best outcome on your polystyrene project.
Ensuring Proper Bonding
To guarantee proper bonding of your polystyrene project, you'll need to focus on several key factors. Initially, choose the right adhesive type. Not all adhesives work well with polystyrene, so it's crucial to select one specifically designed for this material. Look for solvent-based adhesives or specialized polystyrene glues, as these options offer strong bonding techniques. Second, prepare the surfaces properly. Clean the polystyrene to remove any dust or debris that might interfere with the adhesive bond. A clean surface guarantees better adhesion and a more durable connection.
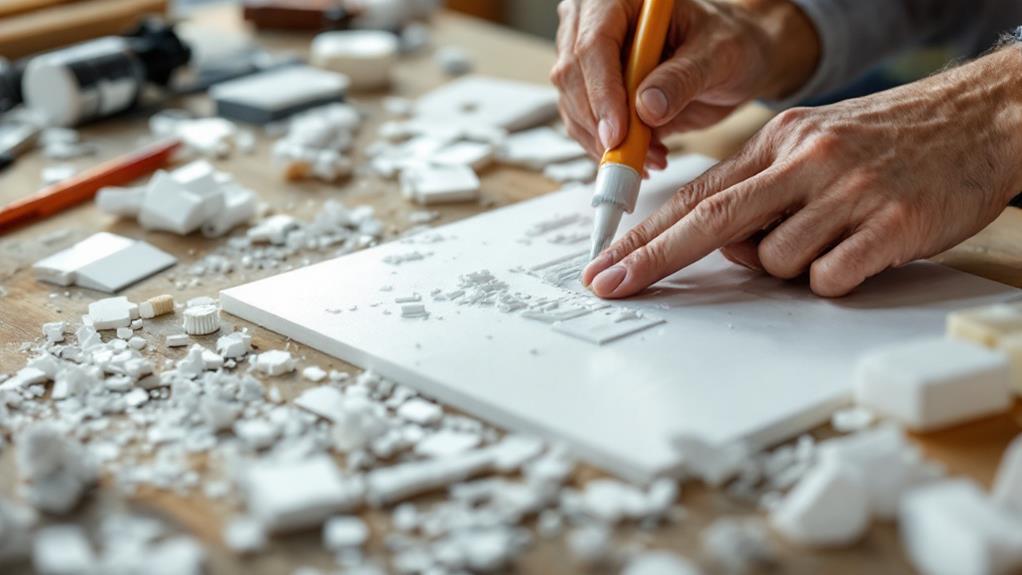
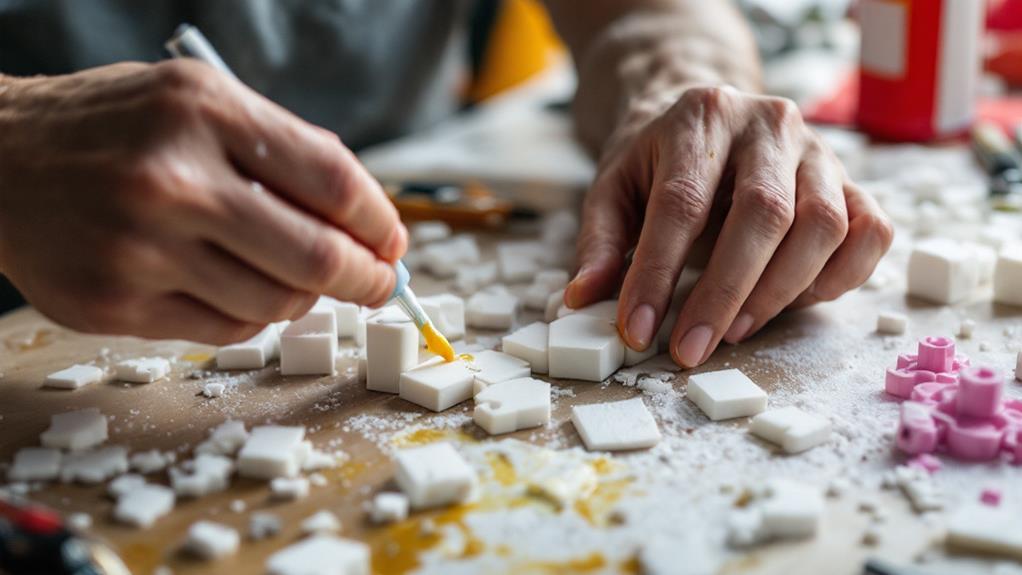
Once you've selected your adhesive and prepared your surfaces, it's time to apply the adhesive using effective bonding techniques. Here are three steps to improve your bonding success:
- Apply Evenly: Spread the adhesive evenly across the surfaces to guarantee consistent bonding. Uneven application can lead to weak spots.
- Use the Right Amount: Too much adhesive can cause the polystyrene to warp, while too little may not hold the pieces together. Aim for a thin, even layer.
- Press Firmly: After applying the adhesive, press the pieces together firmly for a few seconds. This guarantees the bond sets quickly and securely.
Troubleshooting Common Issues
When working with polystyrene, you might encounter some common issues that can affect the quality of your project. One frequent problem is using the wrong adhesive. Many people make the common mistake of selecting glue that contains solvents, which can dissolve polystyrene. To avoid this, choose solvent-free adhesives specifically designed for polystyrene. If you've already used the wrong glue and notice damage, consider alternative solutions like switching to a polystyrene-safe adhesive or using double-sided tape for less demanding applications.
Another issue is poor surface preparation. Dust and debris can prevent proper adhesion. Verify you clean the surfaces thoroughly and let them dry before applying glue. If you skipped this step, you might need to gently sand the surfaces and try again with a fresh application of adhesive.
Temperature and humidity levels can also impact adhesion. Cold or damp conditions can slow down the curing process. If you're working in such environments, try moving your project to a warmer, drier area or use a heat source, like a hairdryer, to speed up curing.