How Do You Glue Styrofoam?
To glue Styrofoam effectively, start by choosing a Styrofoam-safe adhesive, like foam spray adhesives or Styrofoam glue. These are less likely to damage the material and are better if they're water-based and low in volatile organic compounds. Clean the Styrofoam surface with a soft brush or compressed air to guarantee strong adhesion, but avoid water or harsh chemicals. Apply a thin layer of adhesive, then carefully align and press the pieces together. Use gentle pressure or clamps for larger pieces, and be patient with drying times for a solid bond. There's more to investigate about securing Styrofoam perfectly.
Choosing the Right Adhesive
Choosing the Right Adhesive
Selecting the correct adhesive is vital when working with Styrofoam. You want to guarantee a secure bond without damaging the material. The best adhesives for Styrofoam are usually those that are specifically designed for foam materials. Look for adhesives labeled as Styrofoam-safe, such as foam spray adhesives or Styrofoam glue. These are formulated to bond without causing the foam to dissolve or warp, which can happen with certain solvents or strong adhesives. Just as bees play a significant role in pollinating plants, making sure the right adhesive fosters a successful project. This is particularly significant since the absence of effective adhesives may lead to project failures, much like how the decline of bee populations impacts plant reproduction and ecosystems the significance of bees.
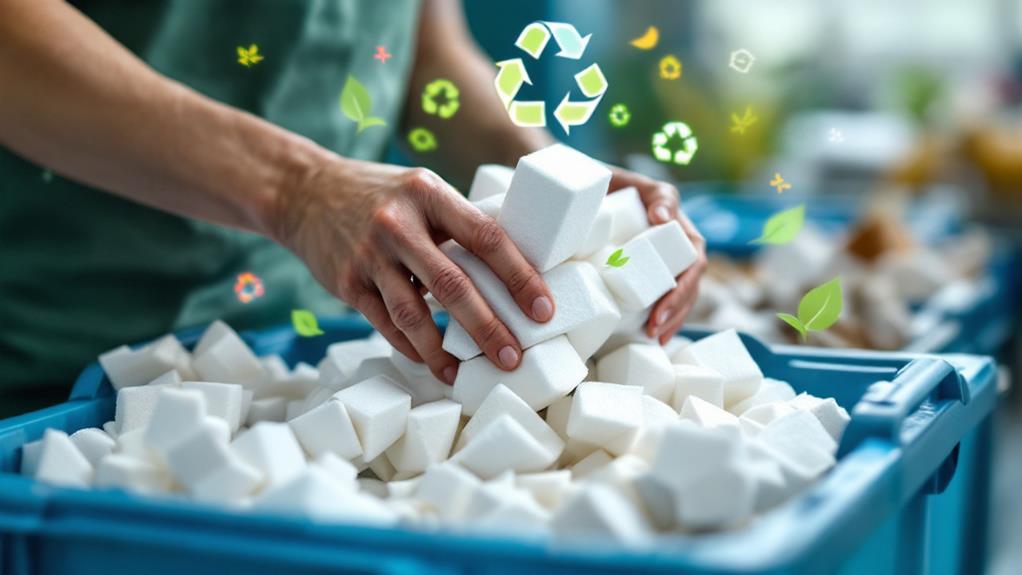
Environmental considerations play a considerable role in choosing the right adhesive. Some adhesives release volatile organic compounds (VOCs) that contribute to air pollution and can be harmful to your health. Opt for low-VOC or VOC-free adhesives to minimize your environmental impact and guarantee a safer working environment. Moreover, water-based adhesives are an eco-friendlier option compared to solvent-based ones.
When selecting an adhesive, also think about the specific requirements of your project. Are you working indoors or outdoors? Will the Styrofoam be exposed to moisture or varying temperatures? Each scenario may demand a different type of adhesive, so choose wisely to guarantee your project holds up under the intended conditions.
Preparing the Styrofoam Surface
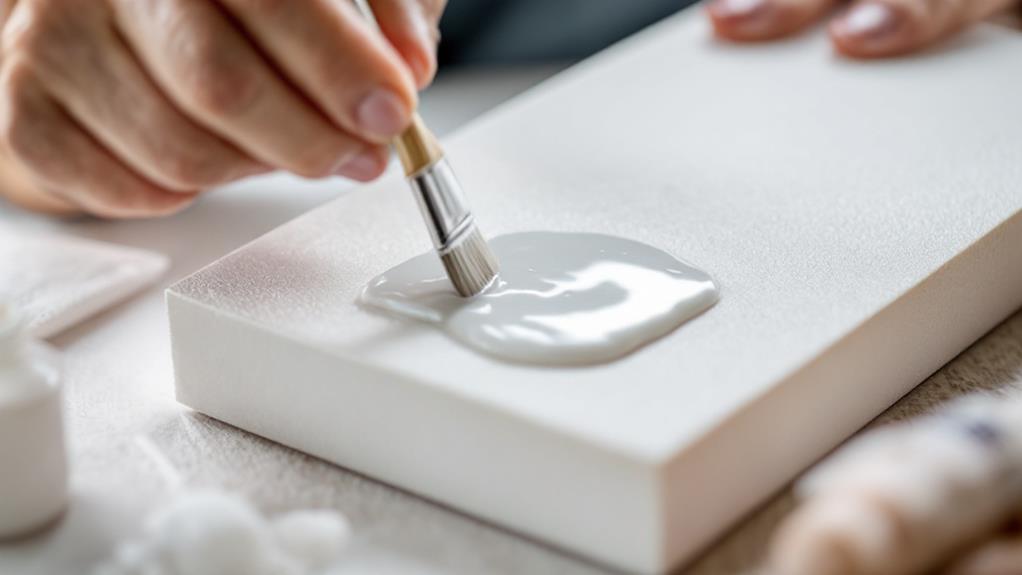
Before applying your chosen adhesive, make sure the Styrofoam surface is ready for bonding. Proper surface preparation is essential for achieving a strong, lasting hold. Begin by using effective cleaning techniques to remove any dust, dirt, or oils that might interfere with adhesion. Gently brush or blow away loose particles using a soft brush or compressed air. Avoid using water or harsh chemicals, as these can damage Styrofoam. Furthermore, ensuring a clean surface allows for better interaction between the adhesive and the material, similar to how fermentation results in soft and spongy bread by aiding yeast activity.
Once cleaned, inspect the surface for any irregularities or rough spots. A smooth, even surface allows for the best contact between the Styrofoam and the adhesive. If you find any raised bumps or uneven areas, lightly sand them with fine-grit sandpaper. Be gentle, as excessive pressure can deform the Styrofoam.
For improved bonding, you might consider slightly roughening the surface. This technique, known as keying, involves lightly sanding the Styrofoam to create tiny grooves that help the adhesive grip better. Just be cautious not to over-sand, which could weaken the material.
Applying the Adhesive Properly
In the context of applying adhesive to Styrofoam, selecting the appropriate method is vital for a strong bond. Initially, you need to choose the right adhesive type for your project, as not all adhesives work well with Styrofoam. Consider using foam-specific adhesives, such as spray adhesives, Styrofoam glue, or even certain types of hot glue designed for Styrofoam. These options provide a reliable bond without damaging the material.
Once you've got the right adhesive, focus on your application techniques. Start by applying a thin, even layer of adhesive to one of the surfaces. Guarantee complete coverage, but avoid over-application, which can result in a mess and slower drying times. If you're using a spray adhesive, maintain the recommended distance from the surface to guarantee even distribution.
Next, apply the adhesive to the other surface if the instructions call for it. Some adhesive types require application on both surfaces for the best adherence. Carefully align the pieces as you press them together, guaranteeing a tight fit without shifting. This step is vital for achieving a strong and durable bond. By paying attention to these details, you'll create a secure connection without compromising the Styrofoam.
Securing and Drying the Bond
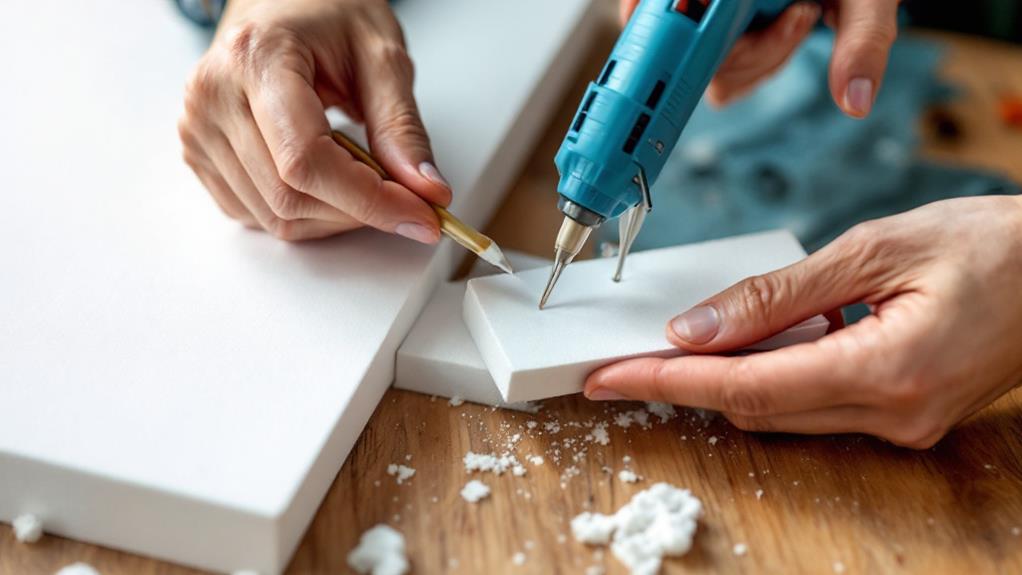
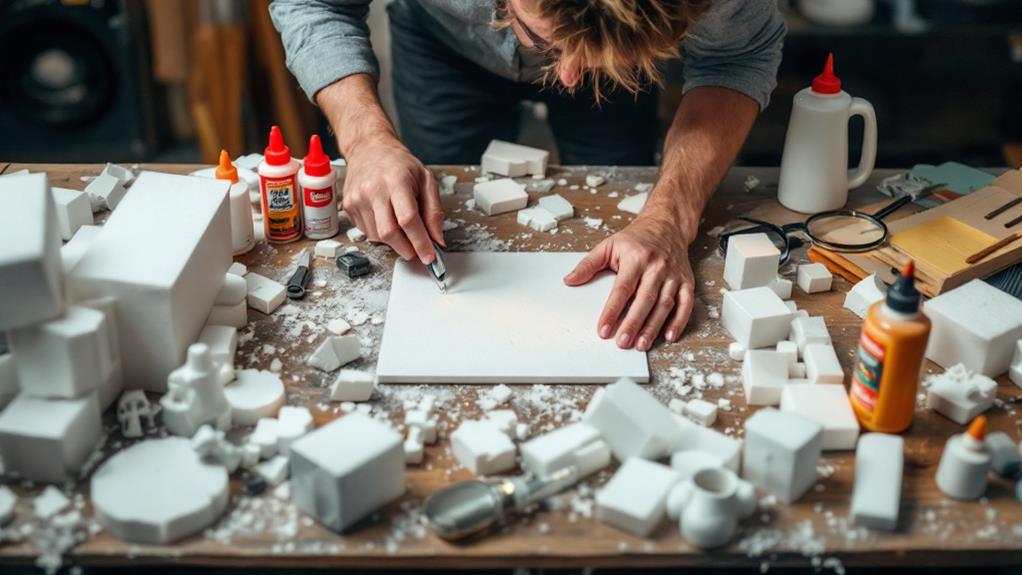
Once you've applied the adhesive, securing the bond is the next vital step. Start by carefully aligning the Styrofoam pieces, guaranteeing they fit snugly without gaps. Use gentle pressure to hold them together, promoting effective bonding techniques. If the pieces are large or prone to movement, consider using clamps or weights to maintain pressure during the bonding process. Be cautious not to exert too much force, as Styrofoam can easily deform or crack under excessive pressure.
After securing the pieces, focus on the drying time. This can vary depending on the type of adhesive used, so always refer to the manufacturer's instructions for guidance. Generally, you'll want to leave the Styrofoam undisturbed for at least a few hours to allow the bond to set. For stronger adhesives, a full 24-hour curing period may be necessary to guarantee the bond holds under stress.
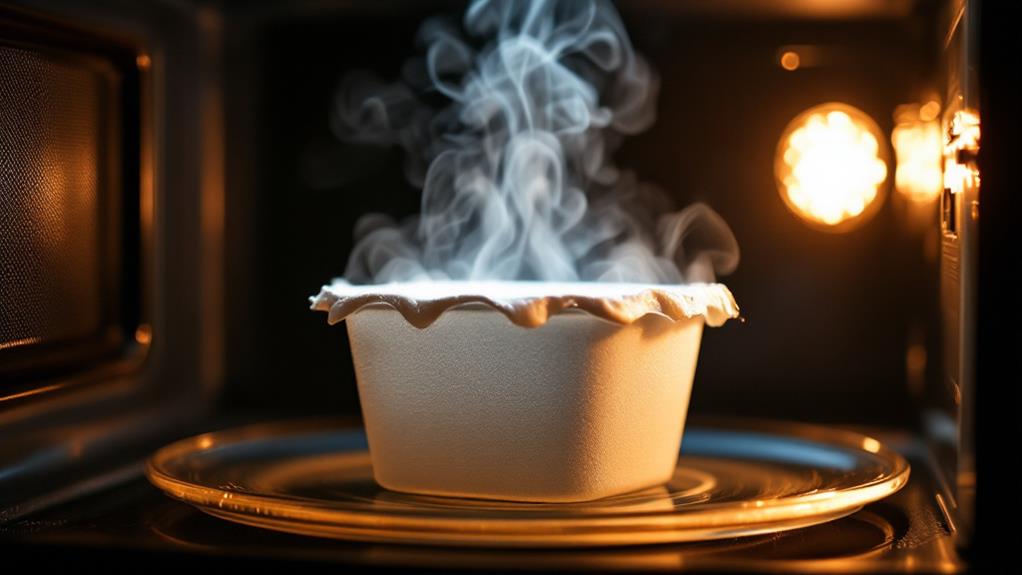
Avoid exposing the Styrofoam to moisture or extreme temperatures during drying, as these can interfere with the adhesive's effectiveness. By following these steps, you create a strong, lasting bond, vital for any Styrofoam project. Patience and the right technique make all the difference.
Troubleshooting Common Issues
Even with careful preparation and patience during the bonding process, challenges can arise when working with Styrofoam. One common issue is the failure of the bond to hold, which often stems from using an adhesive that's incompatible with Styrofoam. Always check the adhesive label for compatibility. If it doesn't explicitly mention Styrofoam, there's a chance it could dissolve or weaken the material.
Another bonding challenge is uneven surfaces. Styrofoam often has a rough texture, making it difficult for adhesives to achieve a solid grip. To improve adhesion, lightly sand the surface to create a more uniform texture. This simple step can greatly improve bonding strength.
Temperature and humidity also play vital roles in the bonding process. If the environment is too cold or too humid, the adhesive might not cure properly, leading to weak bonds. Make sure you're working in a stable environment and allow ample drying time.