How Do You Paint Styrofoam?
To paint Styrofoam, start by choosing water-based acrylic paint, which won't damage the material. Clean the surface with a soft brush to remove debris, and lightly sand if necessary for smoothness. Apply a water-based primer to guarantee paint adheres well. When painting, use a soft-bristled brush or Styrofoam-safe spray paint, keeping coats thin and even. Work in one direction for uniformity and let each layer dry completely before adding another. Finally, seal with a water-based polyurethane or acrylic sealer to protect your work and improve durability. There's more to uncover about achieving the best results with these tips.
Choosing the Right Paint
Regarding painting Styrofoam, selecting the right paint is crucial. You can't just grab any paint off the shelf because Styrofoam requires special consideration. Acrylic paint is a top choice for this material because it's water-based, which means it won't damage or dissolve the Styrofoam. It adheres well to the surface and provides a lively, lasting finish. Moreover, just like certain types of potatoes can pose risks when not prepared properly, using the wrong paint can harm your project. green potatoes and toxicity Plus, acrylic paint comes in a wide range of colors, giving you plenty of flexibility to achieve the look you want.
Another option is spray paint, but you must be cautious. Not all spray paints are suitable for Styrofoam. Many contain solvents that can eat away at the foam, leaving a messy, pitted surface. If you decide to go with spray paint, look for those specifically labeled as "Styrofoam-safe" or "water-based." These safer options provide a smooth finish without harming the material.
Preparing the Styrofoam Surface
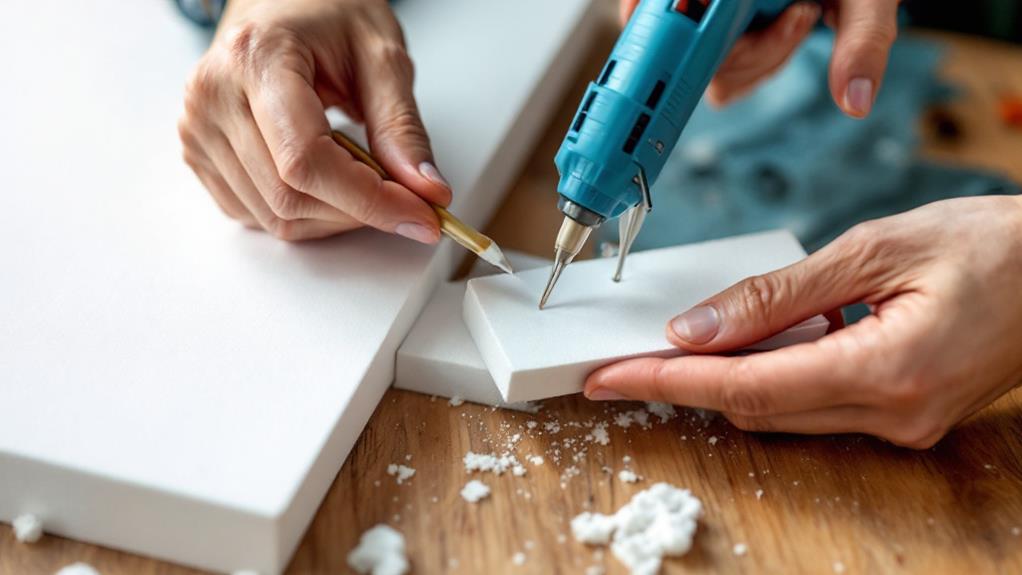
After choosing the right paint, it's important to properly prepare your Styrofoam surface to guarantee the best results. Start by inspecting the Styrofoam for any dirt or debris. Cleaning methods vary, but a gentle approach works best. Use a soft brush or a lint-free cloth to remove loose particles. Avoid using water, as it can damage the Styrofoam. Instead, opt for a dry cleaning method to protect the material's integrity. Proper surface preparation is vital, much like how yeast plays a significant role in the fermentation process for bread-making.
Next, examine the surface textures of your Styrofoam. If you notice any uneven areas or bumps, gently sand them down using fine-grit sandpaper. This step guarantees a smoother finish, allowing the paint to adhere better. Be careful not to apply too much pressure, as Styrofoam is delicate and can easily crumble.
Once you've cleaned and smoothed the surface, consider how the surface texture might affect the painting process. If your Styrofoam has intricate details or a porous texture, these areas might require special attention during painting. Preparing the surface thoroughly helps make certain that the paint covers evenly and provides a professional-looking finish. Taking the time to prepare your Styrofoam correctly sets the stage for a successful painting project.
Applying a Primer
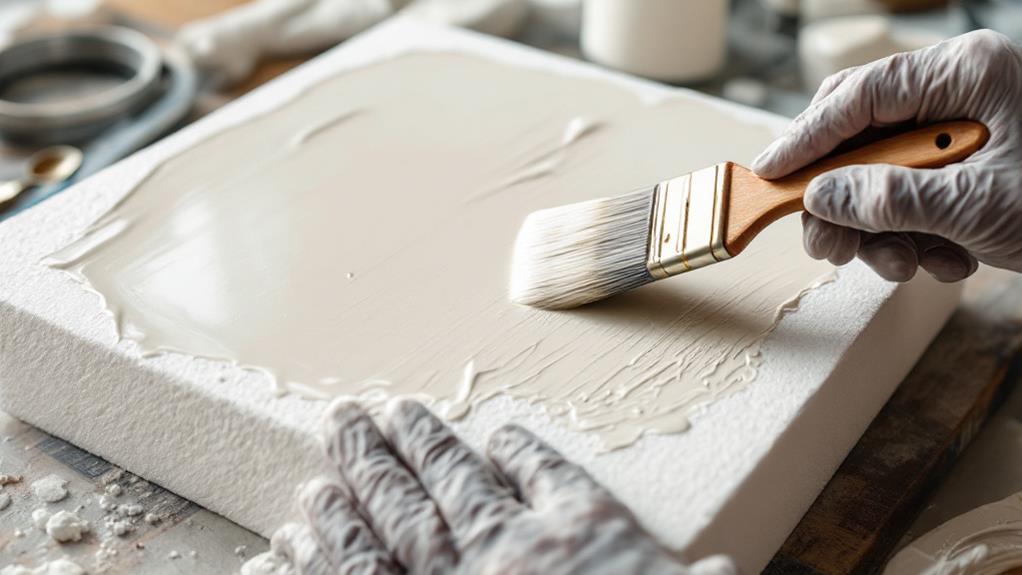
Priming your Styrofoam is a vital step to guarantee the paint adheres well and lasts longer. Different styrofoam types may require specific primer options, so it's important to choose the right one. Start by understanding your styrofoam type. For example, expanded polystyrene (EPS) and extruded polystyrene (XPS) are common. EPS is more porous, while XPS is denser and smooth.
Once you know your styrofoam type, consider your primer options. Water-based primers are generally safe for all styrofoam types, as they won't dissolve the material. Look for a primer labeled specifically for styrofoam or one that's multipurpose, suitable for plastic and foam surfaces. Avoid solvent-based primers, as they can damage the styrofoam.
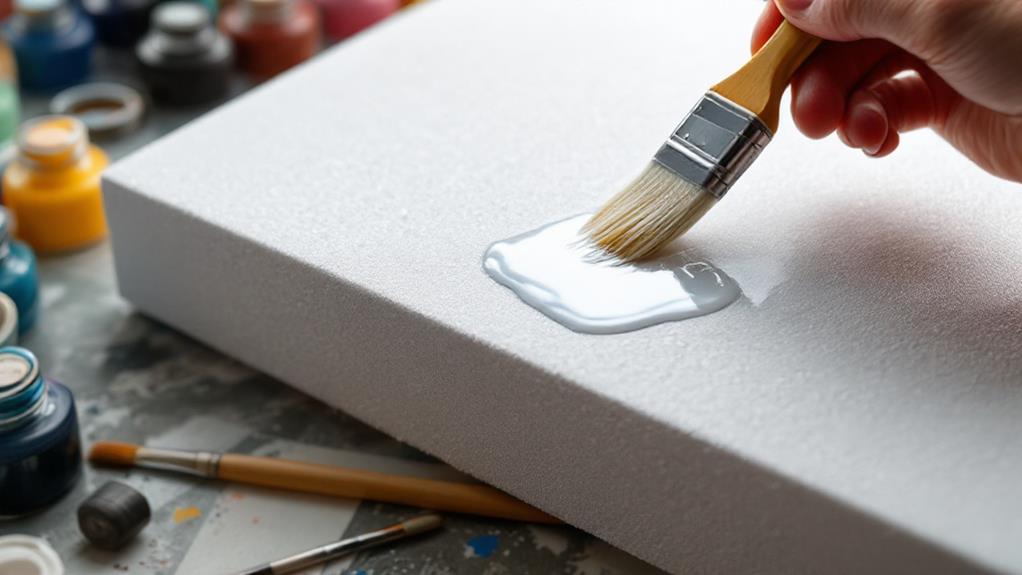
Before application, shake the primer can well and verify the styrofoam surface is clean and dry. Use a brush or spray to apply a thin, even layer of primer. If using a brush, long, smooth strokes work best. Allow the primer to dry completely as per the manufacturer's instructions. This usually takes about an hour, but it could be longer depending on the product. Proper priming guarantees your paint job remains lively and durable.
Painting Techniques
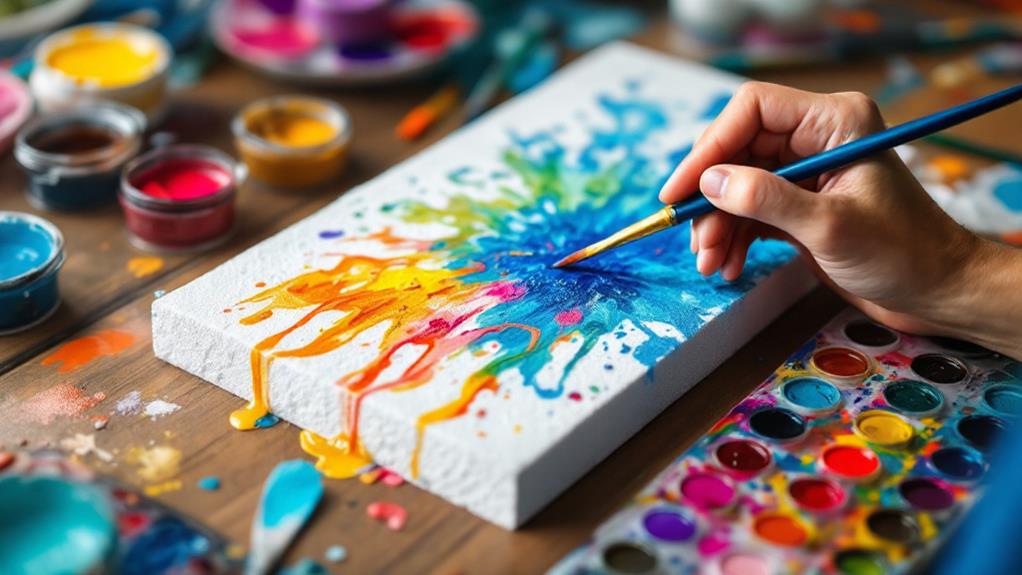
Once your primer is fully dry, it's time to engage yourself in the actual painting process. You'll find that using the right painting techniques can make all the difference in achieving a smooth, lively finish on Styrofoam. Spray techniques are a popular choice because they provide an even coat without the risk of visible brush strokes. When using spray paint, hold the can about 8-12 inches away and apply in short, sweeping motions. This helps avoid over-saturating any area, which can cause drips or damage the foam.
If you prefer more control, brush methods might be your best bet. Use a soft-bristled brush to gently apply acrylic paint in thin layers. Start with a small amount of paint, working in one direction to maintain uniformity. You might need several coats to achieve the desired color, so be patient and allow each layer to dry completely before applying the next.
Sealing and Protecting
Why is sealing your painted Styrofoam so crucial? It improves the styrofoam durability, guarantees longevity, and reduces the environmental impact by preserving your artwork. When you seal your painted Styrofoam, you protect it from moisture, scratches, and the elements. This prolongs the life of your projects, making them more sustainable and reducing waste. But how exactly do you go about sealing and protecting your Styrofoam?
Here's a simple guide:
- Choose the Right Sealant: Opt for a water-based polyurethane or acrylic sealer. These products are safe for Styrofoam and won't cause it to melt or deteriorate. They also provide a clear finish that improves the colors of your paint.
- Apply Even Coats: Use a brush or spray to apply the sealant evenly. Multiple thin layers are better than one thick coat. Allow each layer to dry completely before adding the next to guarantee ideal protection.
- Consider the Environment: Use eco-friendly sealants whenever possible to minimize the environmental impact. Check for products labeled as non-toxic and biodegradable to keep your project earth-friendly.