How to Get Rid of Scratches on Plastic
To remove scratches from plastic, start by evaluating the depth. Light scratches don't catch your fingernail, while deeper ones do. Clean the area with mild soap and water, then dry it thoroughly. For minor scratches, use toothpaste or a mixture of baking soda and water applied with a soft cloth in circular motions. For deeper marks, wet sanding with fine-grit sandpaper (800 to 1000 grit) can be effective. Apply gentle heat with a hair dryer for further smoothing. Finish by polishing with a microfiber cloth and quality plastic polish to restore shine. With these steps in mind, more methods await exploration.
Assess the Scratch Severity
When you initially spot a scratch on plastic, it's essential to determine how deep or severe it is. Not all scratches are created equal, and knowing the scratch types will guide you in choosing the right approach to fix it. Start by gently running your fingernail across the scratch. If your nail catches, it's likely a deeper gouge. Light scratches, on the other hand, won't catch your nail and are usually just surface-level blemishes.
Understanding the material's properties can also improve your assessment, as different types of plastics respond distinctly to scratches, much like how yeast affects the texture of bread during fermentation yeast activity's influence. To effectively assess the severity, use evaluation methods that involve both visual inspection and tactile feedback. Look at the scratch under good lighting. This helps you see if it's a superficial mark or something more significant. You might also want to clean the area initially, as dust and dirt can make scratches appear worse than they actually are.
Consider the texture and color of the plastic. Transparent plastics, like those on headlights or screens, may show scratches more prominently than opaque ones. With these evaluation methods, you can categorize the scratch types, allowing you to plan the most suitable repair strategy. Remember, proper assessment is key to successful scratch removal.
Gather Necessary Materials
To effectively tackle plastic scratches, you'll need to gather the right materials beforehand. Start by identifying the type of plastic you're dealing with, as different plastics may require slightly varied approaches. For general scratch repair, having a few crucial items on hand will make the process smoother and more efficient. Understanding how glue functions can also be beneficial, as it highlights the importance of achieving close molecular contact between surfaces for effective adhesion.
First, get some fine-grit sandpaper. Opt for a range between 800 to 2000 grit, as these will help you gently smooth out the scratch without causing further damage. Sandpaper is critical for the initial phase of scratch repair, especially for deeper marks. Next, acquire a plastic polish or a scratch remover specifically designed for plastic maintenance. These products help restore the plastic's original sheen and mask minor imperfections.
You'll also need a microfiber cloth. It's best for applying polish and buffing the surface without introducing new scratches. A clean, soft cloth guarantees you're working with a lint-free material that won't leave residues. Ultimately, consider grabbing a small container of warm water and a mild detergent if you need to rinse off any debris or residues during the scratch repair process. With these materials ready, you're well-prepared to start restoring your plastic surfaces.
Clean the Plastic Surface
Before you begin the scratch repair process, make sure the plastic surface is thoroughly clean. This step is essential for achieving the best results, as dirt and grime can interfere with the repair. Start by identifying the plastic type; some plastics are more delicate and require gentler cleaning techniques. For most plastic types, you can use mild dish soap mixed with warm water. Dip a soft cloth or sponge into the soapy water and gently wipe the surface, ensuring you remove all dust and debris.
Pay attention to corners and crevices where dirt tends to accumulate. If you're dealing with tougher grime, consider using a plastic-safe cleaner. Avoid harsh chemicals, as they can damage the plastic. After cleaning, rinse the surface with clean water to remove any soap residue. Dry the plastic with a lint-free cloth to avoid leaving behind any fibers.
Use a Mild Abrasive
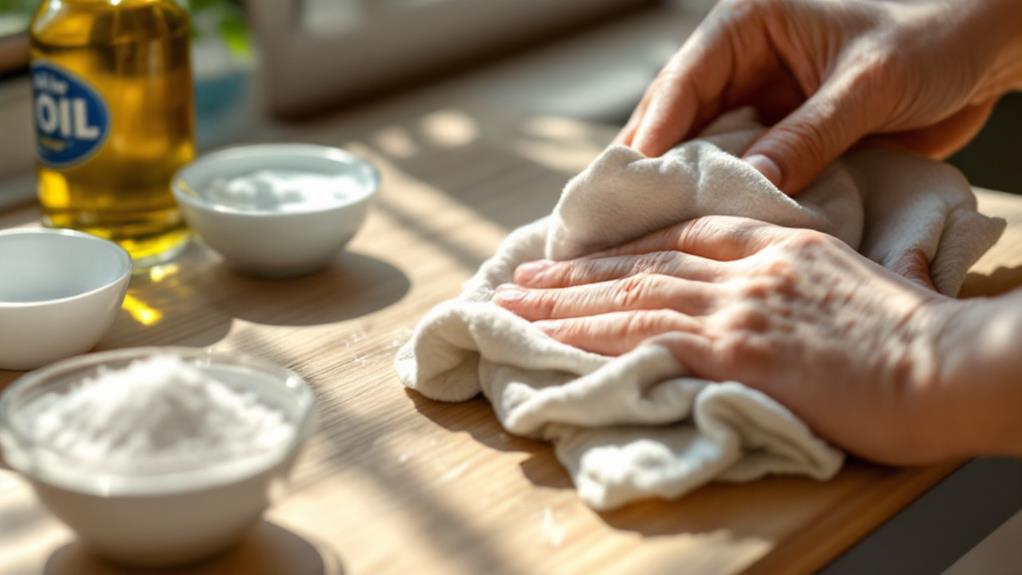
A mild abrasive can work wonders in diminishing scratches on plastic surfaces. Start by choosing the right abrasive compounds, like toothpaste or baking soda mixed with water, which are gentle yet effective. These compounds help eliminate minor scratches without damaging the plastic. Apply the compound to a soft, clean cloth and gently rub it onto the scratched area using circular motions. This method helps evenly distribute the abrasive and smooth out the scratch.
Next, consider sanding techniques for more pronounced scratches. Use fine-grit sandpaper, around 800 to 1000 grit, to lightly sand the scratched area. Make sure the sandpaper is wet to prevent further damage to the plastic surface. Gently sand in a circular motion, applying minimal pressure to avoid creating new scratches. After sanding, wipe the area clean with a damp cloth to remove any residue.
Once you've sanded the scratch, reapply the abrasive compound to polish the surface. This will help restore the plastic's original shine and blend the treated area with the rest of the surface. With patience and the right approach, you can effectively minimize scratches and improve the appearance of your plastic items.
Apply Heat for Deeper Scratches

For deeper scratches on plastic, applying heat can be an effective solution. Heat application helps by softening the plastic, allowing it to fill in the scratch and restore the surface. You'll need to be careful, though, as too much heat can warp or damage the plastic.
To start, gather a few basic tools. A standard hair dryer or a heat gun works well for this task. Before you begin, make sure the plastic surface is clean and free of debris. Hold the hair dryer or heat gun a few inches away from the scratch, and apply heat evenly. Move the heat source back and forth across the scratch for consistent results.
Remember these key points:
- Use low to moderate heat: High heat can cause more damage, so it's better to start low and increase if necessary.
- Keep the tool moving: Holding the heat in one spot might deform the plastic, so keep the motion steady.
- Monitor the surface: Watch the plastic closely to see when it begins to soften and fill the scratch.
Once the scratch repair process is complete, allow the plastic to cool naturally. Your patience will pay off with a smoother surface.
Polish and Protect the Surface
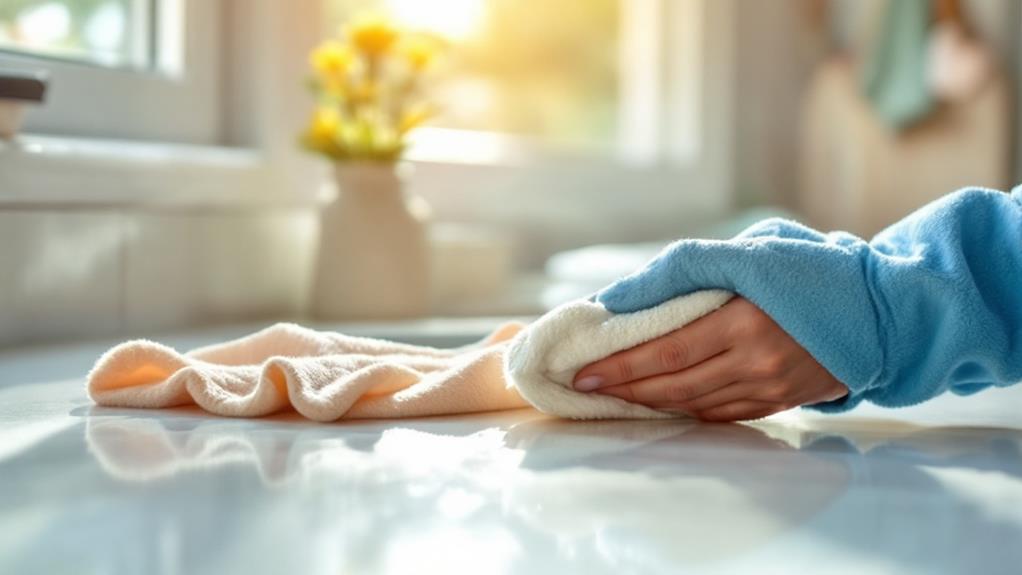
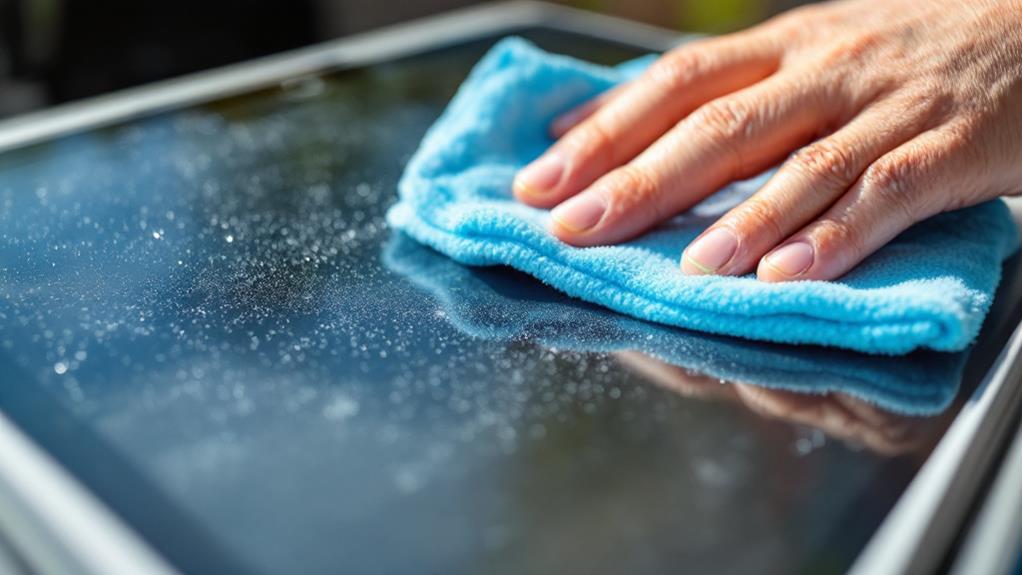
With the scratch repair done, it's time to focus on polishing and protecting the plastic surface. Start by selecting a high-quality plastic polish. Apply a small amount to a clean microfiber cloth, then gently rub it over the plastic in circular motions. This action will smooth out any remaining imperfections and restore the surface's shine. Make sure to cover the entire area evenly to achieve a uniform look.
Once the surface shines to your satisfaction, it's essential to protect it against future scratches. Consider using plastic coatings designed specifically for scratch prevention. These coatings create a protective barrier on the plastic, reducing the chances of new scratches forming. Apply the coating according to the manufacturer's instructions, ensuring it covers the entire surface.
Regular maintenance is key to keeping your plastic looking new. Clean the surface with a mild soap solution and a soft cloth, avoiding abrasive materials that could cause damage. Reapply the plastic coating as needed to maintain its protective qualities. By investing a little time in polishing and applying protective coatings, you'll extend the life of your plastic items and keep them looking pristine.