How to Remove Super Glue From Plastic Without Damage
To safely remove super glue from plastic without causing damage, initially identify the type of plastic you're dealing with. Gather necessary materials like acetone or a specialized adhesive remover, soft cloths, and a plastic scraper. Test a small, hidden area with the solvent to check for any adverse reactions. Gently dab acetone on the glue with a cloth, allowing it to penetrate briefly. Use a plastic scraper to lift the softened glue carefully. Clean the surface with mild soap and water, and dry it thoroughly. For a polished finish, apply a plastic-safe polish. There's more to investigate on perfecting this technique.
Assess the Situation
Before diving into removal methods, it's vital to evaluate the situation carefully. Start by examining the type of plastic you're dealing with, as this greatly impacts your approach. Different plastic types, such as acrylic, polyethylene, or PVC, react differently to super glue and removal agents. Knowing the specific plastic type will help you choose a method that won't cause damage. Moreover, understanding that adequate sleep, like the consistent quality needed for ideal function, can improve your focus and problem-solving skills during this process is critical ideal sleep duration.
Consider the super glue properties, which are designed for strong, rapid bonding. Super glue, or cyanoacrylate, forms a robust connection almost instantly upon contact with moisture. This makes it tricky to remove, especially from porous or textured surfaces. Understanding these properties will guide you in selecting the most effective and safe removal technique.
Next, evaluate the extent and location of the glue spill. Is it a small drop or a large smear? Is it on a visible part of the object or a hidden area? The size and visibility will influence if a gentle or more aggressive method is appropriate. By evaluating these factors, you're better equipped to proceed without causing further damage to your plastic item, ensuring a successful glue removal process.
Gather Necessary Materials
Having assessed the situation and understood the specifics of your glue problem, it's time to gather the materials you'll need for the removal process. Start by identifying the plastic type you're dealing with, as different plastics react distinctly to solvents and tools. Knowing if you're working with a rigid plastic or a softer variant like polyethylene will help you choose the right materials for the task. It's vital to confirm that the solvent you select will not interfere with the structural integrity of the plastic, much like how yeast must be handled carefully to guarantee proper fermentation in baking yeast activity influences texture.
To effectively counteract the adhesive properties of super glue, you'll need a solvent like acetone or a specialized adhesive remover. Acetone is generally safe for hard plastics but can damage softer plastic types, so make certain to check compatibility. It's wise to have a few clean, soft cloths or cotton swabs on hand for applying the solvent without scratching the plastic surface.
Consider having a plastic scraper or an old credit card nearby to gently lift the glue without damaging the underlying material. Avoid using metal tools that might scratch or gouge the plastic. At last, have some soap and water or a gentle cleaning solution ready to wash away any residue once the glue is removed. By gathering these materials, you're well-prepared to tackle the task efficiently.
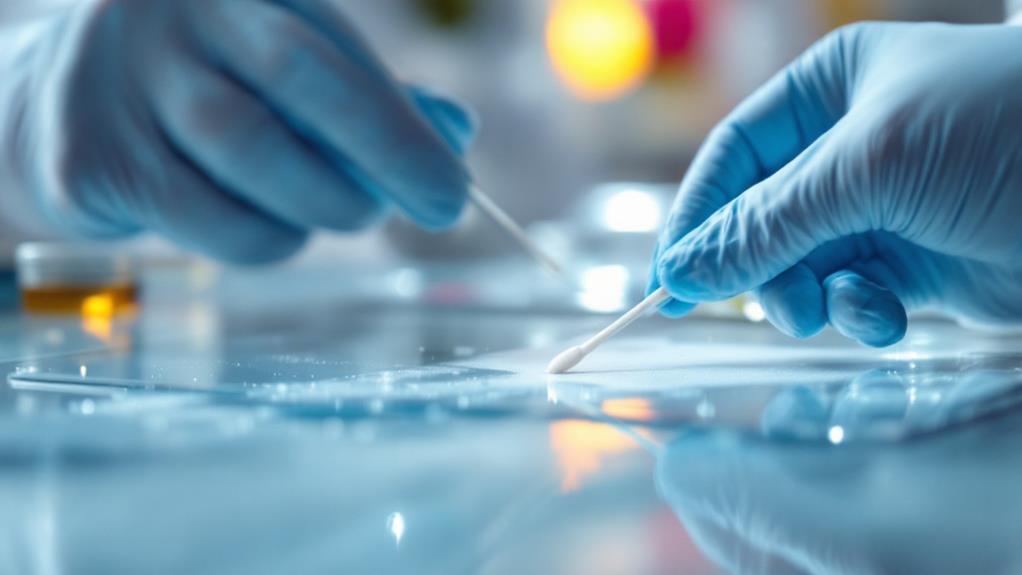
Test on Small Area
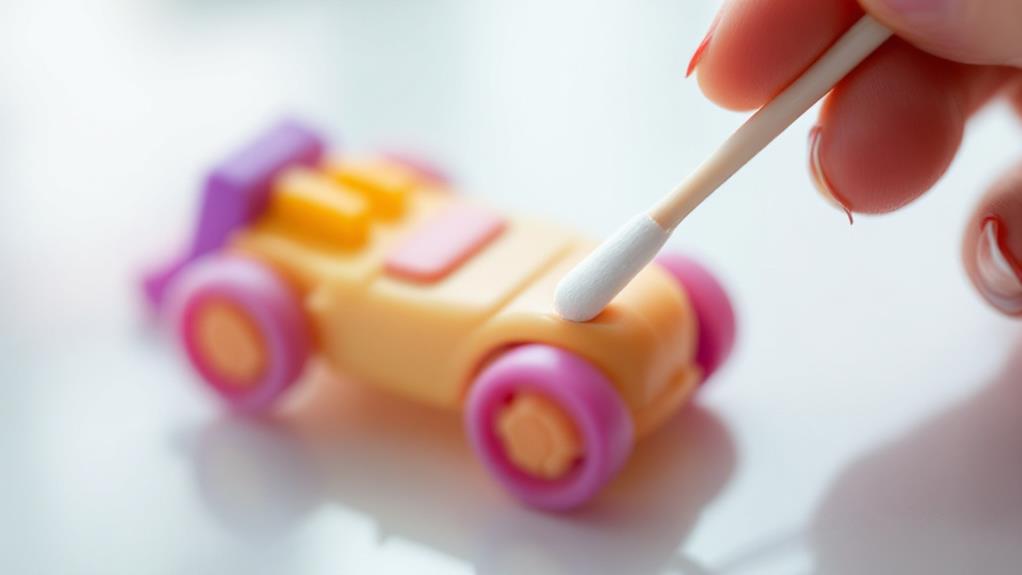
Testing on a small area is an important step to guarantee you don't damage the plastic while removing the super glue. Before diving into the full removal process, take a moment to conduct a few test methods on an inconspicuous spot. This approach guarantees that the method you're considering won't harm the surface. Start by identifying a small area on the item that won't be easily visible. It's vital to be patient and thorough here, as rushing could lead to unwanted damage.
Once you've selected your test spot, apply a tiny amount of the chosen removal solution or technique. Use just enough to monitor how the plastic reacts. Wait a few minutes and then gently wipe or dab the area to see if there's any discoloration, warping, or other adverse reactions. If the plastic remains intact and unblemished, it's a good indication that you can proceed with confidence on the more visible sections.
Apply Removal Techniques
Once you're ready to tackle the super glue, gather your materials—acetone or nail polish remover, a soft cloth, and a plastic scraper. Begin by dipping a corner of the cloth into the acetone, one of the most effective chemical solvents for loosening super glue bonds. Gently dab it onto the affected area, allowing the solvent to penetrate the glue. Make sure not to let it sit too long, as prolonged exposure can damage the plastic.
After a minute or so, gently use the plastic scraper to lift the softened glue. Avoid using metal tools, as they might scratch the surface. If you find the glue still stubborn, reapply acetone and wait a bit longer. Don't rush; patience is key to preventing damage.
If chemical solvents aren't your preferred choice, consider adhesive alternatives like a mixture of baking soda and water. Apply the paste to the glue, letting it sit briefly. Then, scrape gently. This method is less harsh on plastics but may require repeated applications.
Clean and Polish Surface
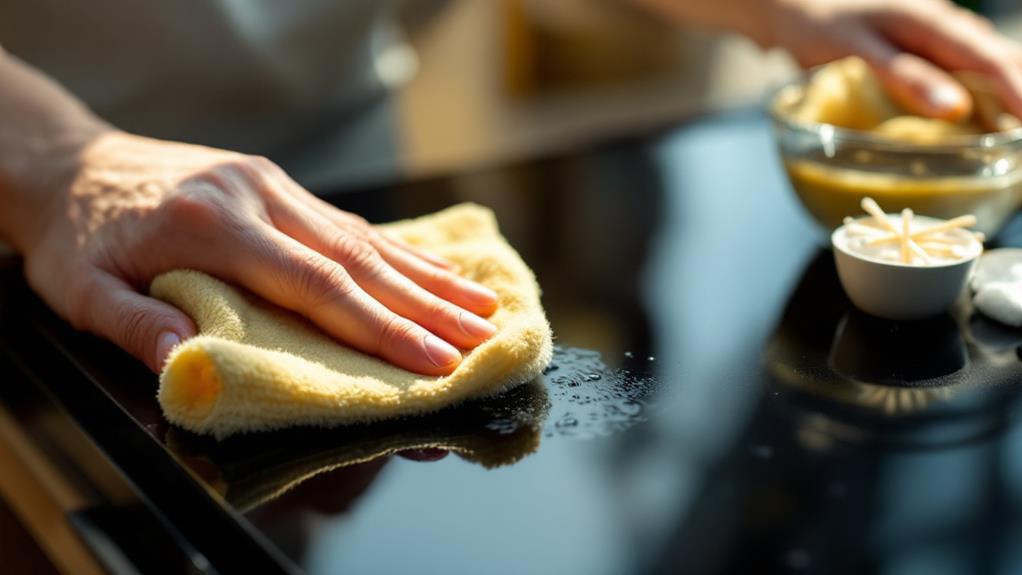
With the glue successfully removed, it's time to clean and polish the plastic surface to restore its original luster. Start by selecting mild cleaning products that won't harm the plastic. A gentle dish soap mixed with warm water is a great option. Dip a soft cloth or sponge into the soapy solution, and gently wipe the surface. Be thorough but gentle to avoid scratches. Rinse the area with clean water and dry it with a lint-free cloth to guarantee no residue remains.
Once the surface is clean, focus on polishing it to bring back its shine. Choose a plastic-safe polish or a bit of olive oil for a natural approach. Apply a small amount to a clean, soft cloth and buff the surface in circular motions. This step not only improves the appearance but also adds a layer of surface protection, helping to keep the plastic looking good longer.