Best Methods to Stick Thermocol to Thermocol
To effectively stick thermocol to thermocol, start by choosing the right adhesive. Foam glue is excellent for strong bonds, while water-based adhesives work well for lighter tasks. Avoid solvent-based ones as they can damage the material. Clean and dry the surfaces thoroughly before applying a thin, even layer of adhesive. Use gentle pressure to press the pieces together securely. Low-temperature hot glue guns are handy for quick fixes but aren't ideal for heavy-duty applications. Use spray adhesives for covering large areas fast. Prepare to master the art of thermocol bonding with more detailed techniques and tips on the way.
Choosing the Right Adhesive
Choosing the right adhesive for sticking thermocol is vital to guarantee a strong bond and prevent damage. When selecting an adhesive, you need to take into account the different adhesive types available and their bond strength. Not all adhesives are suitable for thermocol, as some might dissolve or weaken the material. For instance, solvent-based adhesives can damage thermocol, so it's important to avoid them.
Water-based adhesives are one of the best options. They're gentle on thermocol and provide decent bond strength. They're easy to use and clean up, making them a popular choice for crafts and small projects. Another effective option is epoxy adhesive. Epoxies offer excellent bond strength and are ideal for situations where you need a durable and long-lasting bond. They work well for both small and large surfaces but require mixing before use.
For a quick and straightforward application, think about using a spray adhesive. Spray adhesives provide an even layer and can cover large areas efficiently. They offer good bond strength and dry quickly, making them perfect for projects where time is a factor. Choosing the right adhesive guarantees your thermocol remains intact and secure.
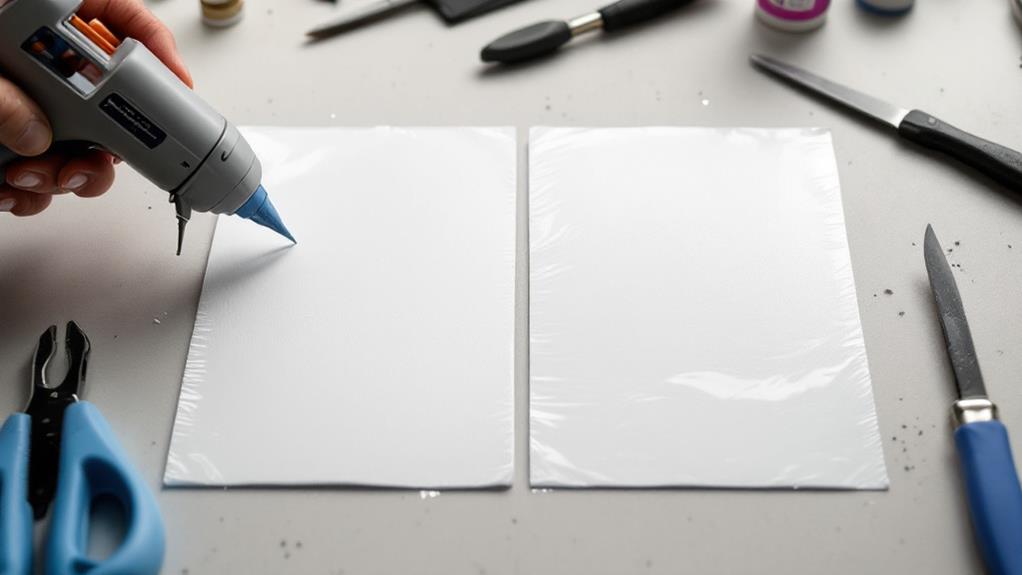
Using Hot Glue Guns
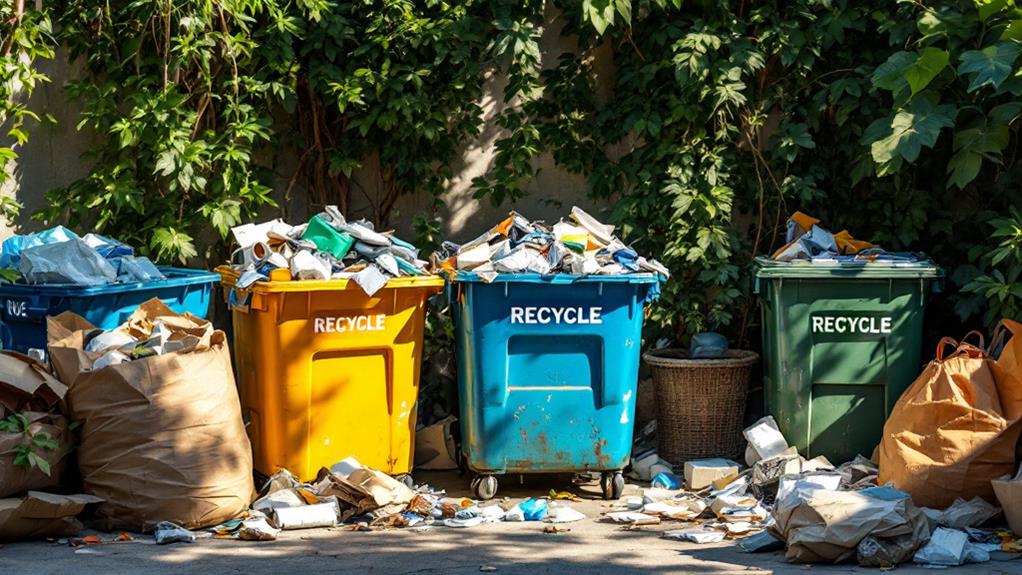
Although hot glue guns might not be the primary choice for adhering thermocol, they offer a quick and efficient solution for many projects. When you're working on thermocol projects, speed and convenience can be essential, especially considering that plastics account for significant waste in our environment. Hot glue dries quickly, allowing you to move on to the next step without waiting for long curing times. This is particularly useful for smaller projects or when you're in a hurry.
To start, verify your hot glue gun is set to a low temperature setting. High heat can melt or deform thermocol, compromising your project. Once the glue is ready, apply it evenly to one surface of the thermocol. Press the pieces together firmly but gently, guaranteeing a secure bond. Be cautious, as hot glue can still be hot enough to cause discomfort or burns.
Hot glue works best for lightweight thermocol pieces and temporary bonds. If your project involves intricate shapes or delicate details, a hot glue gun can provide the precision you need. Remember, though, that this method might not be suitable for heavy-duty or outdoor thermocol projects, as the bond can weaken over time or with exposure to moisture. Always consider the specific requirements of your project before choosing this method.
Applying Foam Glue
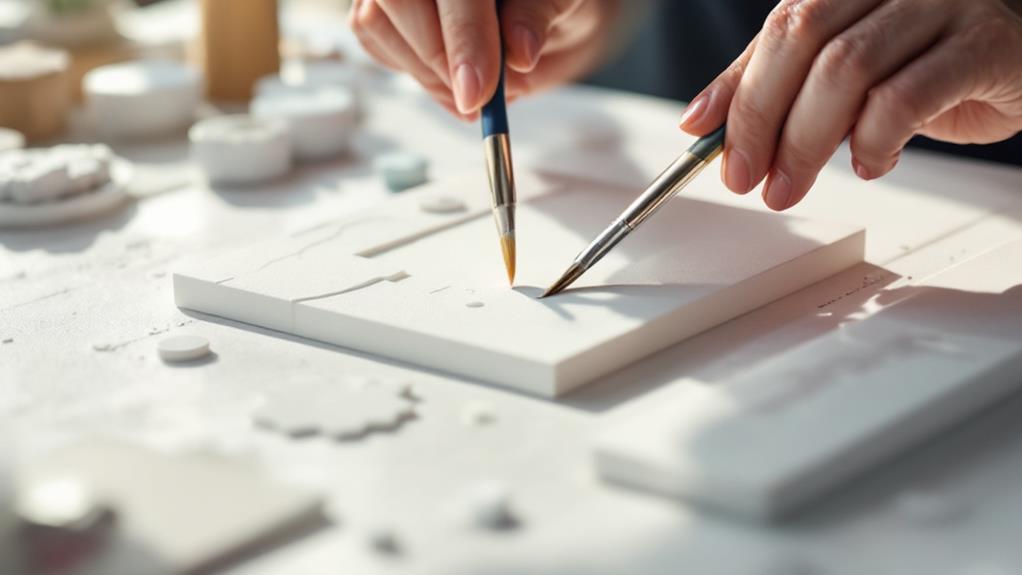
When hot glue isn't quite the right fit for your thermocol project, foam glue offers an excellent alternative. It's specially formulated to bond porous materials like thermocol, providing a secure, lasting hold. The foam glue properties guarantee it seeps into the material's surface, creating a tight bond without melting or damaging your thermocol pieces. This is essential because effective bonding requires not just pressure but also molecular interaction to guarantee close contact between the surfaces.
To apply foam glue, initially verify your thermocol surfaces are clean and dry. Cut or puncture the glue nozzle for precision application. Apply a thin, even layer of glue to one of the surfaces you wish to join. Avoid over-application, as this can lead to longer drying times and potential mess. Once applied, press the two pieces of thermocol together firmly and hold for a few seconds to guarantee initial adhesion.
One of the remarkable foam glue properties is its flexibility, which helps absorb any stress or movement between the joined pieces. However, patience is key when working with foam glue — its drying time can vary. Typically, expect a drying time of a few hours to guarantee a strong bond, though some glues may require up to 24 hours for full curing.
Utilizing Double-Sided Tape
For a hassle-free method of joining thermocol, double-sided tape is a quick and convenient option. It offers several advantages that make it a preferred choice for many DIY enthusiasts. One of the primary double sided tape benefits is its ease of use; you won't need any special equipment or skills to apply it effectively. Plus, it provides a clean, mess-free solution without waiting for drying times.
When you're ready to apply the tape, follow these tape application techniques to guarantee ideal adhesion:
- Surface Preparation: Clean the thermocol surfaces to remove any dust or debris for better stickiness.
- Tape Selection: Choose a tape specifically designed for use with foam or thermocol for the best results.
- Cutting the Tape: Measure and cut the tape to the required length, guaranteeing it covers the areas needing bonding.
- Proper Alignment: Align the pieces carefully before pressing them together to avoid misalignment.
- Firm Pressure: Apply firm pressure along the tape's length to guarantee a secure bond.
Spray Adhesive Techniques
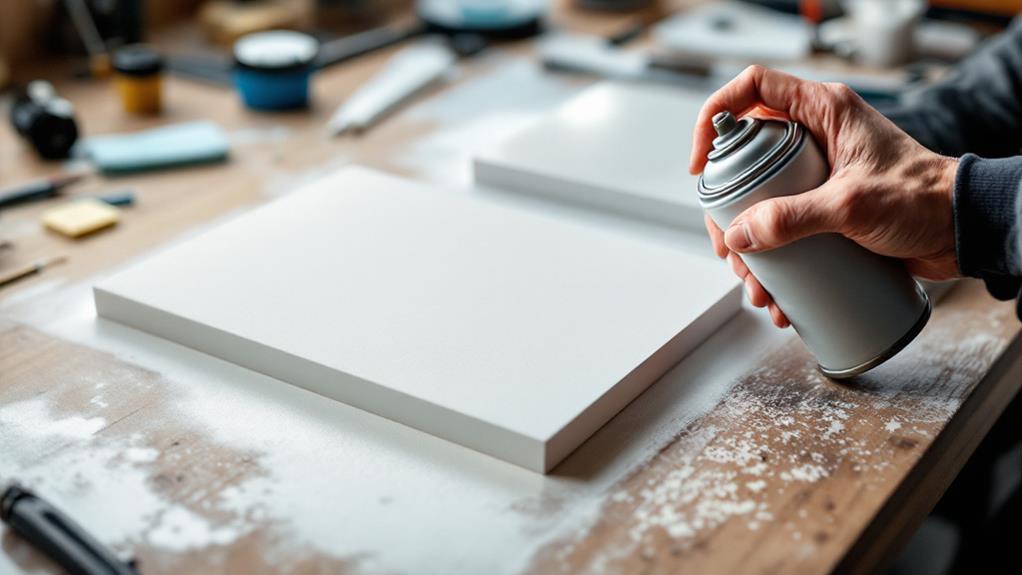
In an instant, spray adhesive techniques offer a reliable way to bond thermocol surfaces with ease. When you're looking to attach thermocol pieces, a spray adhesive is both effective and straightforward. Initially, shake the adhesive canister well, guaranteeing even distribution of the adhesive. Then, use spray nozzle techniques to apply a thin, even coat over the entire surface. Keep the can at a steady distance from the surface, usually around 6 to 8 inches, to guarantee a smooth application without clumping.
Pay close attention to adhesive drying times, as they can vary depending on the brand and environmental conditions. Typically, you'll want to let the adhesive sit until it's tacky but not fully dry, which usually takes a few minutes. This tacky stage is perfect for creating a strong bond. Press the thermocol pieces together firmly, making sure they align properly, as the bond strengthens quickly.
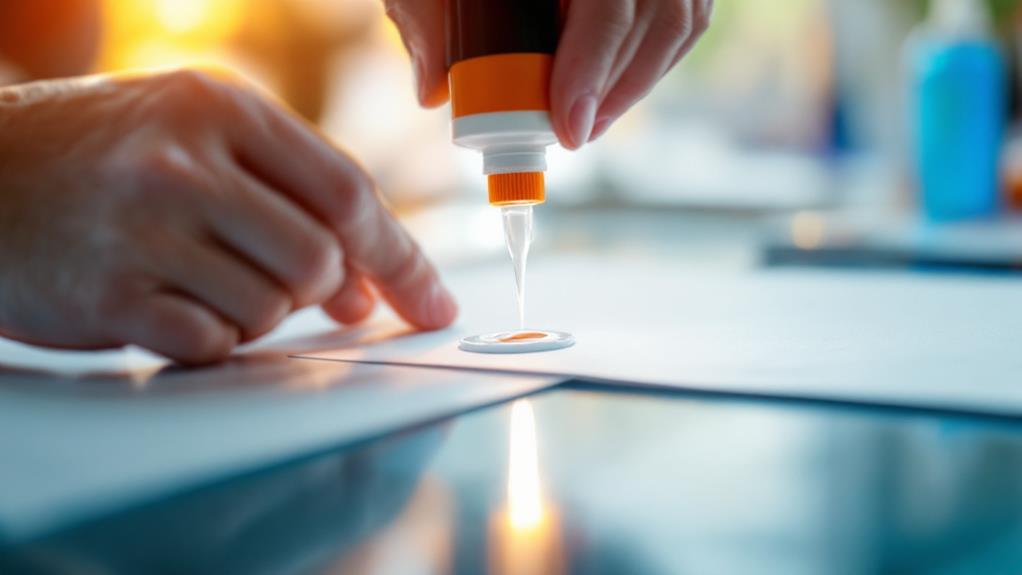
Epoxy Glue Application
Epoxy glue stands out as a robust option for bonding thermocol, providing a strong and durable hold. When you're ready to use epoxy glue, consider the different epoxy types available. Each type varies in its application, flexibility, and curing time. Start by selecting an epoxy that aligns with your specific project needs. Prepare the surfaces by cleaning them thoroughly to guarantee ideal adhesion.
Mix the epoxy components according to the instructions. Remember, precise mixing is key to achieving the desired bond strength. Once mixed, apply a thin layer onto one of the thermocol surfaces. Press the two pieces together firmly, guaranteeing even distribution of the adhesive.
To achieve the best results, keep the following tips in mind:
- Choose the right epoxy type: Different projects may require different epoxies.
- Pay attention to curing time: Epoxies can take a few minutes to several hours to cure.
- Work in a well-ventilated area: This guarantees safety and helps with curing.
- Use clamps if necessary: They can help maintain pressure while curing.
- Avoid skin contact: Wear gloves to prevent irritation.
Following these steps guarantees a secure and lasting bond for your thermocol projects.
Craft Glue Options
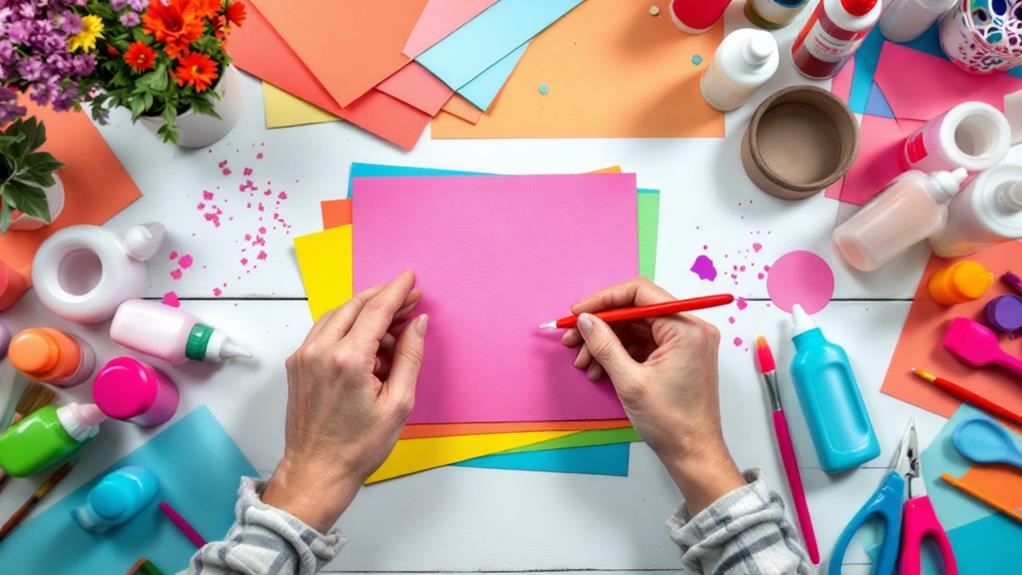
When working with thermocol, craft glue offers a versatile and user-friendly option, especially for lightweight projects or when ease of use is a priority. Craft glue types, such as PVA glue, foam glue, or even glue sticks, can effectively bond thermocol pieces without requiring special equipment or extensive drying times. These adhesives are generally non-toxic and easy to clean, making them ideal for craft enthusiasts of all generations.
To get the best results, consider the specific craft glue types available. PVA glue is a popular choice due to its affordability and ease of use. It works well for projects where a strong but flexible bond is needed. Foam glue, on the other hand, is specially formulated for foam materials like thermocol, providing a robust and lasting hold. Glue sticks are great for small, quick fixes and are easy to control during application.
Mastering glue application techniques improves the effectiveness of your project. Apply a thin, even layer of glue for best bonding. Press the thermocol pieces together gently but firmly, and allow sufficient drying time to guarantee a strong connection. With these tips in mind, your thermocol projects will come together seamlessly.
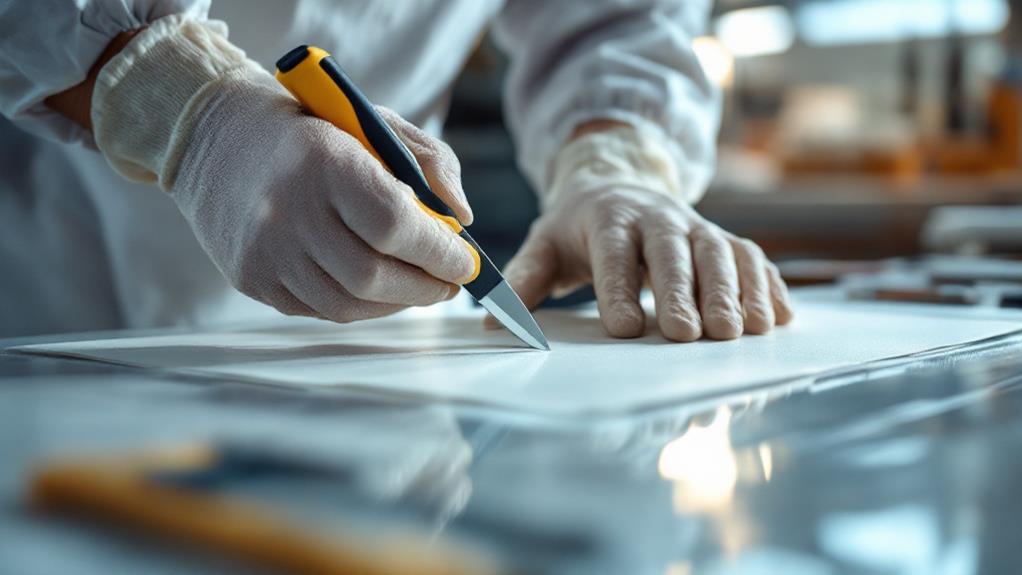
Preparing the Surfaces
Properly preparing the surfaces is crucial for guaranteeing strong bonds with thermocol. Before you start, take a moment to focus on cleaning surfaces thoroughly. Any dust, grease, or grime can weaken the bond, so it's significant to address these issues initially. Surface preparation begins with gathering the right materials and following simple steps to get the best results.
Here's a checklist to guide you through the preparation process:
- Gather Materials: You'll need a soft cloth, mild soap, and water for cleaning. Having these on hand will streamline your process.
- Clean the Surfaces: Use a damp cloth with mild soap to wipe down the thermocol. Avoid soaking it as excessive moisture can damage the material.
- Dry Thoroughly: Verify the surfaces are completely dry before moving forward. Moisture left on the thermocol can affect adhesive performance.
- Inspect for Damage: Check for any cracks or dents. These imperfections can impact how well the thermocol sticks together.
- Sand if Necessary: For surfaces that need a little more grip, gently sand them with fine-grit sandpaper. This increases the adhesive's ability to bond effectively.
Tips for a Strong Bond
Creating a strong bond with thermocol starts with choosing the right adhesive. Not all glues work well with thermocol, so you'll want to select one specifically designed for this material, like a polystyrene adhesive or a low-temperature hot glue. The wrong choice can weaken the bond strength, leading to issues later.
Before applying glue, focus on careful surface preparation. Clean the thermocol surfaces by gently brushing off any dust or debris. This step guarantees that nothing interferes with the adhesive's effectiveness. If the surfaces are uneven, consider smoothing them gently with sandpaper, but be careful not to damage the material.
Apply the adhesive evenly across the surface. Avoid using too much, as excess glue can take longer to dry and may not improve bond strength. Once applied, press the thermocol pieces together firmly. Hold them in place for the time recommended by the adhesive's instructions to let the bond set.
Lastly, provide adequate drying time in a stable environment, free from vibrations and temperature fluctuations. This attention in preparation and application guarantees a robust, long-lasting connection between your thermocol pieces, perfect for any project you're tackling.