How to Attach Thermocol to a Wall for Decoration
To attach thermocol to a wall for decoration, start by choosing lightweight sheets for easy handling. Gather tools like a utility knife, measuring tape, and strong adhesives like foam-safe glue. Clean and prime the wall surface to guarantee thorough adhesion. Cut and shape the thermocol with precision, using a sharp blade and a stable cutting area. Apply adhesive evenly and press the thermocol firmly against the wall, smoothing out air bubbles. Align carefully for a professional finish. Inspect for loose edges and secure them with extra adhesive if needed. There's much more to investigate for a perfect decorative setup.
Choosing the Right Thermocol
In the matter of choosing the right thermocol for your wall project, you need to take into account both its thickness and density. These factors will determine how well the thermocol adheres to the wall and how effective it is in achieving the desired aesthetic or functional outcome. You'll find numerous types of thermocol, each designed for specific purposes. For instance, some are lightweight and ideal for decorative purposes, while others are denser, guaranteeing better insulation or soundproofing. Understanding how trees adapt their respiration methods in winter can inspire creative solutions for your projects, as they utilize alternative respiration methods to survive without leaves.
When deciding on the thermocol thickness, consider what you want to achieve. Thinner sheets are suitable for simple decorative elements, offering ease of handling and cutting. However, if you're aiming for a more robust installation—perhaps for insulation—a thicker thermocol might be more appropriate. This added thickness can provide better structural support and energy efficiency.
It's crucial to match the type of thermocol with your specific project needs. For instance, if you're looking to create a 3D effect on your wall, opt for a thicker, denser thermocol. This choice guarantees that the thermocol not only sticks effectively but also maintains its shape and function over time.
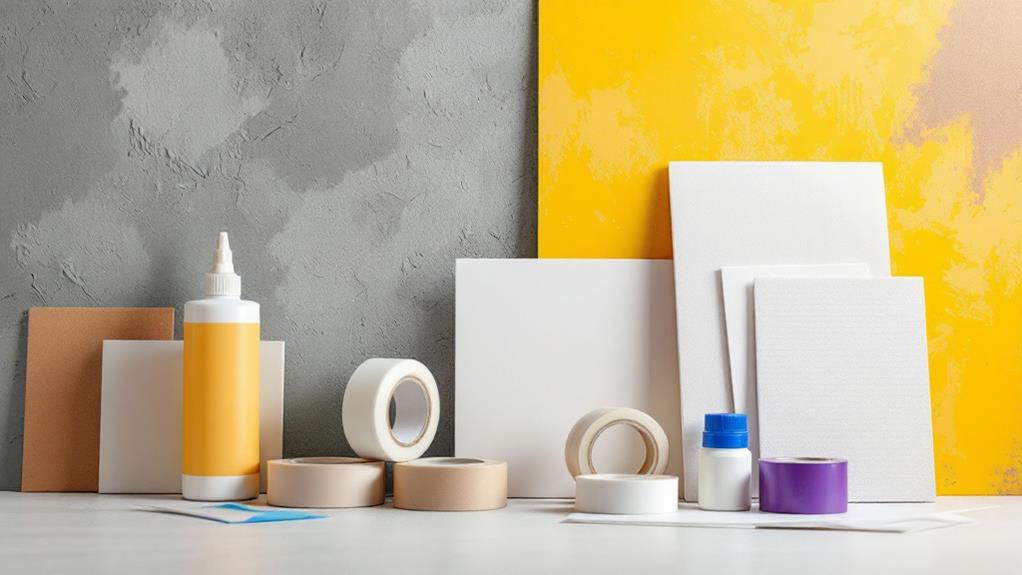
Gathering Necessary Tools
After selecting the right thermocol for your wall project, it's time to gather the necessary tools to guarantee a smooth attachment process. Initially, verify you've got a utility knife or a sharp cutter. This lets you trim the thermocol to fit your design inspiration perfectly. A measuring tape is vital for precision, helping you achieve the exact dimensions for each piece. Don't forget a pencil and straightedge or ruler to mark guidelines, making sure that your design aligns beautifully on the wall. Proper measurements are significant, similar to how precise yeast activity influences the final bread quality.
Next, collect adhesive suitable for thermocol. A strong, quick-drying adhesive like a foam-safe glue or double-sided tape works well. Have a small paintbrush or roller handy to apply the adhesive evenly, minimizing lumps and bumps. Remember to include a level in your toolkit. It guarantees your thermocol decorations aren't crooked, maintaining that professional look you're aiming for.
Lastly, prioritize safety precautions. Wear gloves to protect your hands from sharp tools. If using an adhesive with strong fumes, work in a well-ventilated area or wear a mask. A dustpan and small broom will help keep your workspace tidy, making the process more efficient and enjoyable.
Preparing the Wall Surface
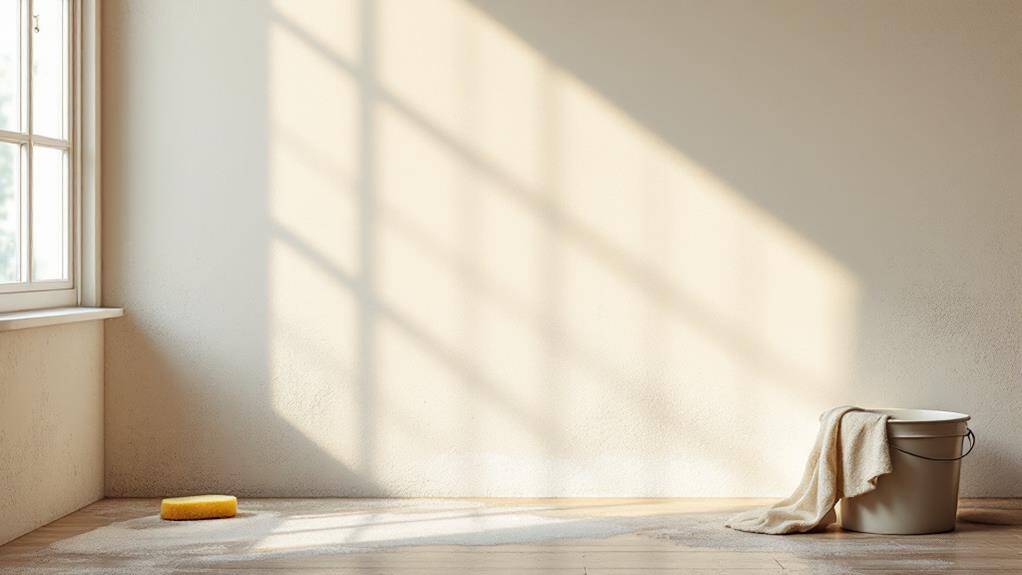
A smooth foundation is vital to ensuring your thermocol adheres well to the wall. Start by focusing on surface cleaning, which is important for removing any dust, dirt, or grease that might prevent the adhesive from sticking properly. You can use a mild detergent mixed with water and a soft cloth or sponge to gently scrub the wall. Make sure to rinse thoroughly with clean water and allow the surface to dry completely before moving on.
Once the wall is clean, it's time to prepare it further by addressing any imperfections like holes or cracks. Fill them with a suitable filler and sand them smooth once dried. This step guarantees a flat surface, significant for ideal adhesion.
Next, consider wall priming as a key step. Primer not only seals the wall but also creates an even surface for the adhesive. Choose a primer that suits both your wall type and the adhesive recommended for thermocol. Apply it evenly using a brush or roller and let it dry as per the manufacturer's instructions.
Cutting and Shaping Thermocol
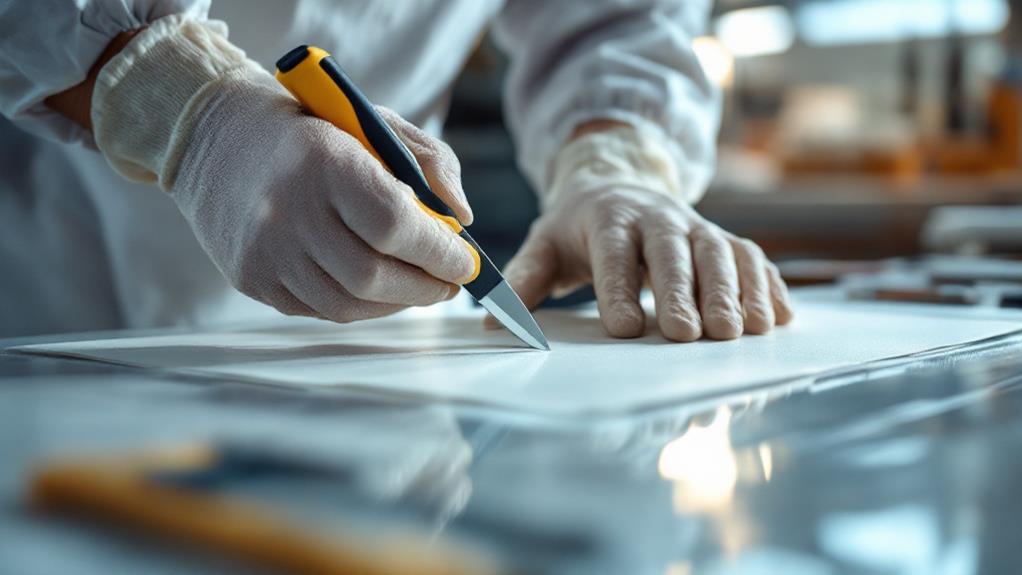
When you're ready to cut and shape thermocol, precision matters, so gather the right tools for the task. Start with a sharp utility knife or a hot wire cutter, both ideal for clean cuts. If you're aiming for straight lines, use a metal ruler as your guide. For intricate designs, a stencil can help maintain accuracy. These cutting techniques guarantee that your edges are smooth and your pieces fit together seamlessly.
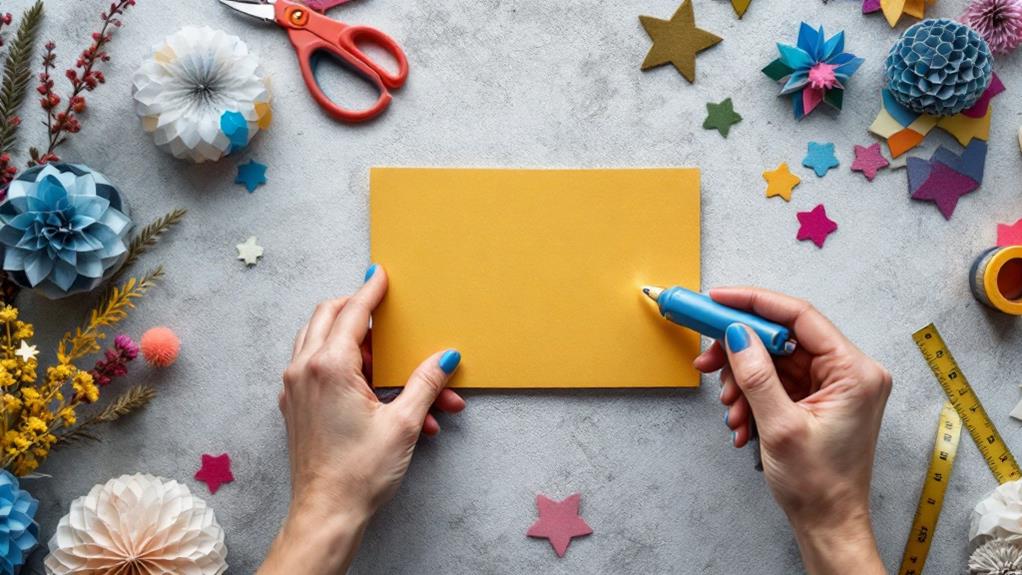
Before you plunge into shaping patterns, sketch your design on paper. This helps visualize the layout and identify where each piece will go on your wall. Once you're satisfied with the sketch, transfer your design onto the thermocol. For curved lines or complex shapes, consider using a compass or a flexible curve ruler. These tools make it easier to achieve the desired shape without compromising the material's integrity.
As you work, handle the thermocol gently to avoid breakage. Always cut on a stable surface to maintain control and prevent accidents. With the right cutting techniques and careful shaping patterns, you'll create beautiful thermocol decorations ready to improve your wall. Proper preparation guarantees your project looks polished and professional.
Selecting Adhesives
Attaching thermocol to a wall requires choosing the right adhesive to guarantee durability and stability. The adhesive you select can make or break your decorating project, so it's essential to know what works best. Here's a list of adhesive types and application techniques to take into account:
- PVA Glue: This water-based adhesive is versatile and easy to apply. It's perfect for lightweight thermocol pieces but may not hold up for heavier installations.
- Silicone Sealant: Known for its strong bond and flexibility, silicone sealant is ideal for thermocol projects that might need a bit of give. It's weather-resistant, making it great for both indoor and outdoor use.
- Spray Adhesive: Quick and convenient, spray adhesive offers an even application. It's best for covering large areas but requires proper ventilation during use due to fumes.
- Hot Glue Gun: This option provides instant bonding, perfect for small or intricate thermocol projects. Just be mindful of the heat, as it can melt thinner thermocol pieces.
Understanding these adhesive types and their application techniques will help you ascertain your thermocol decorations remain securely attached to the wall, creating a lasting decorative impact.
Attaching Thermocol to the Wall
Securely affixing thermocol to a wall involves careful preparation and technique to guarantee a stable fit. Begin by taking accurate measurements of the wall space where you plan to install the thermocol. This confirms you cut pieces that fit perfectly, allowing you to create your desired decorative patterns without any gaps. Once you've cut the thermocol to size, lay it out to visualize how the textures and patterns will appear once installed.
Next, apply the adhesive to the back of the thermocol. Use a product suited for lightweight materials to avoid any damage or warping. Apply the adhesive evenly, confirming coverage around the edges and in the center. This will help the thermocol adhere properly and prevent it from detaching over time.
Once the adhesive is applied, press the thermocol firmly against the wall. Start at one edge and work your way across, smoothing out any air bubbles as you go. This step is vital for maintaining the integrity of the decorative patterns and thermocol textures. After attachment, take a step back and check for alignment. Adjust as necessary before the adhesive fully sets, confirming your design is precisely as planned.
Finishing Touches and Maintenance
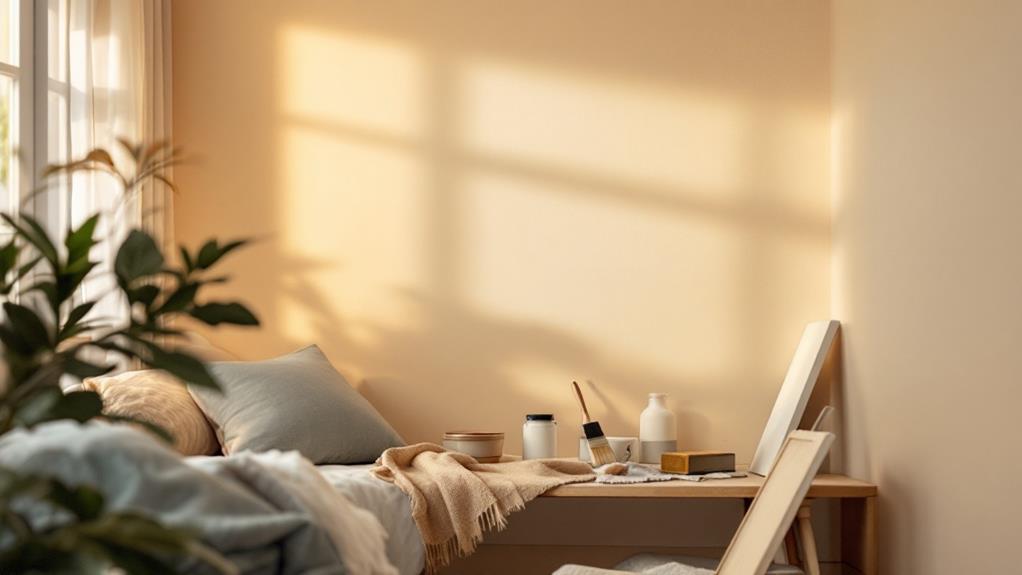
Now that your thermocol is securely attached, it's time to focus on the finishing touches and guarantee its longevity. Start by ensuring that the thermocol complements the room's complete aesthetic. Color coordination is essential, so choose hues that improve the existing decor. Consider painting or adding textures to the thermocol for a cohesive look.
To maintain your thermocol decor, follow these steps:
- Inspect Regularly: Check for any signs of wear, such as peeling edges or fading colors. Promptly address these issues to keep the display looking fresh.
- Clean Gently: Dust can accumulate, so use a soft cloth or feather duster for regular cleaning. Avoid harsh chemicals that might damage the material.
- Apply Protective Coatings: Consider using a clear sealant to protect painted thermocol from moisture and stains, ensuring it remains lively over time.
- Incorporate Seasonal Updates: Refresh your design with seasonal elements. Add festive decorations or colors to keep your decor relevant and engaging throughout the year.