How to Create a Thermocol Sheet From Scratch

You can create a thermocol sheet from scratch by initially gathering polystyrene beads and a suitable mold. Set up a well-ventilated workspace with zones for cutting, assembling, and drying. Then, spread the beads evenly in the mold after applying a release agent. Use a steam generator or oven to heat the beads between 80°C and 100°C for even expansion. Once expanded, let the sheet cool in a ventilated area or use water or refrigeration methods. Ultimately, cut and shape using sharp tools like a utility knife. Gear up for the finer details as the process doesn't end here.
Understanding Thermocol Basics
When you're exploring the world of thermocol, it is vital to grasp the basics to make the most of this adaptable material. Thermocol, or expanded polystyrene (EPS), is known for its lightweight and insulating properties, making it a popular choice in multiple industries. Plastics contribute greatly to municipal waste, and understanding thermocol applications helps you appreciate its varied uses. It's commonly employed in packaging to protect fragile items, in the construction industry for insulation, and even in crafting and model-making due to its ease of cutting and shaping.
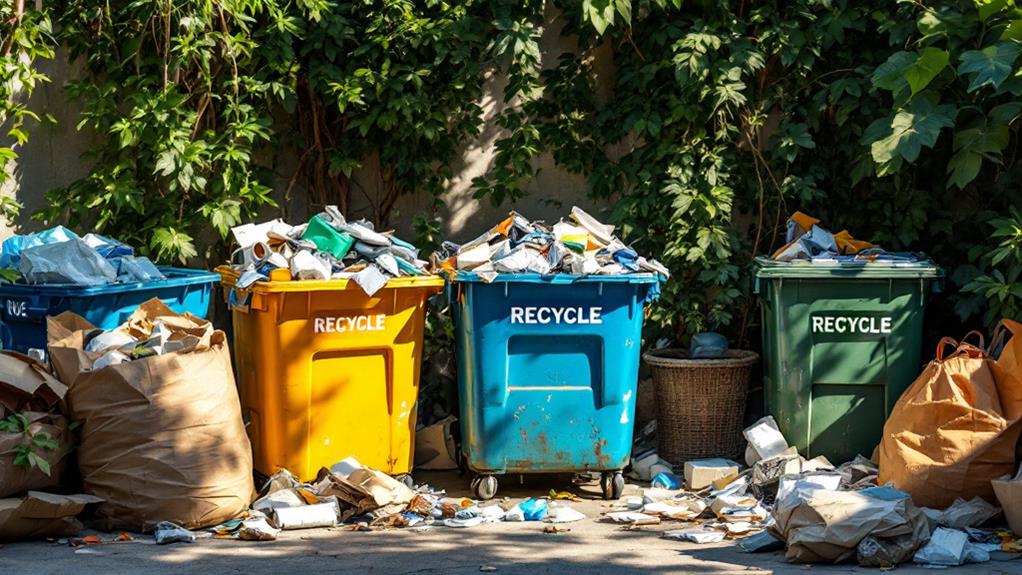
However, you must also be aware of the environmental impact associated with thermocol. While its utility is undeniable, thermocol poses notable challenges in waste management. Being non-biodegradable, it can persist in the environment for centuries if not properly disposed of. As a result, exploring sustainable practices is vital. Recycling thermocol is possible, but it requires specialized facilities that aren't widely available yet. You can also look into alternative materials or methods that lessen the reliance on thermocol.
Gathering Necessary Materials
To start creating a thermocol sheet, you'll need to gather the right materials. Firstly, understand that there are different types of thermocol available. These include expanded polystyrene (EPS) and extruded polystyrene (XPS). Each type has unique properties, so consider the specific thermocol applications you have in mind. For instance, EPS is lightweight and ideal for insulation, while XPS is denser, offering better moisture resistance. Moreover, you might find it interesting that baking soda has multiple uses beyond cooking, which can inspire creative projects involving thermocol.
Next, purchase polystyrene beads, the primary component for making thermocol sheets. These beads will expand when exposed to heat, transforming into the foam structure you're aiming for. Make sure you also have a heat source, such as a steam generator or a specialized oven, to facilitate this expansion process.
You'll also need a mold or frame to shape the expanding beads into a sheet. Choose a mold that matches the desired dimensions and thickness of your thermocol sheet. Furthermore, gather some adhesive materials, like glue or a specialized bonding agent, if you plan on stacking or reinforcing layers for certain thermocol applications.
Preparing the Workspace
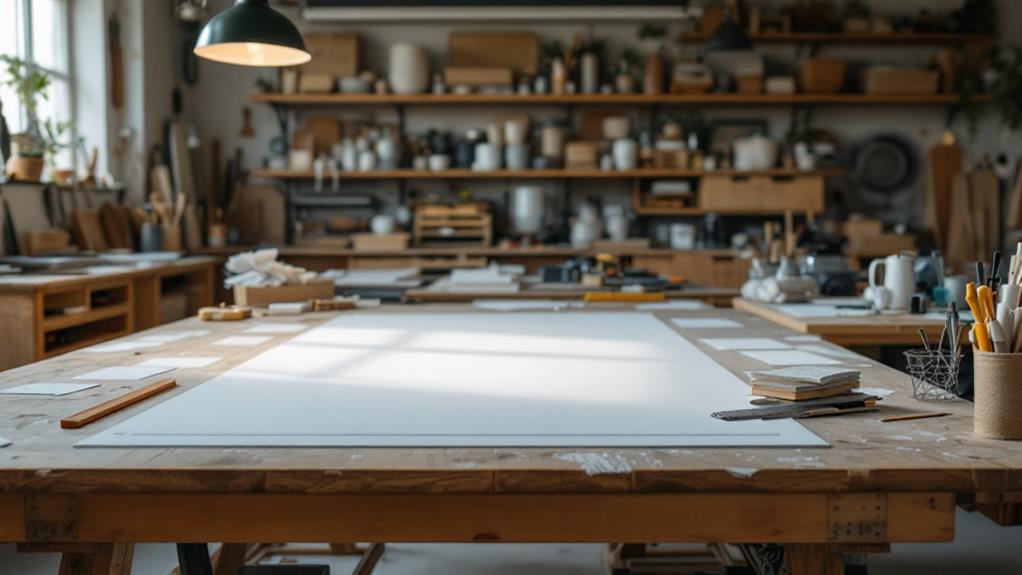
Often, a well-organized workspace is crucial for successfully creating a thermocol sheet. Start by clearing your work area of any unnecessary items. This helps maintain focus and safety, reducing the risk of accidents or misplaced tools. Good workspace organization involves designating specific zones for different tasks, such as cutting, assembling, and drying. Use shelves or containers to keep materials and tools within easy reach but out of the way when not in use.
Next, focus on tool selection. Gather all the tools you'll need, like cutting implements, measuring devices, and any adhesives or chemicals required for the process. Arrange them logically according to the steps you'll follow. For instance, place cutting tools closer to the cutting zone and adhesives near the assembly area. This setup minimizes movement and enhances efficiency.
Additionally, verify your workspace has adequate lighting and ventilation. Proper lighting helps you see details clearly, while good ventilation reduces exposure to any fumes released during the process. Finally, have a disposal plan for waste materials. A well-prepared workspace not only streamlines the creation process but also guarantees a safer and more enjoyable working environment.
Choosing the Right Molds
Selecting the perfect molds is a crucial step in crafting your thermocol sheet. The right mold guarantees your sheet forms correctly, maintains its shape, and meets your desired specifications. You'll need to take into account different mold types and materials to find the best fit for your project.
- Mold Types: Initially, decide on the mold type that suits your needs. Open molds are common and easier to use, while closed molds provide better control over the final shape and surface texture.
- Mold Materials: Choose materials that can withstand the heat and pressure involved in the process. Metal molds, such as aluminum or stainless steel, offer great durability and heat resistance. Plastic molds are lightweight and cost-effective, but they may not be as durable.
- Size and Shape: Confirm the mold's size and shape match what you envision for the thermocol sheet. It should allow for even distribution of materials and facilitate easy removal once the sheet solidifies.
- Ease of Cleaning: Look for molds that are easy to clean and maintain. Smooth surfaces help prevent residue buildup, guaranteeing consistent quality in each use.
Measuring Polystyrene Beads
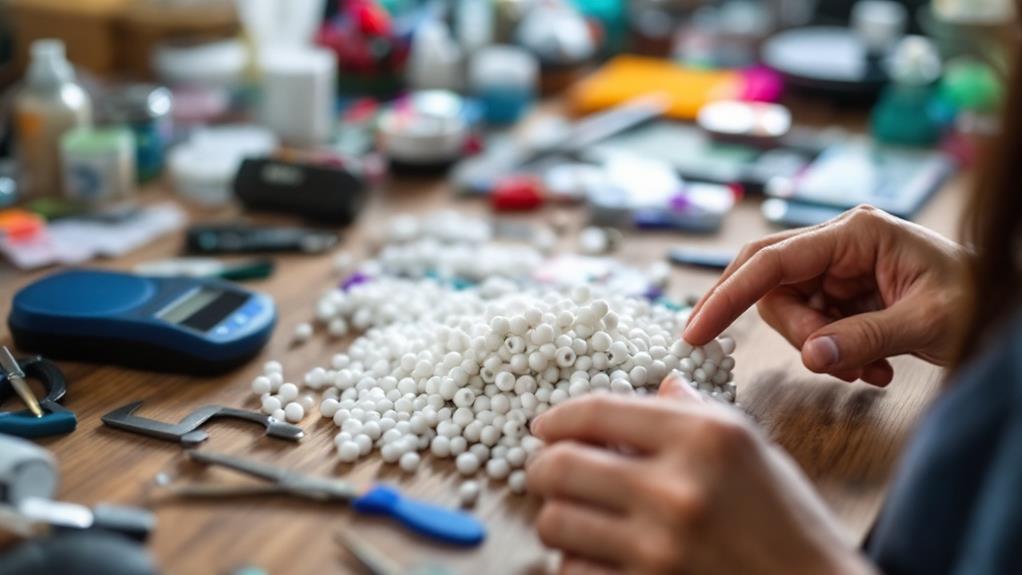
Accurately measuring polystyrene beads is a fundamental step in creating a high-quality thermocol sheet. You'll need to understand the different bead types available, as each type can affect the final product's characteristics. Generally, polystyrene beads come in multiple sizes and densities, impacting their expansion ratio—how much the beads will expand when heated.
Begin by selecting the appropriate bead type for your project. Consider what properties you need in your thermocol sheet, such as insulation, strength, or weight. Once you've chosen the suitable bead type, you'll need to determine the correct quantity. This calculation hinges on the expansion ratio of the beads. Beads with a higher expansion ratio will require fewer beads, as they'll expand more when processed. Conversely, beads with a lower expansion ratio may need a greater quantity to achieve the desired size and density of your thermocol sheet.
Use a scale to weigh the beads accurately. Precision is essential here, as even slight deviations can impact the sheet's quality. Measure carefully, ensuring that you account for any variations in bead size or density that could alter the expansion ratio.
Heating and Expanding Beads
Once you've measured the polystyrene beads accurately, it's time to heat and expand them to form your thermocol sheet. This process is essential for achieving the desired properties of your thermocol, particularly its thermal insulation capabilities. Here's a step-by-step guide to help you through this part of the creation process:
- Prepare a Steam Chamber: Use a steam chamber to initiate bead expansion. The heat causes the beads to soften and expand as they absorb moisture from the steam. This expansion is what gives your thermocol its lightweight and insulative properties.
- Monitor Temperature Closely: Keep the temperature between 80°C and 100°C. Too much heat can cause the beads to melt rather than expand, which will ruin the material's structure and compromise its thermal insulation abilities.
- Stir Continuously: Make sure to stir the beads gently as they expand. This guarantees even expansion and prevents beads from clumping together, which can lead to inconsistencies in the final thermocol sheet.
- Allow for Expansion Time: Give the beads enough time to fully expand, usually about 5 to 10 minutes. This guarantees that they've reached their ideal size for forming a sturdy and effective thermocol sheet.
Molding the Thermocol
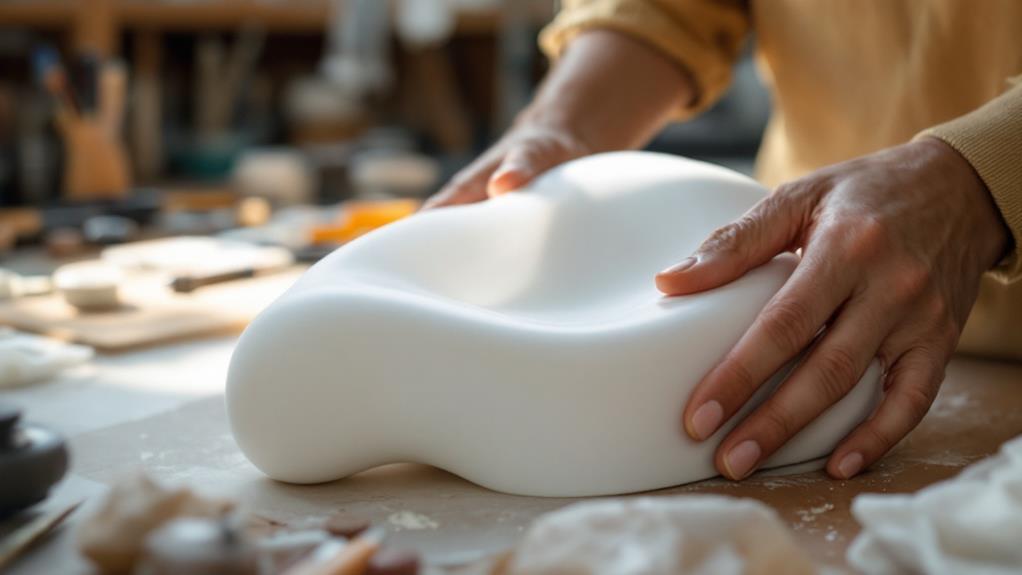
Now that your beads are fully expanded, it's vital to shape them into a usable thermocol sheet. Selecting the right mold type is fundamental for achieving the desired outcome. You have numerous options, ranging from simple rectangular molds to more complex shapes with intricate design patterns. Consider what purpose your thermocol sheet will serve—whether it's for construction, packaging, or craft projects—and choose a mold that aligns with your goals.
Once you've decided on a mold type, prepare it by verifying it's clean and free of any debris. This prevents imperfections on the sheet's surface. Apply a thin layer of release agent to the mold's interior to make the removal process smoother. Pour the expanded beads into the mold, spreading them evenly to avoid inconsistencies in thickness.
Pay close attention to design patterns if your project requires specific texturing or detailing. Utilize inserts or templates within the mold to imprint patterns onto the thermocol sheet. This step is particularly significant if the sheet needs to be both functional and aesthetically pleasing. Secure the mold tightly to guarantee the beads maintain their shape during the next stages of production.
Cooling and Setting Process
As the beads settle into their new shape, cooling becomes a crucial step in solidifying your thermocol sheet. You've got to verify that the sheet cools evenly and thoroughly to maintain its form and strength. Numerous cooling methods can be applied, each affecting the setting time differently. Here's how you can effectively manage this process:
- Air Cooling: This is the simplest method. Leave the sheet in a well-ventilated area. It's cost-effective but may take longer, affecting the setting time.
- Water Cooling: Submerge the mold in water. This method accelerates the cooling process, reducing setting time. Confirm the mold is watertight to prevent any deformation.
- Refrigeration: Placing the thermocol mold in a refrigerator can speed up cooling while offering a controlled environment. Be cautious of condensation, which might affect the sheet's texture.
- Fan-Forced Cooling: Position fans around the mold to circulate air. This method is quicker than air cooling alone and helps achieve a uniform temperature, assisting in faster setting.
Choose the method that best fits your requirements, balancing speed and consistency to achieve a perfectly set thermocol sheet.
Cutting and Shaping Techniques
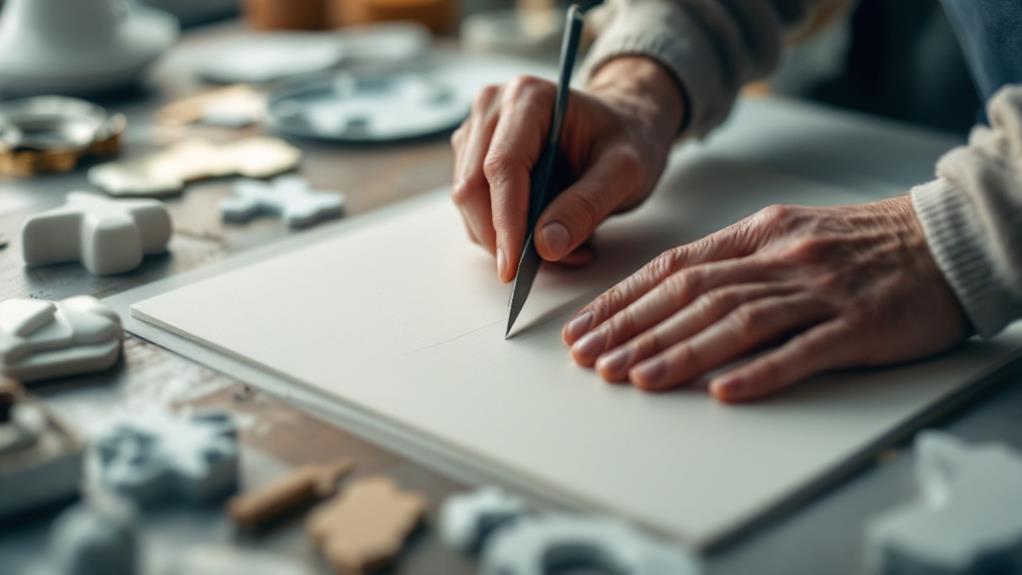
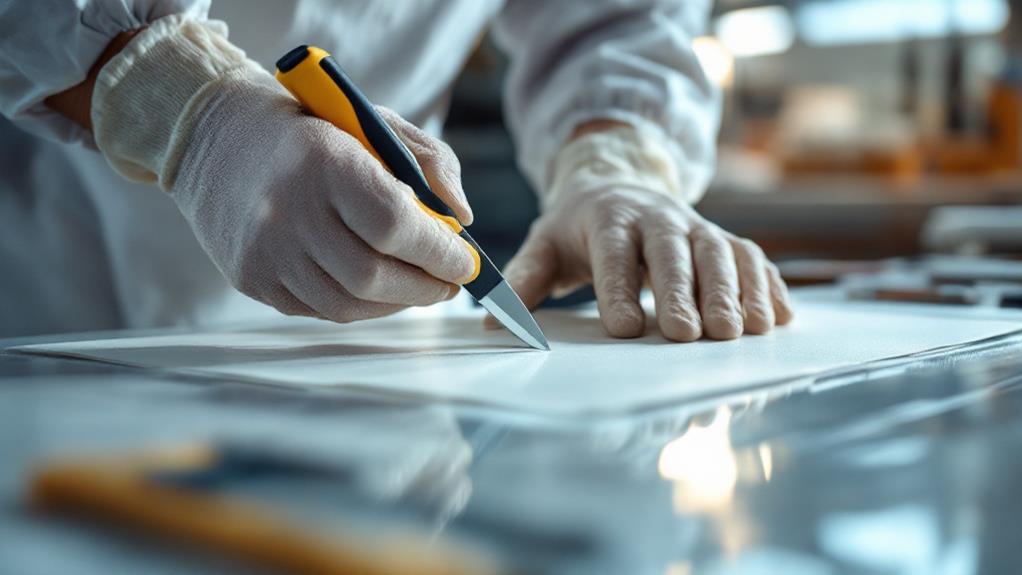
With your thermocol sheet fully set, it's time to move on to cutting and shaping techniques. Initially, gather your crucial cutting tools. A sharp utility knife or a hot wire cutter works best for precise cuts. Make certain your tools are clean and sharp to avoid jagged edges. Measure and mark your desired shapes clearly on the thermocol sheet before you start cutting. This guarantees accuracy and helps you visualize the final design.
Once you've got your basic shapes, you can start investigating different shaping techniques. Sandpaper or a small file can smooth out edges and create curves or intricate details. For more complex designs, consider using a rotary tool to achieve the desired effects. Shaping is key to giving your project a professional look, so take your time.
After shaping, think about adding decorative finishes. You might paint the thermocol or apply decorative paper to improve its appearance. If your project involves multiple pieces, investigate joining methods like adhesives or tape to assemble them securely. Each joining method has its pros and cons, so choose one that suits your project's requirements. With these techniques, you'll transform your thermocol sheet into a masterpiece.
Safety Tips and Best Practices
After mastering cutting and shaping techniques, focusing on safety tips and best practices guarantees a smooth and accident-free crafting experience. Making certain of your safety and the safety of those around you should always be a top priority. Here's a list of vital safety tips you should follow:
- Personal Protective Equipment (PPE): Always wear appropriate protective gear, such as gloves, goggles, and masks. This prevents injuries and protects you from inhaling harmful particles while cutting and handling chemicals.
- Fire Safety: Thermocol is highly flammable. Keep fire extinguishers nearby and confirm all electrical equipment is in good condition. Avoid using open flames or smoking near your workspace to reduce fire risks.
- Ventilation Requirements: Proper ventilation is important when working with thermocol and chemicals. Make sure your workspace is well-ventilated by opening windows or using fans to disperse fumes and maintain air quality.
- Waste Disposal and Emergency Procedures: Dispose of thermocol waste properly by following local regulations. Keep a primary-aid kit handy and familiarize yourself with emergency procedures, such as how to handle chemical spills or minor injuries, to respond quickly if an incident occurs.