How to Get Melted Plastic Off Your Stove Safely
To safely remove melted plastic from your stove, start by ensuring the stove is completely cool to avoid harmful fumes. Open windows and turn on your range hood for proper ventilation. Gather necessary supplies such as heat-resistant gloves, a plastic scraper, and non-abrasive cleaning solutions. Gently scrape off the plastic, using a hairdryer to soften it if needed. Wipe away the plastic bits with a damp cloth, ensuring you don't scratch the surface. Finish by cleaning with appropriate products depending on your stove material. To uncover further tips and strategies, there's plenty more to reflect upon.
Assess the Situation
Before you jump into cleaning, take a moment to evaluate the situation. Initially, identify the plastic types involved. Different plastics have distinct degrees of heat resistance, which affects how they melt and adhere to your stove. For instance, some plastics might just soften, while others become a gooey mess. Knowing what you're dealing with helps you choose the right approach for removal without causing further damage. Furthermore, understanding how diverse materials, like the composition of capsules, can react to heat may provide insight into your cleanup process.
Next, consider the extent of the melted plastic. Is it a small spill or has it spread across a larger area? This will determine how much effort and time you'll need to dedicate. Also, check the stove's surface material, as some surfaces are more sensitive and can be easily scratched or damaged.
Pay attention to any safety concerns. Since plastics can release harmful fumes when melted, it's crucial to verify the stove is completely cool before you begin the cleanup. Determine if any plastic might have dripped into burners or crevices, which could require more detailed attention. By thoroughly evaluating the situation, you'll be prepared to tackle the mess effectively, minimizing potential hazards and preventing further complications.
Ventilate the Area
Once you've assessed the situation, it's vital to guarantee proper airflow by ventilating the area. Start by opening all nearby windows and doors to facilitate the movement of fresh air. This is one of the most effective airflow tips to help disperse any lingering fumes from the melted plastic. The significance of ventilation is underscored by the fact that just as the natural processes produce most greenhouse gases, proper airflow in your kitchen can help mitigate the buildup of potentially harmful substances. Running a fan can further improve ventilation, directing the air toward the open windows or doors to push out any odors or potentially harmful fumes.
Remember, safety precautions are important here. If you have a range hood, switch it on to aid in removing smoke and odors from the kitchen. Make sure it's in good working order before relying on it for ventilation. Verify that your smoke detectors are operational, as safety should always be a priority when dealing with melted plastic.
Additionally, if you have pets or children, now's a good time to keep them out of the kitchen. They can be sensitive to fumes, and their safety is paramount. By guaranteeing proper ventilation, you not only protect your health but also create a safer environment to continue with the cleanup process. Prioritizing these steps will make dealing with the situation more manageable.
Gather Necessary Supplies
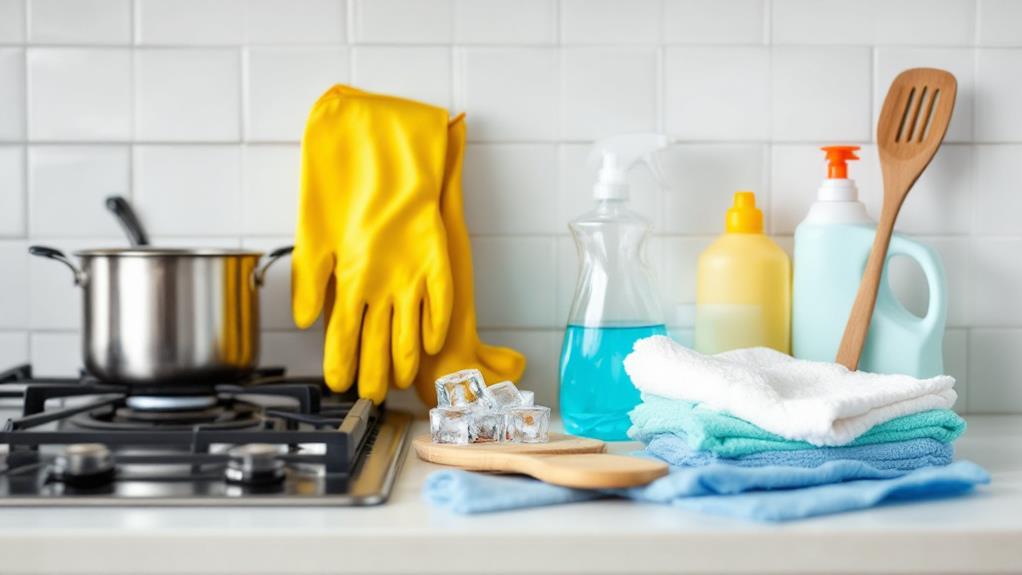
To tackle the problem of melted plastic on your stove, you'll need a few vital supplies to make the cleanup both safe and effective. Before diving into the cleaning methods, it's important to gather everything you'll need. This guarantees you can take the necessary safety precautions without interruption, minimizing risk and maximizing efficiency. Here's a handy list of items to prepare:
- Protective Gear: Start with a pair of heat-resistant gloves. They'll protect your hands from any lingering heat and sharp edges while you clean. Safety goggles are also advisable to shield your eyes from any unexpected splashes or debris.
- Plastic Scraper: A non-metallic scraper will be your best friend in this task. It helps remove the bulk of the melted plastic without scratching the stove's surface. Opt for one with a comfortable grip for better control.
- Cleaning Solutions: Use a combination of baking soda and vinegar or a stove-safe commercial cleaner. These solutions effectively dissolve residue without damaging the appliance. Have a microfiber cloth on hand for applying and wiping away the cleaner, guaranteeing a spotless finish.
With these supplies at your disposal, you're well-equipped to start the cleaning process safely and effectively.
Cool the Stove
Cooling your stove is a fundamental primary step in dealing with melted plastic. It's essential for both stove safety and your own. Initially, verify you've turned off all burners and the stove itself. This simple action is at the core of effective cooling techniques. It's not just about waiting for it to cool down naturally; it's about taking proactive measures to hasten the process safely.
Begin by opening nearby windows or turning on an exhaust fan to help dissipate heat. This creates airflow, which is an effective cooling technique that can speed up the process. If your stove has removable grates, carefully lift them off with oven mitts and place them on a heat-resistant surface, allowing air to circulate around the stove top more freely.
Be patient and avoid using cold water or ice directly on the stove, as sudden temperature changes could damage the surface. Instead, allow the stove to cool at its own pace, checking periodically until it's safe to touch. By prioritizing stove safety and employing these cooling techniques, you're not only preparing for the next steps but also preventing potential injuries.
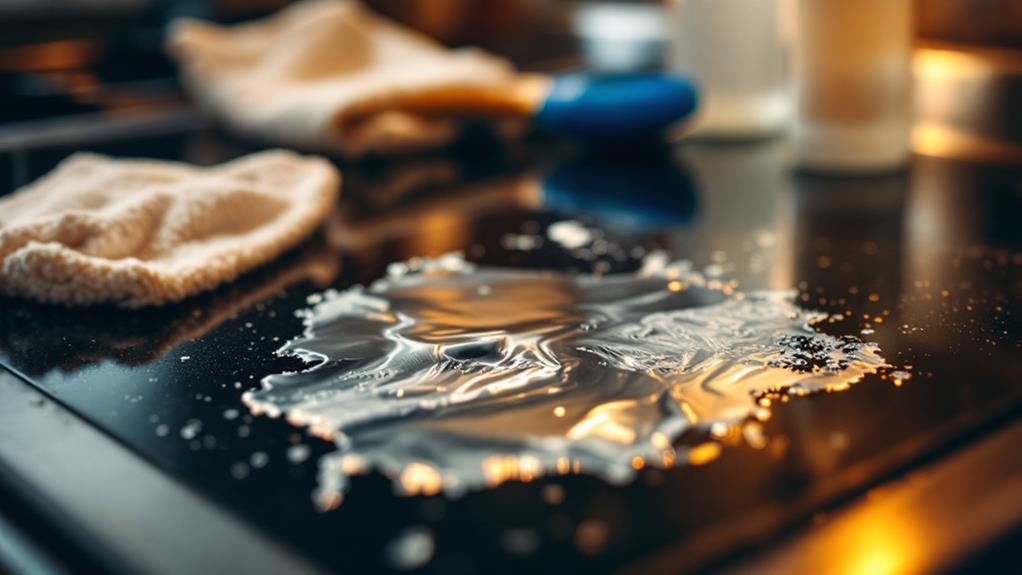
Remove the Plastic
With your stove now cool, you're ready to tackle the task of removing the melted plastic. Start by evaluating the extent of plastic adhesion on the stove materials. Different stove surfaces, regardless of whether they're glass, ceramic, or metal, may react differently, so it's vital to understand what you're working with.
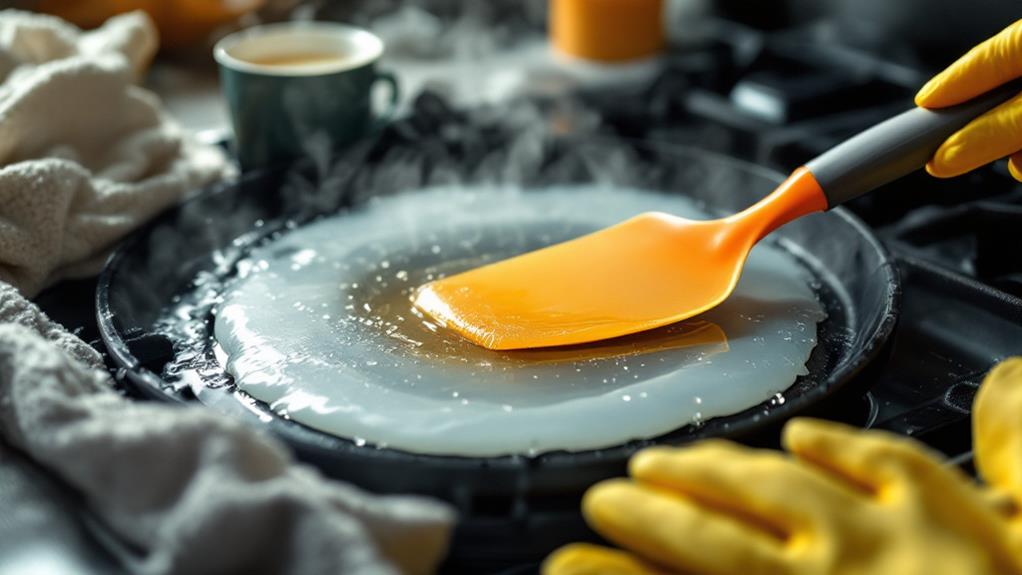
- Test a Small Area: Begin by gently testing a small area to see how firmly the plastic adheres. Use a plastic scraper or a butter knife. Avoid metal tools that could scratch the stove's surface.
- Apply Heat if Necessary: If the plastic remains stubborn, apply a bit of heat. Use a hairdryer on a low setting to slightly warm the plastic. This might soften it enough for easier removal without damaging the stove materials.
- Wipe Away Residue: As you scrape, keep a damp cloth handy to wipe away any loosened bits. This helps prevent re-adhesion and keeps the area clear, allowing you to see your progress.
Clean the Surface
Once you've successfully removed the melted plastic, it's essential to thoroughly clean the surface to restore your stove's appearance and functionality. Start by identifying your stove's surface materials—whether it's glass, ceramic, stainless steel, or another type—since your cleaning techniques will vary accordingly. For glass or ceramic surfaces, use a non-abrasive cleaner and a soft cloth or sponge to gently scrub away any remaining residue. Avoid harsh scrubbers that might scratch the surface.
If your stove is stainless steel, you should use a cleaner specifically designed for stainless steel surfaces. Apply the cleaner with a microfiber cloth, moving in the direction of the grain to maintain the material's natural finish. For stubborn spots, a mixture of baking soda and water can help lift any persistent grime.
Always verify that the stove is cool before you start cleaning to avoid burns or damage to the surface materials. Rinse thoroughly with clean water and dry the area with a soft towel to prevent water spots. By carefully selecting the appropriate cleaning techniques for your stove's surface materials, you'll keep it looking pristine and functioning efficiently.
Prevent Future Incidents
Frequently, preventing melted plastic incidents on your stove involves a few simple but effective practices. You can guarantee your kitchen remains safe and free from the hassle of cleaning melted plastic by adopting some key prevention strategies. Start by being mindful of your cooking habits and surroundings. Here are a few safety tips to help you avoid future mishaps.
- Keep Plastic Away from Heat Sources: Always store plastic items, including utensils, wraps, and containers, far from the stove. Create a designated area for these items, making certain they're never within reach of a hot burner.
- Stay Attentive While Cooking: It's easy to get distracted, but staying focused while using the stove can prevent accidents. Make it a rule to never leave a pot or pan unattended, and regularly check your surroundings to confirm no plastic items are nearby.
- Educate Household Members: Share these prevention strategies with everyone in your household. Make sure they understand the importance of keeping plastic away from the stove and the consequences of not doing so.