How to Safely Cut Plastic for DIY Projects
To cut plastic safely in DIY projects, start by picking the right type for your needs—whether it's durable PVC or clear acrylic. Use proper tools like utility knives for thin sheets or jigsaws for thicker ones. Set up a well-lit, clutter-free workspace, ensuring proper ventilation. Wear safety gear, including goggles and dust masks, to protect yourself from sharp edges and harmful particles. Master cutting techniques like scoring for thin plastics or sawing slowly through thicker materials to avoid overheating. Finish off with edge smoothing for a polished look. With careful planning and the right approach, your projects will shine even more.
Choosing the Right Plastic
When diving into your DIY projects, start by zeroing in on the right type of plastic for the job. Selecting the appropriate plastic is essential for both functionality and ease of cutting. Different types of plastics offer a range of properties; for instance, acrylic is known for its clarity and strength, while polycarbonate is more impact-resistant. PVC is another option, often used for its durability and weather resistance. Understanding these differences helps you choose what's best for your project, much like how the structure of diamond contributes to its exceptional hardness compared to graphite.
Consider the plastic thickness as well. Thicker plastics, like those above 1/4 inch, can be challenging to cut and might require more specialized tools and techniques. Thinner plastics, such as those under 1/8 inch, are easier to handle but can be prone to cracking if not handled correctly. Evaluating the thickness not only influences your cutting approach but also affects the final look and durability of your project.
Essential Cutting Tools
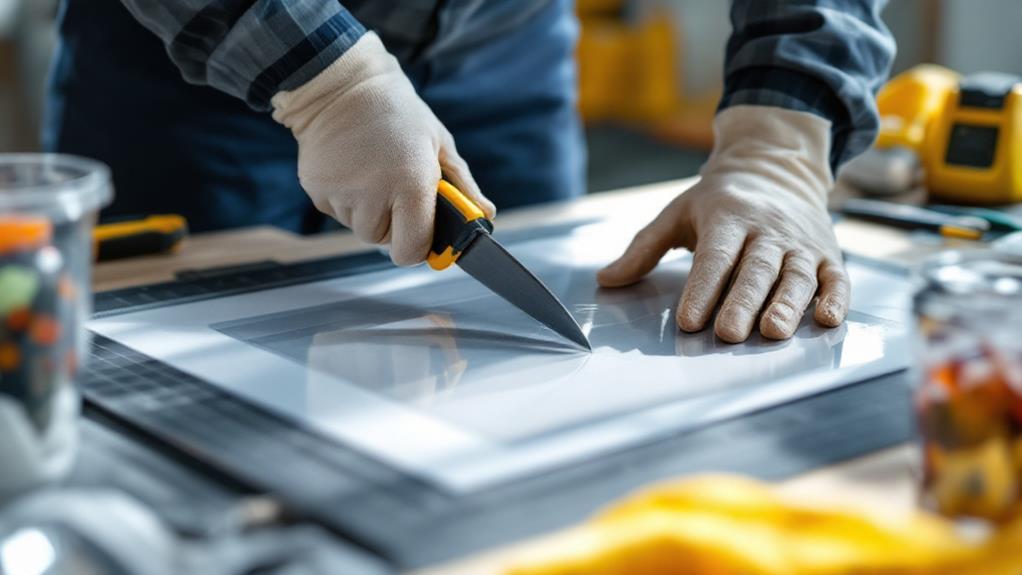
To guarantee clean and precise cuts in your plastic DIY projects, having the right cutting tools is vital. Each tool has its strengths, so knowing the types of blades and their applications is important. For thin plastics, utility knives with straight-edge blades are ideal. They're easy to control, allowing for smooth, straight cuts. Understanding the fermentation process can also help you appreciate the precision required in other crafting techniques. If you're dealing with thicker plastic sheets, using a jigsaw equipped with a fine-toothed blade assures you can cut through with ease and precision.
For intricate designs or curved cuts, a rotary tool with a plastic cutting disc can be your best friend. It grants you the flexibility to maneuver around tight corners and create detailed shapes. When considering cutting thickness, always choose a blade that's designed for the specific material thickness you're working with. For instance, band saws, equipped with wider blades, are perfect for cutting through dense or thicker plastics.
Preparing Your Workspace
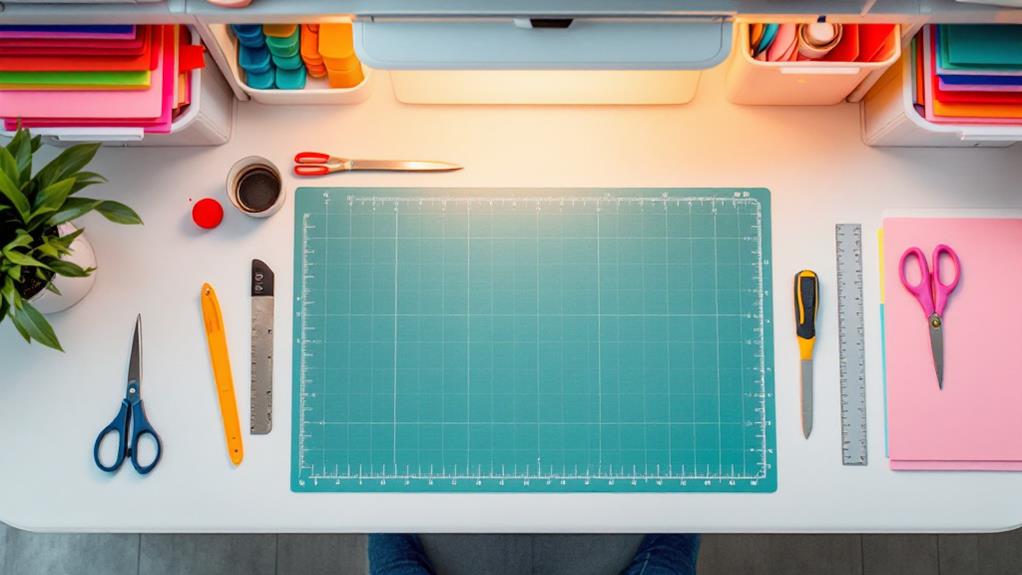
Setting up your workspace efficiently is vital for guaranteeing safety and achieving the best results in your plastic cutting projects. Begin by organizing your workspace to enhance efficiency and minimize clutter. Confirm your tools and materials are within easy reach, so you don't waste time searching for what you need. A well-organized workspace prevents accidents and interruptions, allowing you to maintain focus on the task at hand.
Consider the lighting in your workspace as well. Proper lighting is key for precision in cutting and for spotting any potential hazards. Position lights so they illuminate your work area without casting shadows on your material. Using adjustable lamps or overhead lighting can provide consistent visibility and prevent eye strain.
Keep your work surface clean and clear of anything not directly related to the task. This reduces the risk of knocking something over or damaging your materials. Use a sturdy table that can handle the pressure and movements involved in cutting plastic. Make sure your workspace is well-ventilated, as some plastics can release fumes when cut. By organizing your workspace and considering lighting carefully, you create an environment conducive to efficient, safe, and effective plastic cutting.
Safety Gear and Precautions
After organizing your workspace, focus on equipping yourself with the right safety gear to protect against the risks involved in cutting plastic. Start by wearing personal protective equipment (PPE) such as safety goggles to shield your eyes from flying debris. Dust masks or respirators are vital if you're working with materials that release harmful particles into the air. Gloves should be worn to protect your hands from sharp edges and potential injuries.
Ensure you're wearing appropriate clothing—avoid loose garments that could get caught in cutting tools. Non-slip shoes are also a good idea to maintain stable footing, especially if you're working in a garage or workshop environment.
Familiarize yourself with emergency procedures to handle potential accidents. Keep a first aid kit within reach, and know how to use it for minor injuries. It is important to have a fire extinguisher on hand if your project involves heat tools. Make sure everyone in the area knows where the safety equipment is located and how to respond in case of an emergency.
Cutting Techniques and Tips
In relation to cutting plastic for your DIY projects, choosing the right tool is crucial for a clean and precise result. You have several techniques at your disposal, each suited for different types of plastic and project requirements. Start by considering the following methods:
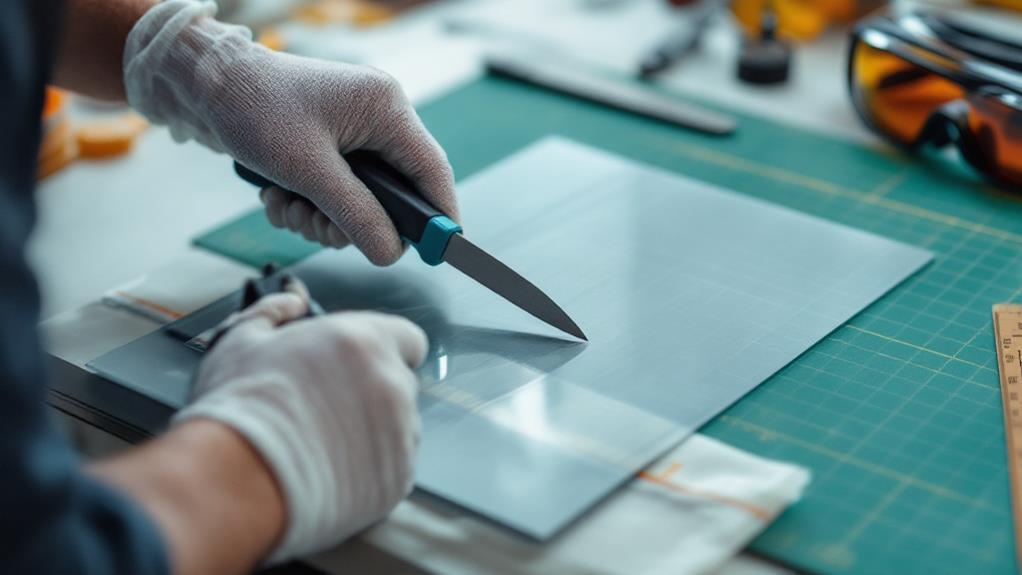
- Scoring Technique: For thin sheets of plastic, use a utility knife to score along a straight edge. This technique involves making several light passes until you create a deep enough groove. Once scored, snap the plastic along the line for a clean break.
- Heat Cutting: Use a hot knife or soldering iron for heat cutting, which is effective for both thin and thick plastics. The heat allows you to slice through the material easily, making it ideal for intricate designs.
- Sawing: A fine-toothed saw or jigsaw works well for thicker plastics. Be sure to use a blade designed for plastic to prevent cracking or chipping. Maintain a steady pace to avoid overheating the material.
- Rotary Tools: For precision cuts, a rotary tool with a cutting wheel is excellent. It's perfect for small projects where detail is key. Always use a steady hand to guide your cuts.
Finishing the Edges
Once you've mastered the cutting techniques, it's vital to pay attention to finishing the edges of your plastic pieces. Properly finished edges not only improve the aesthetics of your project but also prevent any sharp or rough spots that can cause injury or damage. Start by selecting appropriate sanding methods. Use fine-grit sandpaper to gently smooth out the edges. Hold the sandpaper at a slight angle to the edge and move it back and forth with consistent pressure for an even finish.
Consider using a sanding block or an electric sander for larger pieces to save time and guarantee uniformity. Once the edges feel smooth to the touch, you can focus on edge sealing. This step is fundamental for certain types of plastic that might crack or chip over time. Applying a clear sealant or even a bit of heat with a heat gun can help seal the edges, giving them a polished look and added durability.