Step-by-Step Guide to Painting Thermocol
To paint thermocol, start by gathering your materials: a high-quality primer, acrylic paint, and a variety of synthetic brushes. Preparing your workspace is key—ensure it's clutter-free and well-ventilated. Clean the thermocol thoroughly to remove dirt and grime, then apply a base coat with light, uniform strokes. Once dry, release your creativity by detailing designs or experimenting with textures. Apply paint in thin layers for better control and color depth, allowing each layer to dry before proceeding. Seal the final product with a clear acrylic spray for durability. There's more to uncover about perfecting your thermocol painting technique.
Gather Your Materials
Before you plunge into painting thermocol, it's essential to gather all the materials you'll need for a smooth process. Understanding thermocol properties is key to selecting the right tools and supplies. Thermocol, or expanded polystyrene, is lightweight and porous, which means it requires careful handling and specific painting techniques to achieve the best results. Moreover, just as yeast is important in bread-making for creating a well-risen loaf through fermentation, using the right primer will guarantee that your paint adheres properly and creates a smooth finish on the thermocol surface the role of yeast in fermentation.
First, you'll need a high-quality primer. Choose one specifically designed for porous surfaces to guarantee the paint adheres well. This step is significant because thermocol can absorb paint unevenly, leading to a blotchy finish. Next, select your paints. Acrylic paints are a great choice because they dry quickly and adhere well to primed surfaces. Avoid oil-based paints as they can dissolve thermocol.
You'll also need a set of brushes in different sizes to accommodate the details and surface area you're working on. Consider having sponges on hand for a smoother application, especially over large areas. Don't forget painter's tape to create clean lines or protect areas you don't want to paint. Ultimately, gather sealant to protect the finished piece, guaranteeing your work remains lively and intact over time.
Prepare the Workspace
Setting up your workspace is vital for a successful painting project. Start by selecting an area with good ventilation, as this helps to disperse any fumes from painting. If you're indoors, open windows or use fans to circulate the air. Next, clear the space of any clutter to guarantee effective workspace organization. This will prevent accidental spills and give you ample room to maneuver your materials and tools. Proper organization is similar to how yeast plays a significant role in the fermentation process, making certain everything rises to the occasion.
Lay down a drop cloth or old newspaper to protect surfaces from paint splatters. It's also wise to keep some paper towels or rags handy for quick clean-ups. Organize your brushes, paints, and other supplies in a way that's easy to reach, so you're not scrambling around mid-project.
Now, focus on safety precautions. Wear a dust mask if you're sanding the thermocol, as the dust can be harmful when inhaled. Safety goggles will protect your eyes from any stray particles or splashes of paint. Consider wearing old clothes or an apron to avoid damaging your attire. Ultimately, make certain that children and pets are kept away from the workspace to avoid any accidents. With a well-prepared workspace, you're ready for the creative process!
Choose the Right Paint
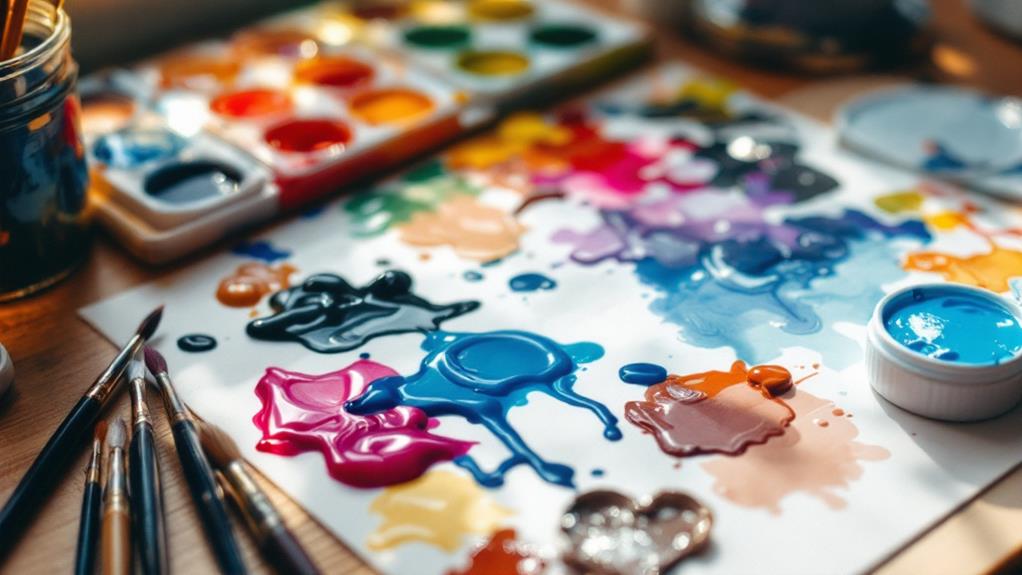
Choosing the right paint is crucial for achieving a professional finish on thermocol. You'll want to select paints that offer a smooth application and durability. Not all paints are suitable for thermocol, so focus on specific color types that won't damage the surface. Acrylic paints are a popular choice because they adhere well and dry quickly. They're available in a wide range of colors, giving you plenty of options to express your creativity.
Consider the paint finishes when making your selection. Matte finishes can give your thermocol a sophisticated, non-glossy look, ideal for understated elegance. If you prefer a shiny, reflective surface, go for gloss or semi-gloss finishes. These finishes can improve the vibrancy of your colors and make your project stand out.
When selecting your paint, be certain to avoid solvent-based paints. They can erode thermocol, causing damage to your project. Instead, water-based paints are your best bet, as they're gentle on thermocol and provide a consistent finish. Always test a small area initially to guarantee compatibility. By carefully choosing the right color types and paint finishes, you'll set yourself up for a successful thermocol painting project.
Select Appropriate Brushes
To achieve a smooth and professional finish on thermocol, the selection of appropriate brushes is just as vital as the paint itself. Choosing the right brush types and guaranteeing high bristle quality can make all the difference. Start by reflecting on the nature of thermocol; its delicate surface requires a gentle touch to avoid damage. Look for synthetic brushes that offer a smooth application while maintaining their shape. These brushes are versatile and can handle both water-based and acrylic paints effectively.
When evaluating bristle quality, opt for brushes with soft, fine bristles. They help create even strokes and distribute paint smoothly across the thermocol surface. Avoid brushes with stiff bristles, as they can leave unwanted marks or gouge the surface. Flat brushes are ideal for covering large areas, while round brushes are perfect for detailing and precision work.
Don't forget to think about the handle of the brush too. A comfortable grip can make your painting process more enjoyable and precise. By investing in quality brushes with the right brush types and bristle quality, you'll guarantee a flawless and professional-looking finish on your thermocol projects.
Clean the Thermocol
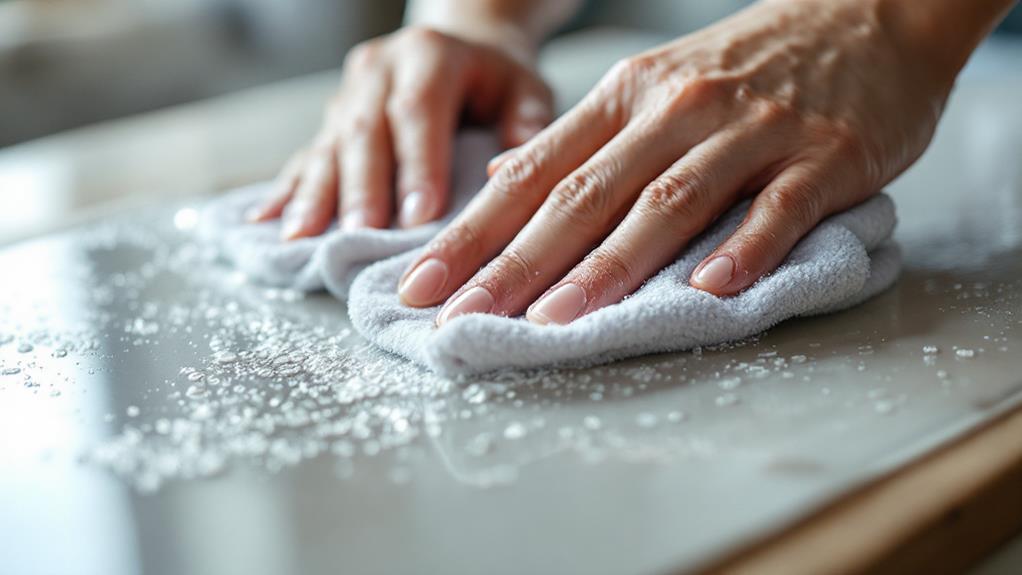
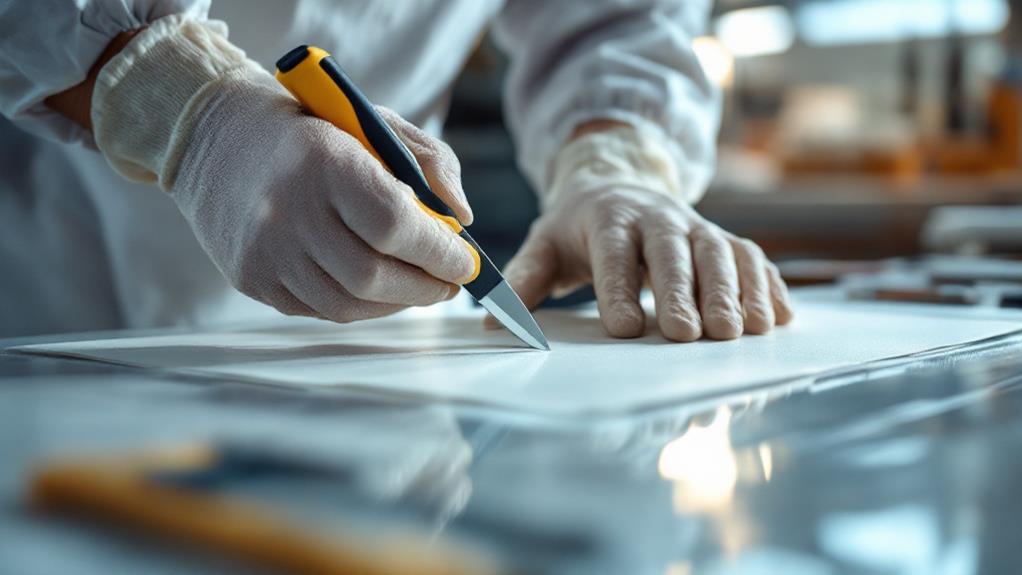
Before you start painting, it's important to clean the thermocol thoroughly to guarantee a flawless finish. Dirt, dust, and oils can cling to the surface, leading to uneven paint application. Begin by gently wiping the thermocol with a soft, dry cloth to remove loose particles. This initial step in your surface preparation is vital, as it guarantees you're starting with a smooth canvas.
Next, use a slightly damp cloth to tackle any stubborn grime. Be careful not to soak the thermocol, as excessive moisture can damage it. Lightly dab the cloth over the dirty areas, using gentle pressure to avoid denting or scratching the surface. Remember, the goal is to achieve a clean slate without compromising the integrity of the material.
If you encounter persistent marks, consider using a mild soap solution. Mix a few drops of gentle soap with water, and use a soft sponge to apply it to the affected area. Rinse the sponge thoroughly and wipe away any soap residue. Once you've finished, let the thermocol air dry completely. This step in your cleaning techniques guarantees the surface is ready for the paint, leaving you with a pristine base to work on.
Apply a Base Coat
With your thermocol clean and fully dry, you're ready to start applying a base coat. This vital step provides several base coat benefits, including a smooth surface for your paint to adhere to and a more lively final color. You'll want to use a primer designed for thermocol or polystyrene surfaces because regular paint can sometimes dissolve or damage the material.
Begin by choosing a well-ventilated area to work in, and lay down some newspapers or a drop cloth to protect your workspace. Shake the primer can well before use to guarantee an even mixture. Hold the can about 12 inches away from the surface, and use even, sweeping motions to apply a light, uniform layer. One of the effective applying techniques is to start spraying slightly off the edge of the thermocol and then move across, reducing any chance of pooling or drips.
Let the base coat dry completely, following the instructions on the primer can. This drying time is fundamental for achieving the base coat benefits of a solid foundation. Once dry, inspect the surface for any missed spots and reapply if necessary, guaranteeing a flawless base for your creative endeavors.
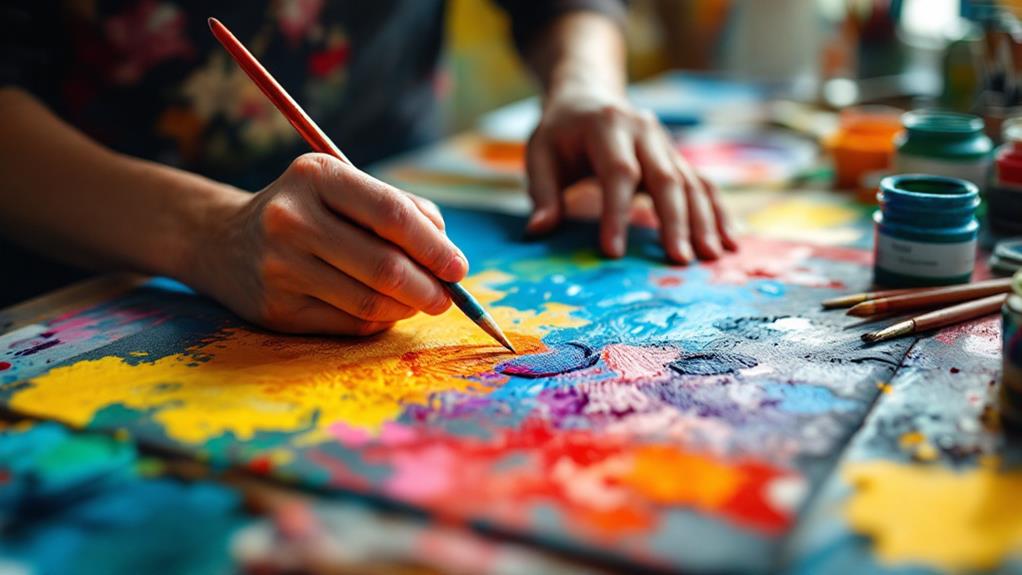
Create Detailed Designs
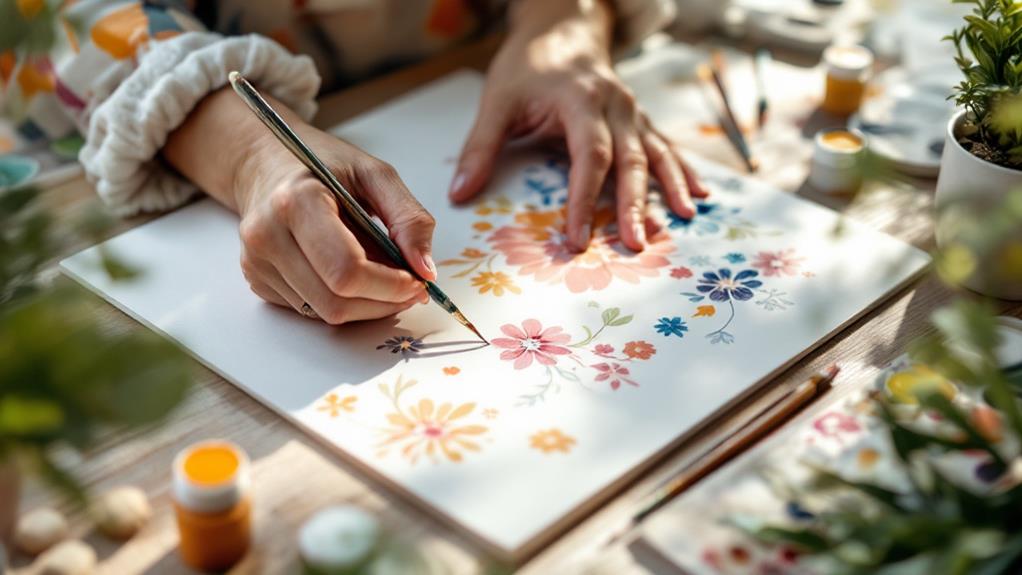
Once your base coat is completely dry, it's time for the exciting part—adding detailed designs to your thermocol project. Start by gathering design inspiration. Look around for patterns, regardless of nature, architecture, or even fabric. Consider thematic concepts you want to convey, like a rustic look or a modern geometric vibe. Use design tools like fine brushes, stencils, or even sponges to apply your ideas precisely.
Experiment with pattern techniques that suit your artistic style. You might try freehand painting for a personal touch or use stencils for cleaner lines. Don't shy away from diverse color combinations to make your project pop. Think about how complementary or contrasting shades can improve your design.
Texture applications can add depth, too. Use different brush strokes or dab paint on with a sponge for varied visual effects. For a more tactile experience, consider mixing sand or glitter with your paint.
Use Layering Techniques
Now that your designs are in place, layering techniques will improve your thermocol project even further. Using layering methods, you can add depth and dimension to your work. Start by applying a base coat of paint and let it dry. Then, slowly build up layers to achieve your desired effect. Layering allows you to experiment with color blending, creating smooth shifts between shades. It's crucial to use thin layers to prevent paint from pooling or cracking.
To effectively layer your paint, consider the following tips:
- Use a light hand: Apply paint gently to maintain control over your layers.
- Vary your colors: Mix and match different shades for a more dynamic look.
- Experiment with opacity: Combine opaque and transparent layers for interesting visual effects.
- Blend while wet: Mix colors directly on the thermocol for seamless blending.
- Work in sections: Focus on one area at a time to guarantee even application.
Layering methods provide versatility, allowing you to correct mistakes or adjust colors as you go. Remember, patience is key. By taking your time and gradually building up layers, you'll create a stunning, professional-looking thermocol piece that truly stands out.
Allow Proper Drying Time
Guaranteeing that each layer of paint has enough time to dry is crucial for achieving a flawless finish on your thermocol project. Rushing the drying process can lead to smudges, streaks, or even peeling, which undermines the effort you've put into layering. Proper drying techniques not only improve the appearance but also contribute to the paint's longevity on the thermocol surface.
Begin by placing your painted thermocol in a well-ventilated area. This helps the paint dry evenly and reduces the risk of dust settling on the wet surface. Keep a fan at a gentle speed nearby to aid in air circulation, but don't direct it straight at the thermocol to avoid uneven drying. Natural light can also be beneficial, so consider positioning your project near a window.
Be patient. Depending on the type and number of layers of paint, drying can take anywhere from a few hours to a full day. Testing a small area by lightly touching it with your fingertip can help you determine if it's ready for the next layer or further handling. Remember, patience now guarantees a durable, polished result later.
Seal the Painted Surface
After confirming each layer of paint on your thermocol has dried properly, it's vital to protect your hard work by sealing the painted surface. Sealing not only improves surface protection but also increases paint durability, guaranteeing your lively colors stay intact over time. Begin by selecting the right sealant; a clear acrylic spray works wonders. Shake the can well to mix the ingredients thoroughly and apply it in a well-ventilated area to maintain safety. Hold the can about 12 inches away from the surface and spray evenly in light coats to avoid drips.
Here's why sealing is fundamental:
- Prevents chipping and flaking: A sealant locks the paint in place.
- Adds a protective layer: Shields against moisture and environmental factors.
- Improves the finish: Gives your project a professional, polished look.
- Increases longevity: Guarantees colors stay lively and don't fade quickly.
- Simplifies cleaning: A sealed surface is easier to wipe clean.
Allow each layer of sealant to dry before applying the next. Usually, two to three coats are sufficient for peak protection. Once finished, your thermocol project will have lasting appeal and strong surface protection, ready to withstand the test of time.