Tips for Painting Plastic: A Beginner's Guide
Painting plastic can be a rewarding project if you know the right steps. Start by identifying the plastic type since it affects paint adhesion. Clean the surface well with warm water and dish soap before drying it completely. Sand the plastic lightly with medium and fine grit sandpaper to help the paint stick. Choose a plastic-specific primer and apply it in light coats, letting it dry thoroughly. Pick a suitable paint for plastic, decide on the finish, and apply it evenly. Confirm each layer dries well and finish with a sealant for durability. Curious about achieving perfect results?
Understanding Plastic Types
Regarding painting plastic, understanding the different types of plastic is crucial for achieving a lasting finish. Each type has distinct plastic properties that impact how paint adheres. You'll want to know what you're working with before you start. For instance, polypropylene and polyethylene are notoriously difficult to paint because they're nonporous and have a slick surface. On the other hand, polystyrene and polycarbonate offer a better surface for paint compatibility due to their slightly porous nature.
You'll need to identify the type of plastic to confirm the paint you're using is compatible. Look for recycling symbols or codes often found on the item. These symbols can give you clues about the plastic properties and help you determine the best approach for painting. For example, if the plastic is high-density polyethylene (HDPE), you'll need specialized paint and possibly a primer to achieve long-lasting results.
Gathering Necessary Supplies
Before you start painting plastic, it's essential to gather the right supplies to guarantee a smooth process and a durable finish. Initially, you'll need to select the appropriate paint types. Since not all paints adhere well to plastic, look for those specifically formulated for plastic surfaces. These paints often contain binders that ensure better adhesion and long-lasting results.
Next, consider the type of plastic finishes you want to achieve. Regardless of whether you're aiming for a matte, glossy, or textured look, choose a paint that offers the desired finish. Keep in mind that some paints may require a primer to guarantee the finish is even and consistent.
Here's a checklist to get you started:
- Paint formulated for plastics: Guarantees strong adhesion and durability.
- Primer (if needed): Prepares the surface for a smooth application.
- Protective gear: Gloves and masks to keep you safe from fumes.
- Application tools: Brushes, rollers, or sprayers, depending on the size and shape of your project.
Cleaning the Plastic Surface
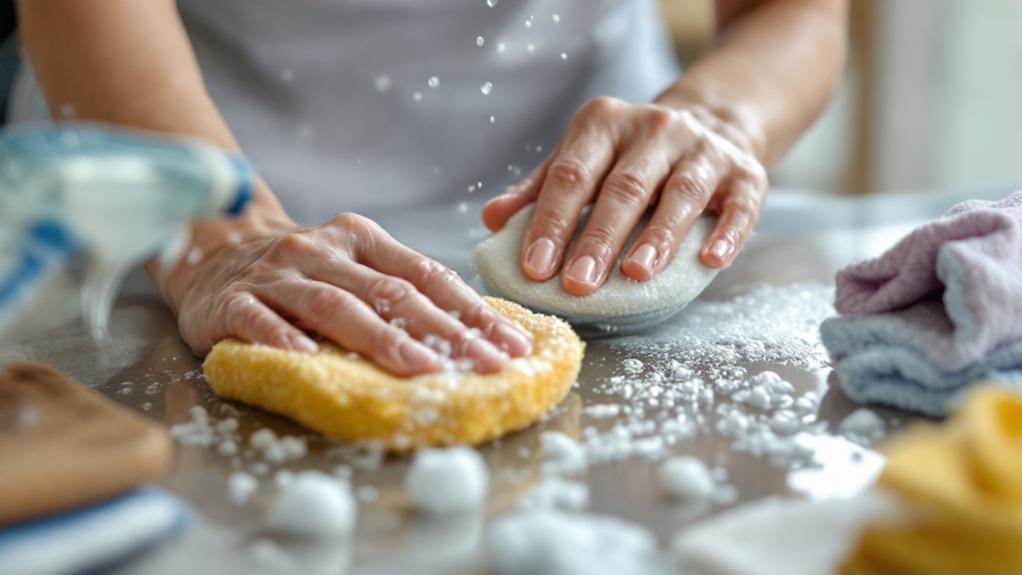
Once you've gathered your supplies, it's vital to clean the plastic surface thoroughly to guarantee proper paint adhesion. Different plastic types can have unique properties that affect how paint sticks, so knowing what you're working with is significant. Start by determining the type of plastic. Some common types are polyethylene, polypropylene, and PVC. Each may react differently to certain cleaning solutions, so choose wisely to avoid damage. Proper preparation is key, much like how yeast plays a vital role in achieving the desired texture in bread.
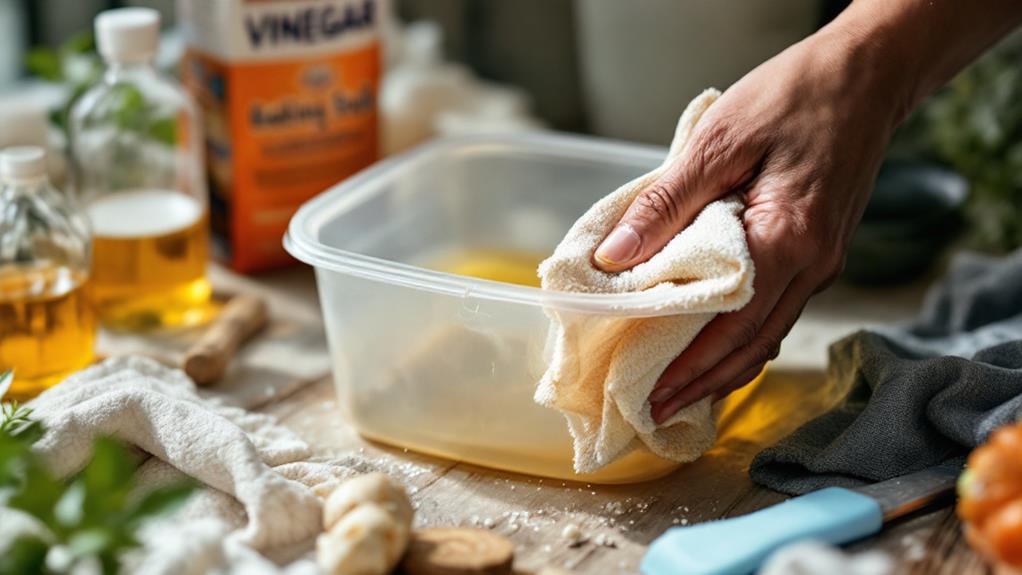
Begin by dusting off any loose dirt or debris with a soft cloth. For a deeper clean, prepare a mild cleaning solution. A mixture of warm water and dish soap works well for most plastics. Gently scrub the surface with a non-abrasive sponge or cloth, focusing on areas that might have accumulated grime or oils. Avoid harsh chemicals that could degrade the plastic.
Once you've cleaned with the soapy solution, rinse thoroughly with clean water to remove any soap residue. Dry the surface completely with a lint-free towel to prevent water spots. Ensuring the surface is clean and dry is a key step before moving on to painting. By taking time to clean properly, you'll set the stage for a smooth, lasting finish.
Sanding for Better Adhesion
Sanding's role in painting plastic can't be overstated. It creates a textured surface that helps paint stick better, guaranteeing a longer-lasting finish. When you're prepping plastic for painting, using the right sanding techniques and grit selection is vital. This is similar to how glue adheres after water evaporation, as both processes rely on creating ideal conditions for adhesion. Start with a medium grit sandpaper, like 220-grit, to remove any glossy finish from the plastic. This step is fundamental because gloss can prevent paint from adhering properly.
As you sand, apply even pressure and use circular motions to avoid creating deep scratches. Once the surface feels slightly rough, switch to a finer grit sandpaper, around 400-grit, to smooth out the surface without making it too polished. This approach guarantees the paint will have enough grip without leaving visible scratches.
Here are a few pointers to keep in mind:
- Grit Selection: Begin with 220-grit and finish with 400-grit.
- Sanding Techniques: Use circular motions for an even surface.
- Even Pressure: Helps avoid deep scratches.
- Tack Cloth: Wipe down after sanding to remove dust.
Choosing the Right Primer
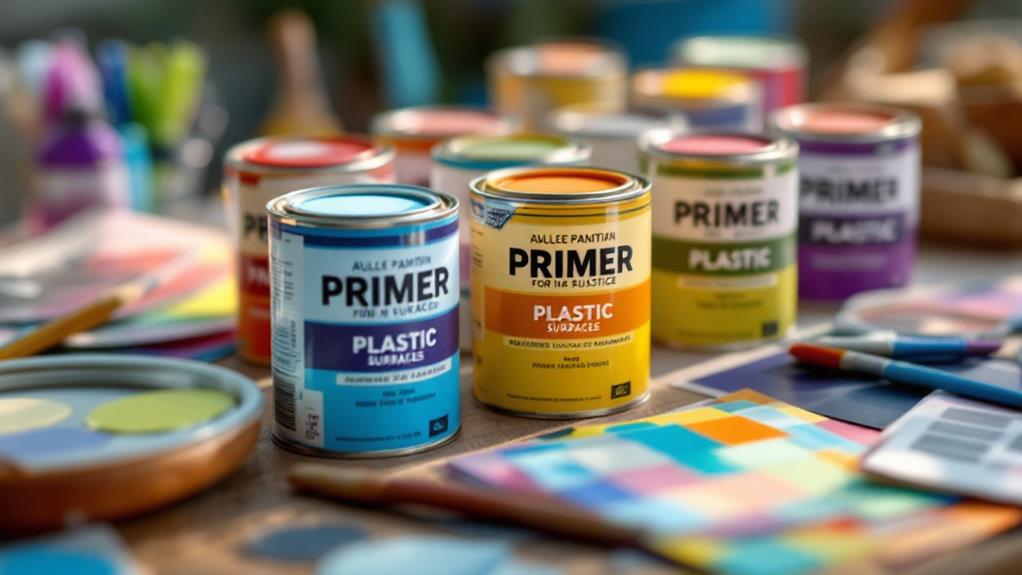
Selecting the right primer is crucial when painting plastic. Without it, your paint might not adhere properly, leading to chips and an uneven finish. Start by understanding the different types of primers. Plastic primers are specially formulated to bond with plastic surfaces. They create a sticky base that holds the paint in place. Look for primers labeled as "plastic primer" or "adhesion promoter" for the best results.
When it comes to primer application, always follow the instructions on the can. Shake the can well before use to guarantee even mixing. Hold the can about 12 inches from the surface and apply in light, even coats. It's better to apply multiple thin layers rather than one thick coat, as this helps prevent drips and guarantees a smooth finish. Allow each layer to dry thoroughly before applying the next.
Don't rush the process; patience is key. Depending on the primer type, drying times can vary, so check the manufacturer's recommendations. Once fully dry, your primed plastic surface will be ready for painting, providing a solid foundation for the topcoat. With the right primer, you'll achieve a durable and professional-looking finish.
Selecting Suitable Paint
With the primer creating a solid foundation, choosing the right paint is your next step to achieving a successful finish on plastic surfaces. Not all paints adhere well to plastic, so selecting the appropriate paint types is essential. Acrylic and enamel paints are popular choices due to their durability and smooth finish. Spray paints specifically designed for plastic can also offer convenience and even coverage.
When making your color selection, consider the project's purpose and environment. For outdoor items, UV-resistant paints can help prevent fading. Always check the paint label to verify it's compatible with plastic and suitable for your specific application.
To help you in selecting suitable paint, keep these key points in mind:
- Compatibility: Confirm the paint is designed for plastic use.
- Environment: Choose UV-resistant paint for outdoor projects.
- Finish: Decide between matte, gloss, or satin finish based on your desired aesthetic.
- Durability: Select paints known for their resilience to wear and tear.
Applying Paint Techniques
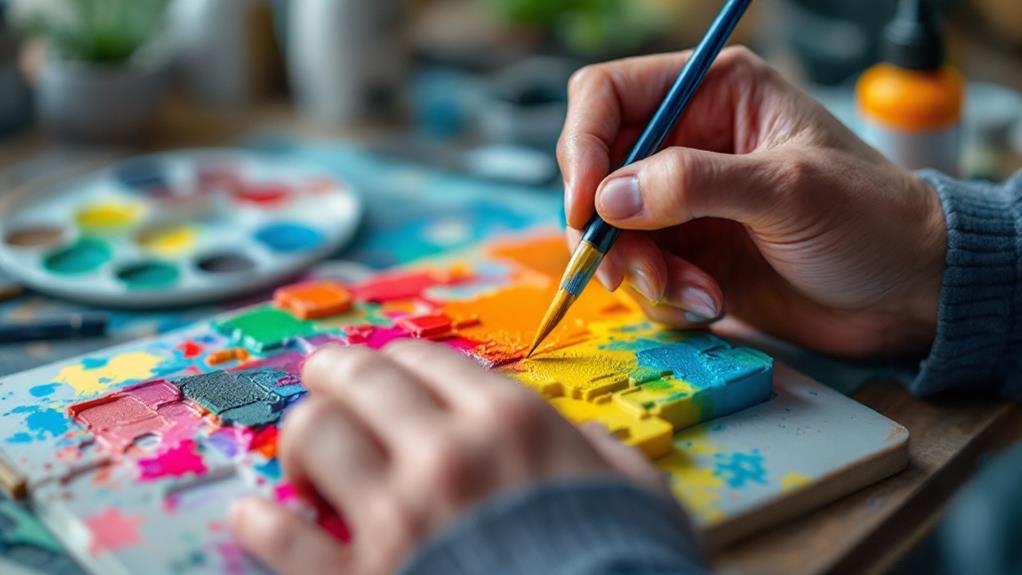
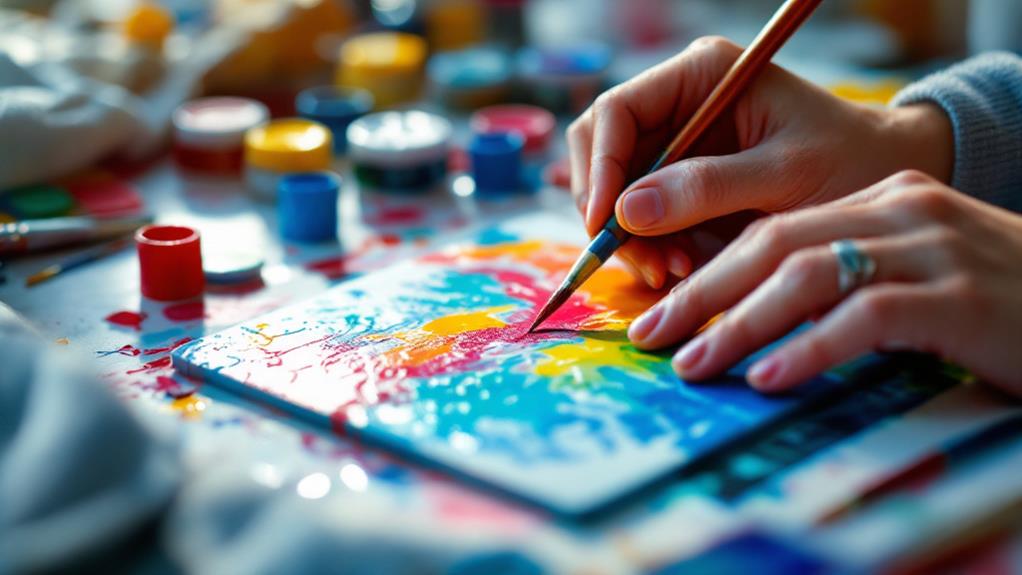
Before you engage yourself in painting, mastering the right application techniques is crucial for a flawless finish on plastic surfaces. Start with spray techniques for an even coat. Hold the spray can about 12 inches from the surface, moving it in steady, overlapping strokes. This prevents drips and guarantees a smooth, uniform look. If you prefer brush techniques, use a high-quality brush with synthetic bristles. Apply the paint in thin layers, allowing each to dry before adding the next. This layering method builds up a durable finish and avoids unsightly brush marks.
For creating texture effects, consider using sponges or stippling brushes. Dab the paint gently to create interesting patterns and depth. Experiment with different tools to find unique textures that improve your project. Remember, patience is key. Rushing leads to uneven surfaces and regrettable mistakes.
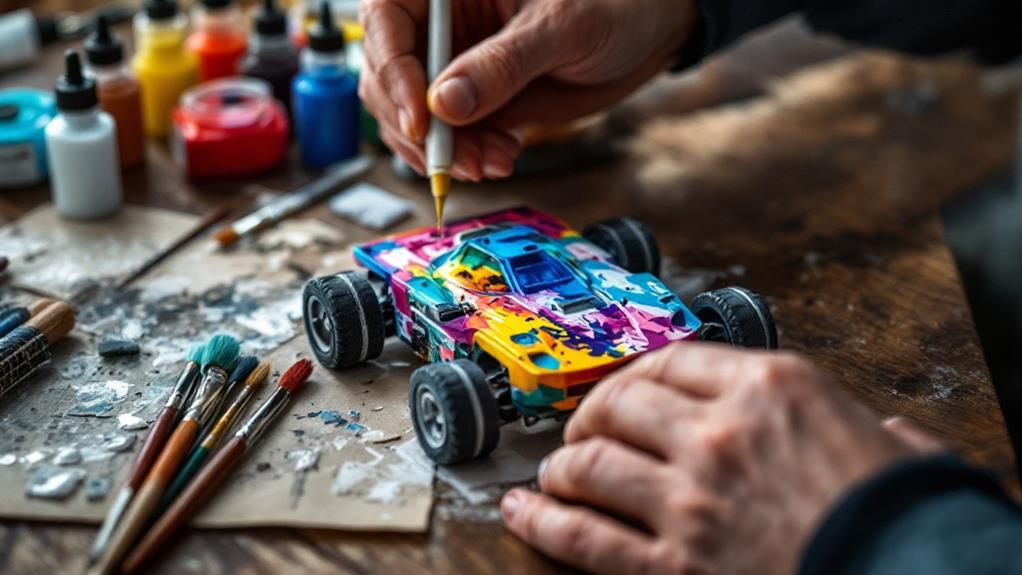
Layering methods also come into play when you want to achieve a professional look. Start with a primer layer, let it dry, then add your color coats. Finish with a clear topcoat for added durability. By mastering these techniques, you'll guarantee your painted plastic items look stunning and last longer.
Ensuring Proper Drying
Proper drying is vital to achieving a professional finish on your painted plastic surfaces. Without it, your hard work might end up looking uneven or sticky. Start by considering the drying time recommended by your paint manufacturer. It's important to follow these guidelines to guarantee the paint cures properly. Keep in mind that environmental factors, like humidity levels, can greatly affect drying. High humidity can slow down the process, resulting in a tacky surface.
Here are a few tips to guarantee proper drying:
- Choose the right environment: Aim for a space with low humidity and a stable temperature.
- Ventilation matters: Good airflow helps speed up drying and prevents moisture buildup.
- Avoid touching: Resist the urge to touch the surface until it's completely dry to avoid smudges.
- Layer wisely: Apply thin layers of paint to encourage even drying.
Sealing for Durability
A critical step in guaranteeing the longevity of your painted plastic surfaces is sealing them for durability. Without a proper seal, your work becomes vulnerable to scratches, fading, and weather damage. By applying a sealant, you improve the weather resistance of the paint, making it suitable for outdoor use and protecting it from elements like rain, sunlight, and temperature changes.
Start by selecting the right sealant. Consider finish options such as matte, satin, gloss, or high-gloss, depending on the look you want. A matte finish offers a subtle, non-reflective surface, while gloss provides a shiny, polished appearance. Make certain the sealant is compatible with the type of paint you've used. Some sealants work better with certain paints, so read the label carefully.
Apply the sealant evenly, using smooth, even strokes. A spray sealant is often the easiest option, guaranteeing a uniform coat without brush marks. Allow adequate drying time as recommended by the manufacturer. Remember, a well-sealed surface not only looks better but also extends the life of your project. Taking this extra step guarantees your painted plastic remains lively and durable over time.