Tips to Decorate a Thermocol Sheet for Crafts
To decorate a thermocol sheet for crafts, start by selecting high-density foam for durability and clean it with a lint-free cloth. Use fine-grit sandpaper to smooth out imperfections. Apply a primer for better paint adhesion, letting it dry thoroughly. Choose lively acrylic paints and employ thin brushes for detailed patterns. Experiment with textures using materials like fabric scraps or tissue paper, and add embellishments such as sequins or beads for a striking look. Guarantee your creation's longevity with a clear sealant. Ready to discover more tips and creative inspiration for your thermocol projects? Here's what to investigate next.
Choosing the Right Tools
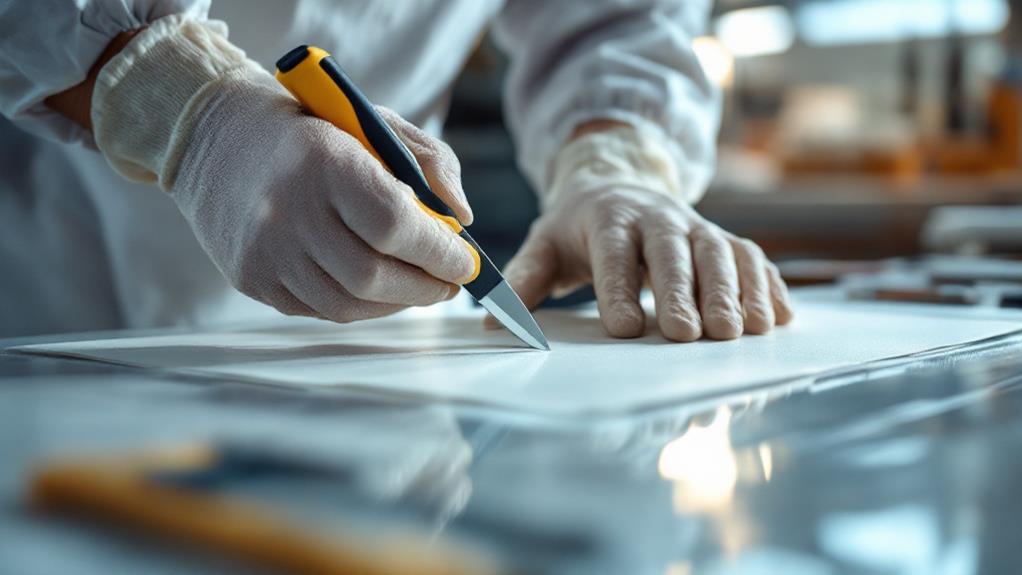
To effectively decorate a thermocol sheet, selecting the right tools is important. You need to make certain that your tool selection aligns with your project goals and personal preferences. Start by gathering crafting necessities, including sharp utility knives or specialized thermocol cutters, which will give you precise cuts without crumbling the material. Scissors are useful for less intricate designs, but a sharp blade always offers cleaner edges. The effectiveness of your decorating process can also be improved by understanding how certain materials interact, much like how soap removes dirt through molecular interactions during cleaning.
Consider using a hot glue gun for secure attachments, as it bonds well with thermocol without melting it. For painting, choose acrylic paints and soft brushes—they adhere well to thermocol and provide lively colors. If you're planning to add designs or patterns, fine-tipped markers and stencils should be part of your tool selection. They allow you to create detailed and intricate patterns effortlessly.
Don't forget to include safety gear in your crafting necessities. Gloves can protect your hands from sharp edges, and a dust mask will shield you from fine particles when cutting. With these tools at your disposal, you're ready to tackle any decorating project with confidence and creativity, making sure your thermocol sheet transforms into a masterpiece.
Preparing the Surface
Before you plunge into decorating, preparing the surface of your thermocol sheet is vital for achieving the best results. Start by using effective cleaning methods to guarantee a smooth and debris-free surface. Gently wipe the sheet with a soft, lint-free cloth. If there's any stubborn dust or particles, dampen the cloth slightly with water, but avoid soaking the thermocol as it can get damaged. Proper cleaning is key, much like how yeast plays a significant role in the fermentation process of bread-making.
Surface preparation doesn't stop at cleaning. You'll want to examine your thermocol sheet for any rough spots or uneven areas. Use fine-grit sandpaper to gently smooth out these imperfections. Sand in a circular motion to avoid creating grooves. Be cautious not to apply too much pressure, as thermocol is delicate and can easily crumble.
Once your sheet is clean and smooth, consider applying a thin layer of a suitable primer. This step is vital as it provides a better base for any decorations you plan to add. Make sure the primer is compatible with thermocol to prevent any adverse reactions. Let the primer dry completely before moving on to the decoration phase. Remember, thorough surface preparation will improve the durability and appearance of your craft project.
Painting Techniques
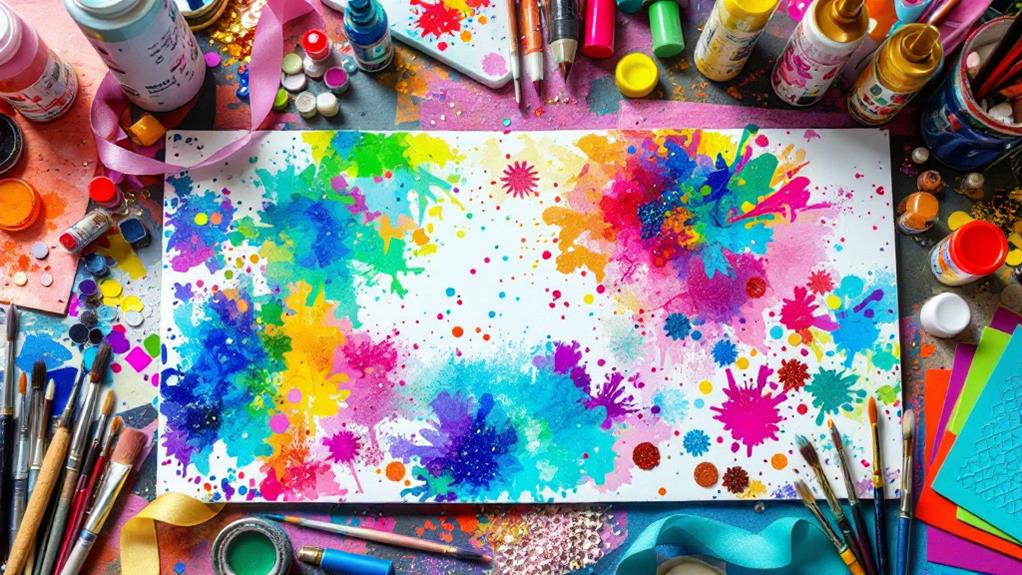
A lively burst of color can transform your thermocol sheet into a stunning piece of art. Start by selecting a palette that speaks to you. Color mixing is key; blend primary colors to create unique shades that will make your project stand out. Use a palette knife or brush to mix colors carefully, ensuring you achieve the desired hue.
Once you have your colors ready, consider using layering techniques to add depth and dimension to your artwork. Begin with a light base coat, allowing it to dry before applying further layers. This method creates a rich, textured effect that improves the overall appearance of your design. Remember to be patient, as each layer should dry completely before adding another.
Here are some tips to help you master painting techniques on thermocol sheets:
- Opt for acrylic paints: They're perfect for lively colors and quick drying.
- Experiment with color mixing: Create custom shades tailored to your vision.
- Use thin brushes for details: Achieve precision in intricate patterns.
- Apply multiple layers: Build up color intensity gradually.
- Seal your artwork: Protect the finished piece with a clear sealant for longevity.
With these techniques, you'll raise your craft to the next level.
Adding Textures
After perfecting your painting techniques, you can improve your thermocol sheet by incorporating textures. Textured patterns add depth and interest, transforming a flat surface into a dynamic piece of art. Start by selecting materials that can create a variety of textures. Items like fabric scraps, tissue paper, or even sand can be used to build unique surfaces.
Layering materials is a great way to achieve textured patterns. Try layering tissue paper over the thermocol sheet using glue. Crinkle it up before applying to create an intriguing, tactile effect. You can also experiment with fabric by cutting it into shapes and sticking it onto the surface. The different weaves and patterns of fabric will introduce diverse textures.
Another fun technique involves using modeling paste. Apply it with a palette knife, pressing and lifting to create ridges and valleys. Once dry, paint over it to highlight the texture. Alternatively, you can use stencils with the paste to create raised designs.
Don't be afraid to mix and match materials. Combining different textures can lead to unexpected and exciting results. Remember, adding textures is about experimenting and finding what works best for your vision.
Embellishment Ideas

Enhancing your thermocol sheet with embellishments can raise its visual appeal and add a personal touch. You can investigate a variety of creative techniques to make your craft project stand out. Start by using stencil designs to add intricate patterns or shapes. Simply place your stencil on the sheet and apply paint or glitter for a defined look. Stencils offer precision and consistency, perfect for repeating motifs across your project.
Reflect on layering materials for a more dynamic effect. You can cut and stack different shapes from paper, fabric, or even other thermocol pieces to create a 3D effect. This adds depth and dimension to your design, making it more engaging.
Here are a few embellishment ideas to ponder:
- Stencil Patterns: Use stencils with paint or glitter for detailed designs.
- Layered Fabrics: Stack and glue fabrics for a textured look.
- Beads and Sequins: Glue these on for sparkle and shine.
- Ribbons and Lace: Add elegance with strips of ribbon or lace.
- Foam Cutouts: Use colored foam to create standout shapes.
These ideas will help you craft a unique and eye-catching thermocol sheet, perfect for your creative projects.
Sealing and Finishing
Once you've adorned your thermocol sheet, it's crucial to seal and finish it for durability and a polished look. Start by choosing the right adhesive options for your project. If you've used lightweight materials, a spray adhesive works well, offering even coverage without weighing down your design. For heavier embellishments, consider a stronger adhesive like a hot glue gun, guaranteeing everything stays in place.
Next, focus on protective coatings to safeguard your artwork. A clear acrylic spray is a fantastic choice, providing a protective layer that prevents damage from moisture and dust. It's easy to apply—just make sure you're in a well-ventilated area and spray evenly across the surface. Another option is a decoupage medium, which not only seals but also adds a slight sheen to your project. Apply it with a brush for a smooth finish.
Allow your thermocol sheet to dry completely after sealing, making sure the protective coatings fully adhere. This step guarantees your craft project remains colorful and intact over time. By carefully selecting adhesive options and protective coatings, you'll improve the longevity and appearance of your decorated thermocol sheet, making your creative efforts truly stand out.